Onyx Smile
The image shows a short round set with a sheer nude base and a clean black tip following the natural smile line. This is the foundation every other design in this article builds on, and it is the most workplace-acceptable Halloween manicure that exists — the color is confined entirely to the free edge, so the hand reads as a standard French from any normal viewing distance. Because black against a pale base is the highest contrast possible, the smile line has to be genuinely clean; any wobble is highlighted rather than hidden, which is not the case with a soft brown or a cream. Define the curve first with a fine liner brush, working in short strokes and following the nail's own arc rather than drawing straight across. Cure, then fill toward the free edge with a second coat for full opacity. Clean up with a flat brush dipped in remover before the final cure. Glossy top coat with extra over the tip.
Blood Edge
The image shows a short squoval set with a milky white base and a deep crimson tip, the red dark and brown-shifted rather than bright. The color choice is what makes this read as blood rather than as a red French — a bright cherry looks festive, while a browned crimson looks ominous. It is subtle enough for an office and unmistakable to anyone paying attention. Use a base coat, since red pigment stains the natural nail. Two thin coats of the crimson. Glossy top coat over the tip specifically, which gives it a wet quality that reinforces the effect.
Dripping Tip
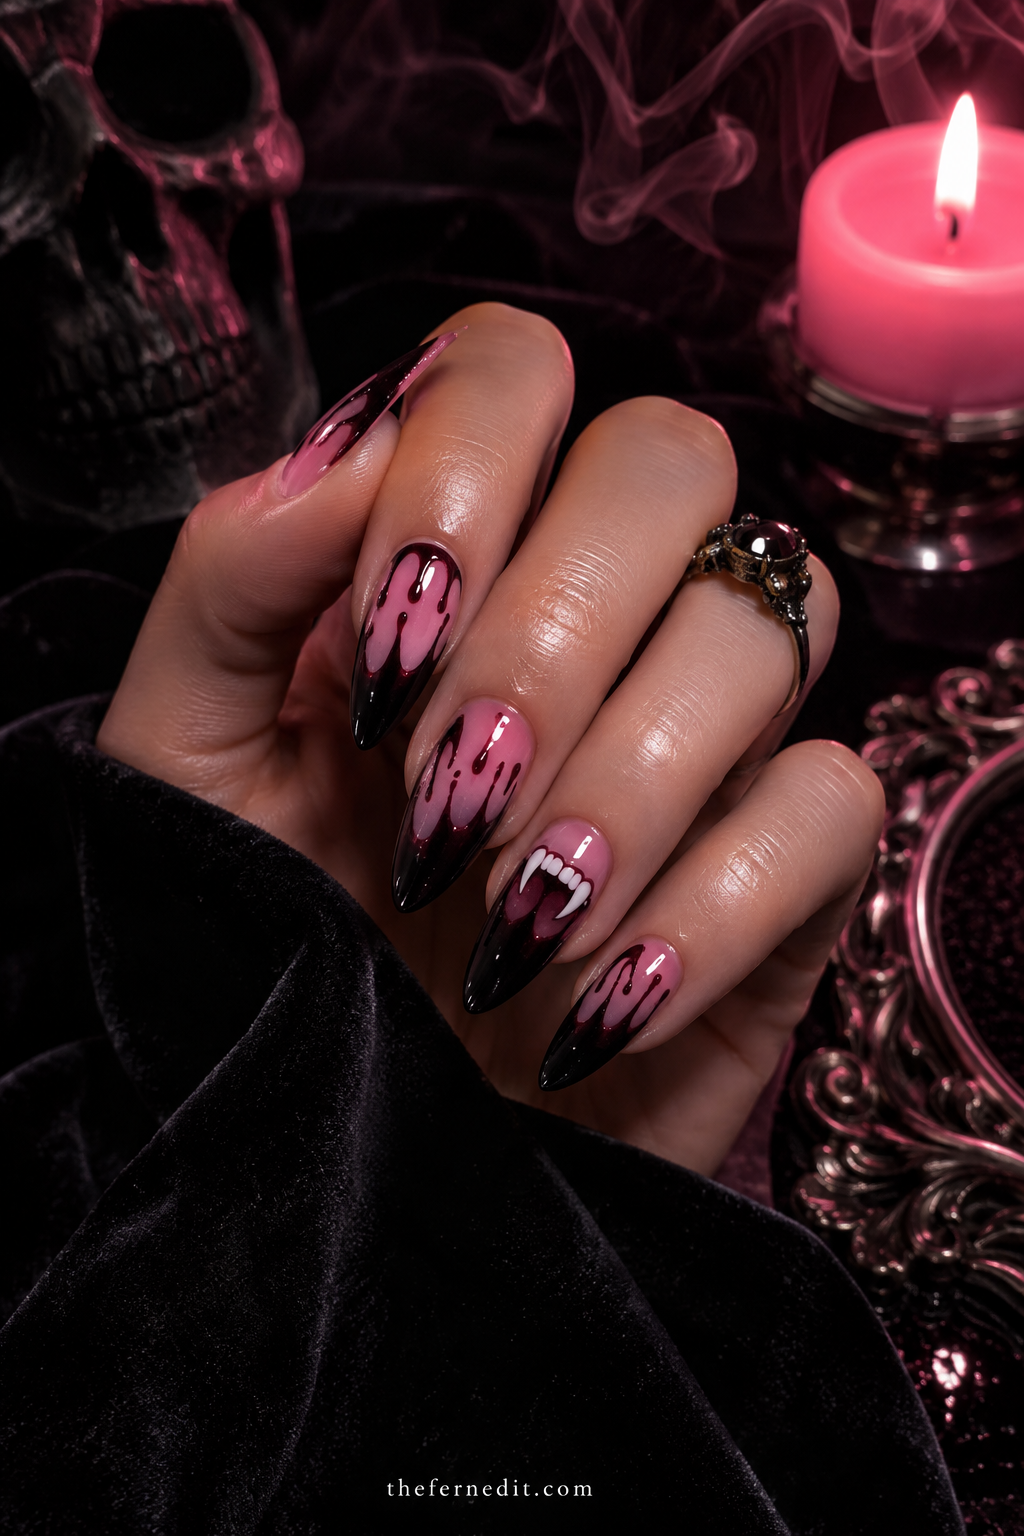
The image shows a medium almond set with a nude base and a black tip whose upper edge, instead of following a smooth smile line, drips downward into the nail in three or four uneven runs, each ending in a small rounded bulb. It takes a standard French and adds the single most recognizable Halloween motif without adding any color. Variation is essential — identical drips look decorative, uneven ones look like something is running. Paint the tip first with a normal smile line, cure, then extend the drips upward from it and add the bulbs. Glossy top coat.
Ember Tip
The image shows a short round set with a warm cream base and a burnt orange tip. It works entirely through color association, with no imagery at all, which makes it the most wearable design in this article and the one that carries furthest past October 31. Burnt rather than bright orange is what keeps it sophisticated. On short nails keep the band narrow. A practical advantage worth noting: because the tip is the first area to wear, a narrow band means chipping shows as a minor interruption rather than an obvious gap.
Bat Wing V
The image shows a short almond set with a nude base and a black V-tip whose two straight edges meet at a point in the center of the free edge — the shape reading simultaneously as a chevron French and as a pair of folded bat wings. It hides Halloween imagery inside the manicure's own architecture, which is the cleverest approach available. The V is also the most elongating French variation, which makes it a good choice on shorter nails. Nail vinyls give a perfectly crisp result and remove the difficulty entirely.
Cobweb Fade
The image shows a medium squoval set with a black tip where fine black threads extend upward from it into the bare nail, thinning as they rise. The tip appears to be unravelling into a web. Paint and cure the tip first, then draw three or four threads rising from it with a fine liner brush, curving slightly rather than running straight. Connect a few with small sagging arcs just above the tip. Keep the threads sparse; the empty nail above them is what makes it read as delicate rather than crowded.
Ghost Tip
The image shows a short squoval set with a nude base where the free edge is shaped into three shallow scalloped waves in white — turning the entire French tip into a ghost's bottom edge. There is no face and no body, only the shape, and the recognition happens immediately. It is the most structurally elegant design in this article. Use a fine brush to draw the three waves rather than a straight smile line, and keep them consistent across all ten nails. Two waves looks unfinished; four gets fussy. Glossy top coat.
Double Black Bar
The image shows a short round set with two thin parallel black lines near the free edge, separated by a small gap of bare nail. It is a modern French that reads as graphic and deliberate rather than traditional, and the doubling makes it feel more designed than a single line. Parallel lines expose any inconsistency far more than one line does, so practice on a single nail first. Striping brush with thinned gel paint, curing after each nail rather than doing all ten. Nail vinyls are a legitimate shortcut.
Poison Tip
The image shows a short squoval set with a milky white base and a translucent acid green tip built in two sheer coats, the color glowing rather than sitting flat. Green is an underused Halloween color and confining it to the tip keeps a very saturated shade wearable. The translucency is what prevents it from looking like a novelty. Build over a white underlayer to maximize brightness, since sheer greens go dull directly over the natural nail. Glossy top coat exclusively.
Chrome Coffin Tip
The image shows a medium coffin set with a nude base and a gunmetal chrome tip, the metallic edge catching light sharply against the soft base. Chrome at the tip rather than across the whole nail is smarter for daily wear and considerably more striking than a flat black tip. Chrome exposes any wobble in the smile line, so define the curve in gel first and cure fully before buffing the powder over that section only. A no-wipe top coat across the whole nail evens the transition.
Spider Corner French
The image shows a short round set with a black French tip where one nail carries a tiny black spider sitting just above the smile line, legs bent. The spider appears to be crawling up out of the tip, which gives the design movement. Keep it small — under five millimeters — and place it on one nail only. Draw the body as two small ovals with eight twice-bent legs. The bends are what make it read as a spider rather than a star.
Smoke Gradient Tip
The image shows a medium almond set where the free edge fades from a soft grey into a deep charcoal with no defined line anywhere. Removing the smile line entirely produces something softer and more atmospheric than a standard French, and it is considerably more forgiving to execute since there is no boundary to get wrong. Use a small sponge, pressing the dark shade only at the edge and building in three or four light passes. The fade should occupy no more than the top quarter of the nail.
Gold Outline Black
The image shows a short squoval set with a black French tip and a hairline of gold drawn directly along the smile line where the tip meets the base. The gold line sharpens the boundary, adds a metallic note, and — practically — disguises any minor unevenness in the underlying curve by giving the eye a crisp edge to follow. Apply and cure the black tip fully before drawing the gold. Gel paint with a striping brush, curing each nail immediately after drawing.
Candy Corn Band
The image shows a short round set with a nude base and a two-tone tip — a narrow band of butter yellow at the very edge with a slightly wider band of soft orange above it. It compresses the candy corn palette into the tip, which is the only place a multi-color scheme fits without overwhelming a manicure. Striping tape gives the clean boundary between bands. Work light to dark and remove the tape while wet. Glossy top coat to flatten the ridges.
Reverse Black Moon
The image shows a short squoval set in cream with a black half-moon at the cuticle instead of a tip at the free edge. The reverse French places the drama at the base, which is unexpected and has a real practical advantage — regrowth pushes the design outward rather than exposing bare nail, so it ages more gracefully than a standard French. Leave a small margin of bare nail between the black arc and the skin; that gap is what makes it look deliberate.
Stitched Smile
The image shows a medium squoval set with a nude base and a black tip where short black stitches cross the smile line at uneven intervals, as though the tip has been sewn on. The stitches are the only addition and they completely change the character of a standard French. Draw them after the tip is cured, as short straight lines crossing the boundary perpendicular. Uneven spacing and slightly varied angles are what sell the crudeness.
Oxblood Deep Tip
The image shows a long almond set where an oxblood tip occupies nearly half the nail — a deep smile line starting high on the nail bed and sweeping to the free edge. On longer nails this proportion creates real drama that a standard-width tip cannot. On short nails it would overwhelm. The base color matters more than usual at this depth: a sheer milky nude keeps the contrast clean while a beige muddies it. Two thin coats of the oxblood.
Web Tip
The image shows a short squoval set in nude where a small web occupies only the free edge of each nail, following the tip's curve. Because each web is tiny, it can appear on all ten nails without crowding. Draw a short arc along the tip, then three radiating lines rising from it, connected by one sagging curve. Consistency across all ten is what makes it look deliberate rather than accidental. Extra sealing over the tip.
Purple Haze Tip
The image shows a short round set with a milky base and a deep violet tip in a satin finish. Purple is the underused Halloween color and confining it to the tip makes even a saturated shade wearable in any setting. Satin rather than gloss gives it a softer, more expensive quality that suits the color better than a hard shine. Two thin coats. The satin finish also hides minor tip wear better than gloss does.
Matte Black, Glossy Base
The list closes with a finish contrast rather than a color one. The image shows a short almond set where the nude base is glossy and the black tip is matte, the two finishes meeting at the smile line. Using two different top coats across a single nail is a technique almost nobody uses and it makes a plain black French look considerably more designed. Apply glossy top coat to the base area and matte to the tip, working carefully at the boundary with a fine brush. The finish line should follow the color line exactly.
The Takeaway
The French tip is the best structure for Halloween nails because it contains the holiday to a small area and leaves the rest of the hand neutral. That means one manicure can be professional on Tuesday and seasonal on Friday. Start with a clean black or oxblood tip, and if you want imagery, hide it in the architecture — a ghost's scalloped edge or a bat-wing V does more with less than any painted figure.
This article is for general beauty and self-care education only and is not medical advice.
Frequently asked questions
Are Halloween French tips office-appropriate?
Most are. Because the color sits only at the free edge, the hand reads as a standard French from normal viewing distance. Black, oxblood, and burnt orange tips are all safe choices.
What is the easiest Halloween French tip?
A plain black or burnt orange tip. Both work through color alone with no imagery, and the technique is identical to a standard French.
How do I get a clean smile line?
Define the curve with a fine liner brush in short strokes following the nail's own arc, cure, then fill toward the edge. Do not attempt the whole tip in one stroke.
Which Halloween French tips last past October?
Oxblood, burnt orange, gunmetal chrome, and purple haze. Anything with drips, webs, or stitching dates immediately after the holiday.
Can I do these on short nails?
Yes, but keep the tip band proportionally thinner — around a third the width you would use on long nails. A heavy tip visually shortens a short nail.

We cite sources and update this guide regularly.