Midnight Chrome
The image shows a medium almond set in black with a gunmetal chrome finish buffed over the surface, catching light like polished obsidian. This is the most sophisticated Halloween manicure available and the one most likely to survive past October 31 without looking out of season. Black on its own can read flat and slightly severe; the chrome adds depth and movement that turns it into something closer to jewelry. The technique requires a fully cured, non-tacky black gel base — any stickiness and the powder grabs unevenly, leaving patches that cannot be fixed without starting over. Buff the chrome in with a soft applicator using small circular motions until the surface goes fully reflective, then seal with a no-wipe top coat applied generously. Chrome wears at the free edge faster than any other finish, so extra sealing over the tip is worth the time. This works on any length and suits almond and coffin shapes especially well.
Ghost Parade
The image shows a short squoval set with a milky sheer base where three or four small white ghosts float across two accent nails, each with two dot eyes and a wavy bottom edge. The remaining nails stay bare milky white. This is the friendliest design on the list and the easiest to execute, which is why it dominates Halloween nail content every year. Draw each ghost as a rounded top with a scalloped bottom rather than a straight line — the wave is what makes it read as a ghost rather than as a blob. Keep them small, around five millimeters, and vary their positions rather than centering them. Let one drift partly off the edge of the nail so the group feels like it continues beyond the frame. Fine detail brush, white gel paint, glossy top coat.
Blood Drip Tips
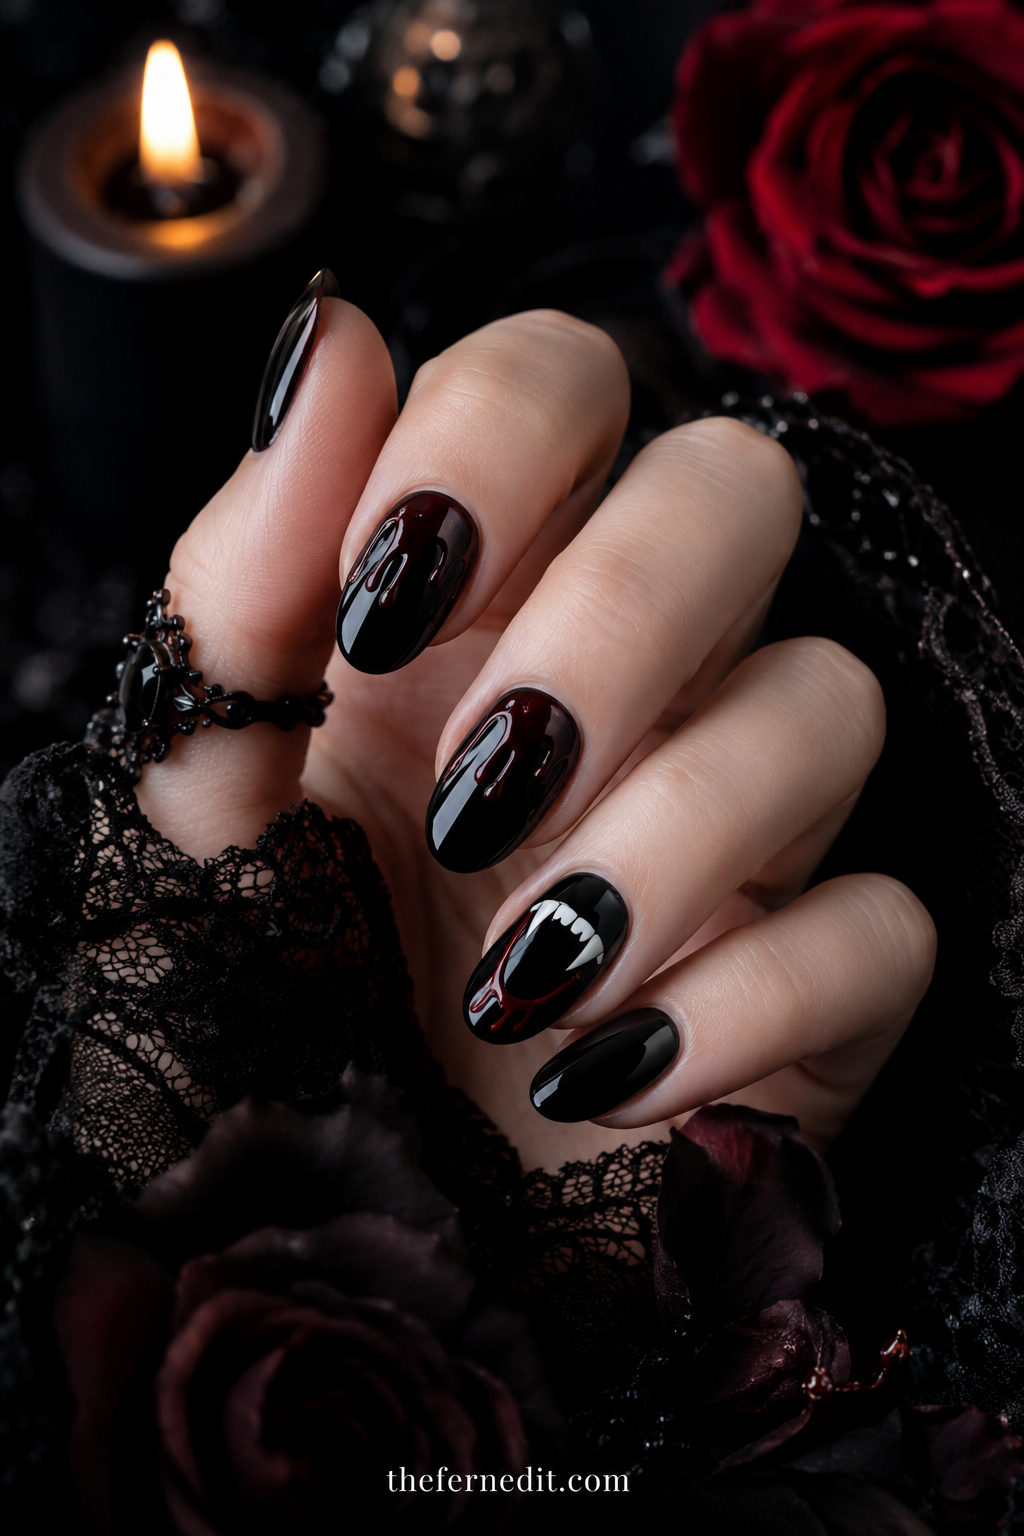
The image shows a medium coffin set with a milky white base and deep crimson drips running down from the cuticle, each drip ending in a rounded bulb of color at a different length. This is the design that reads as unmistakably Halloween without requiring any figurative art. The key to making drips look convincing rather than accidental is variation — each drip should be a different length and a slightly different width, and the rounded bulb at the end of each is what sells the effect. Draw the wide part at the cuticle first, pull downward with a fine brush, then add a small dot at the bottom of each drip and blend it into the line. Use a deep crimson rather than a bright red; the darkness is what makes it read as blood rather than as paint.
Pumpkin Patch Accent
The image shows a short round set in warm cream with a single accent nail carrying three small pumpkins in burnt orange, each with a tiny brown stem and two curved lines suggesting ribs. Confining the pumpkins to one nail keeps the design wearable through the whole month rather than only on the day. Draw each pumpkin as a slightly squashed circle rather than a perfect one — real pumpkins are wider than they are tall, and that proportion is what makes the shape recognizable at small scale. Add the stem last as a short thick stroke at the top. The two curved rib lines should follow the curve of the pumpkin body rather than running straight down. Burnt orange rather than bright orange keeps it seasonal rather than cartoonish.
Spider Lace
The image shows a long almond set in sheer nude with a fine silver web spreading from one corner of two accent nails, the threads thin enough to look like actual lace rather than painted lines. Fine silver against a barely-there base is what makes this version elegant rather than novelty. Start from the corner and draw three or four straight radiating lines outward, then connect them with curved arcs that sag slightly toward the center — the sag is essential, since straight connecting lines look like a grid rather than a web. Use a very fine liner brush and thinned silver gel paint. Keep the web confined to one corner rather than covering the nail, and leave the majority of the nail bare.
Bat Silhouette
The image shows a short squoval set with a smoky grey gradient base, darker at the tips, and three small black bat silhouettes scattered across two accent nails at different sizes. The bats read as distant shapes against a dusk sky, which is what the gradient is doing. Draw each bat as a small body with two scalloped wings — the scallop on the lower edge of each wing is what distinguishes a bat from a bird at this scale. Vary the sizes significantly, with one noticeably larger than the others, to create depth. Black gel paint and a fine detail brush. The gradient base should be built with a sponge before any bats go on, and cured fully.
Candy Corn Ombré
The image shows a medium almond set with a three-band gradient running from white at the cuticle through orange in the middle to deep yellow at the free edge, blended so the bands bleed into each other rather than sitting as hard stripes. This is a smarter interpretation of candy corn than painting the actual triangular shape, which tends to look juvenile. Because it is a gradient rather than a graphic, it reads as a color story that happens to reference candy corn. Build it with a makeup sponge, painting all three colors side by side and pressing repeatedly to blend. Four or five light presses work better than two heavy ones. Generous glossy top coat to smooth the sponge texture.
Skeleton Hand
The image shows a long coffin set in matte white where fine black lines trace finger bones down the length of each nail, with small joint markings where the knuckles would sit. The nail becomes an extension of the bone. This is one of the most striking Halloween designs and it depends entirely on line quality — the bones must be drawn with consistent width and clean edges or the effect collapses into scribble. Use a fine liner brush and thinned black gel paint, and draw each bone as two parallel lines with rounded ends rather than as a single thick stroke. Matte top coat rather than glossy, since the flat finish reads as bone.
Witch Hat Minimal
The image shows a short round set in warm cream with a single black witch hat on one nail — a triangle with a curved brim and a small band, nothing more. This is the most restrained Halloween design here and the one most likely to be acceptable in a conservative workplace. The whole effect depends on keeping it small and keeping everything else empty. Draw the brim as a shallow curved ellipse first, then the cone above it, angling the point slightly to one side so it looks worn rather than symmetrical. That slight tilt is what gives it character. Add a thin band where the cone meets the brim. Fine brush, black gel paint, glossy top coat.
Black Cat Eye
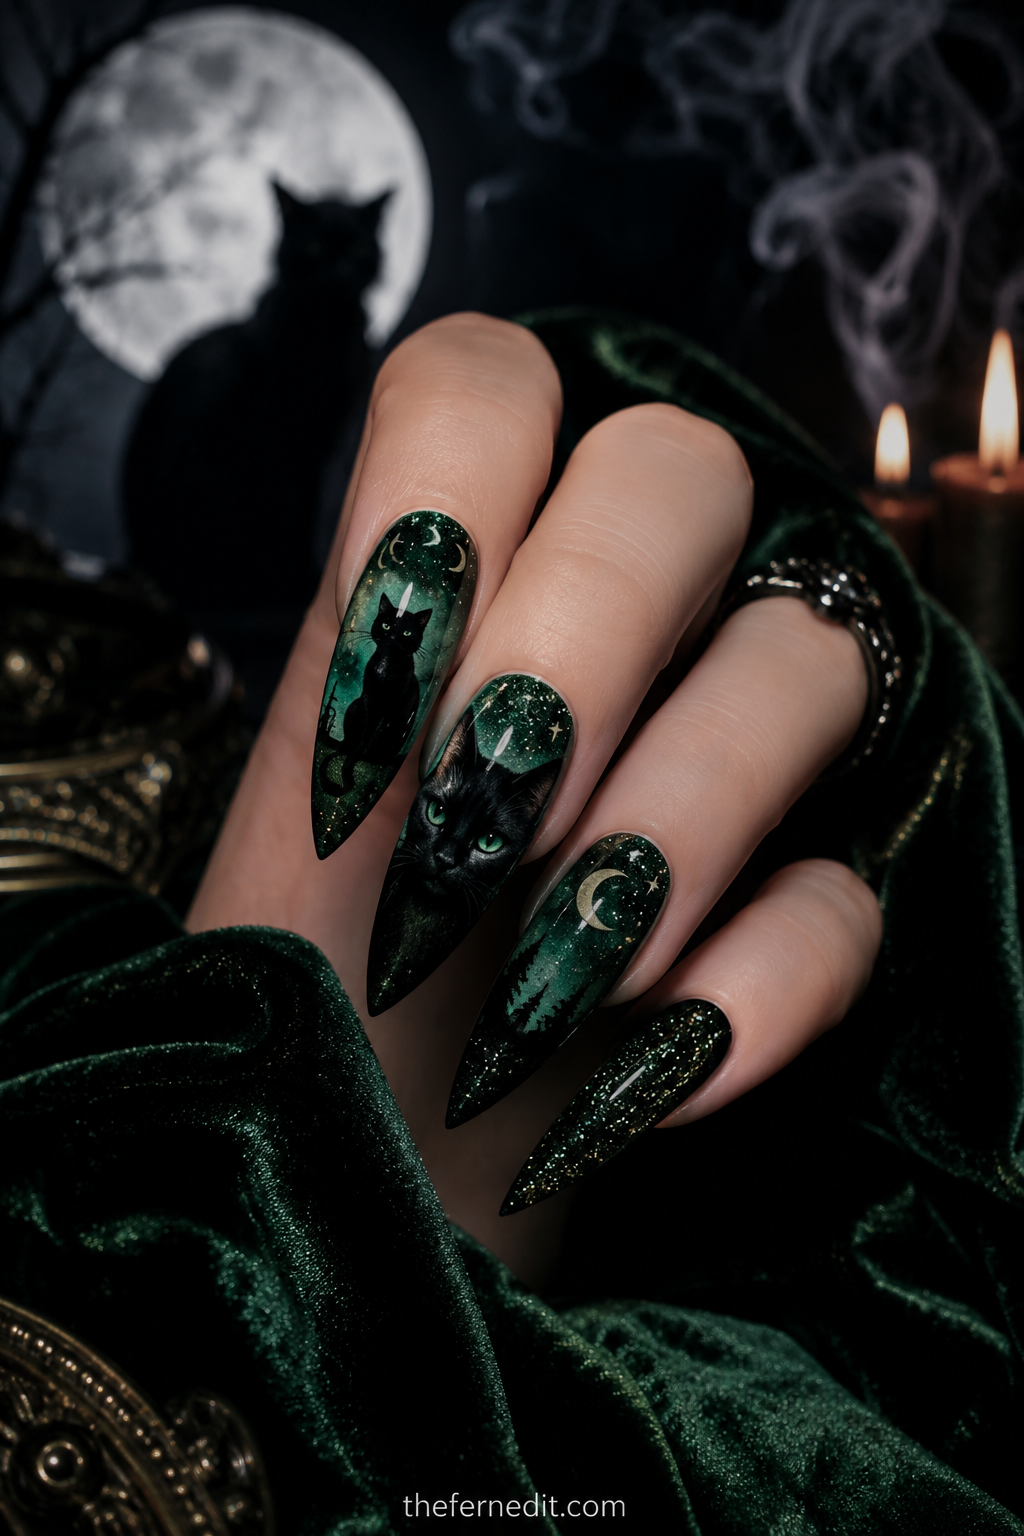
The image shows a medium almond set in deep black with a magnetic cat eye finish, a sharp beam of silver light cutting diagonally across each nail. The pun is deliberate but the result is genuinely sophisticated rather than novelty — it reads as an expensive dark manicure that happens to be perfect for Halloween. Magnetic black produces the strongest contrast of any shade because the base absorbs so much light that the beam looks almost like it is glowing. Work one nail at a time, hold the magnet at an angle for the diagonal, and cure immediately. Two thin coats. Cuticle cleanup is critical at this depth of color.
Orange Chrome Tips
The image shows a short squoval set with a warm nude base and burnt orange chrome applied only to the free edge — a French tip in metallic pumpkin. The chrome keeps it modern where a flat orange tip would read as costume, and confining it to the tip keeps the overall hand neutral enough for daily wear through October. Define the smile line in gel first and cure fully, then buff the orange chrome powder over that section only. Chrome exposes any wobble in the line, so precision matters more here than with a standard French. A no-wipe top coat across the whole nail evens the transition between base and tip.
Cobweb French
The image shows a medium squoval set with a classic black French tip where fine black web threads extend upward from the tip into the bare nail, as though the tip is unravelling. It is a clever hybrid — recognizably a French manicure, unmistakably Halloween. Paint and cure the black tip first, then draw three or four threads rising from it with a fine liner brush, curving slightly rather than running straight. Connect a few of them with small sagging arcs near the tip. Keep the threads sparse; the empty nail above them is what makes the design read as delicate rather than crowded.
Mummy Wrap
The image shows a short round set in off-white where thin strips of cream gel paint cross each nail at irregular angles, overlapping in places, with small gaps of darker base showing through between them. The layered, uneven quality is what sells the bandage effect. Paint a beige or grey base first and cure, then lay the cream strips across in varying widths and directions — some horizontal, some diagonal, none parallel to each other. Leave visible gaps. Add one tiny black dot peering through a gap on one nail if you want the eye detail. Matte top coat suits this better than gloss, since bandages are not shiny.
Poison Green Jelly
The image shows a medium almond set in a translucent acid green built in three thin coats, sheer enough that the natural nail shows faintly through the color. The jelly finish is what makes this read as a potion rather than as a flat bright green, and the translucency keeps a very saturated shade from overwhelming. It works as a full set precisely because the sheerness softens it. Glossy top coat exclusively — matte kills the jelly effect entirely. This shade also happens to sit well alongside black, so a single black accent nail is an easy upgrade. Build slowly and stop before full opacity.
Full Moon Glow
The image shows a long coffin set with a deep navy-to-black gradient and a single pale cream circle sitting high on each nail, with two or three tiny bat silhouettes crossing it. The moon reads as luminous because the surrounding gradient is dark enough to create contrast. Build the gradient with a sponge first and cure fully, then paint the circle in two coats of cream so it sits fully opaque against the dark base — a single coat will look grey and muddy. Add the bats last, very small, so they read as distant. Glossy top coat.
Vampire Oxblood
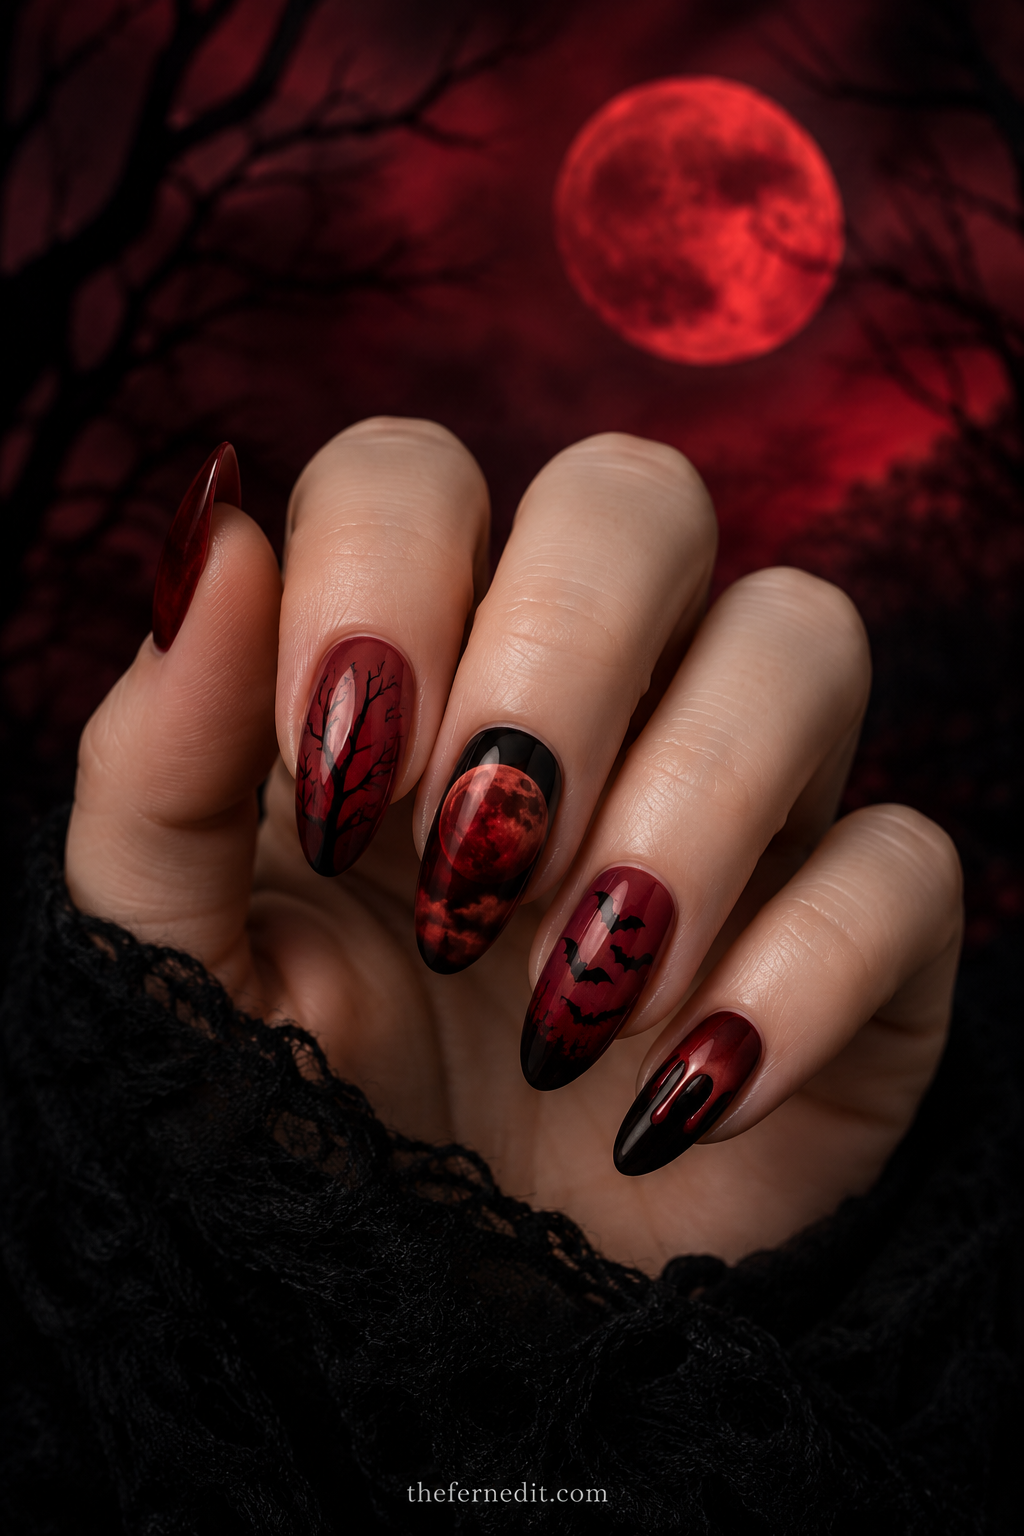
The image shows a short almond set in a deep near-black red with a high gloss finish, the color only revealing its warmth in direct light. This is the most wearable Halloween manicure on the list and the one that carries furthest past the holiday — oxblood is a legitimate autumn shade that happens to have vampiric associations. Two thin coats; very dark shades streak badly in thick applications. Careful cuticle cleanup, since any flooding at the base is highly visible at this depth. Use a base coat, as red pigment stains. Glossy top coat for the wet-looking finish that makes the shade read as blood rather than as brown.
Eyeball Accent
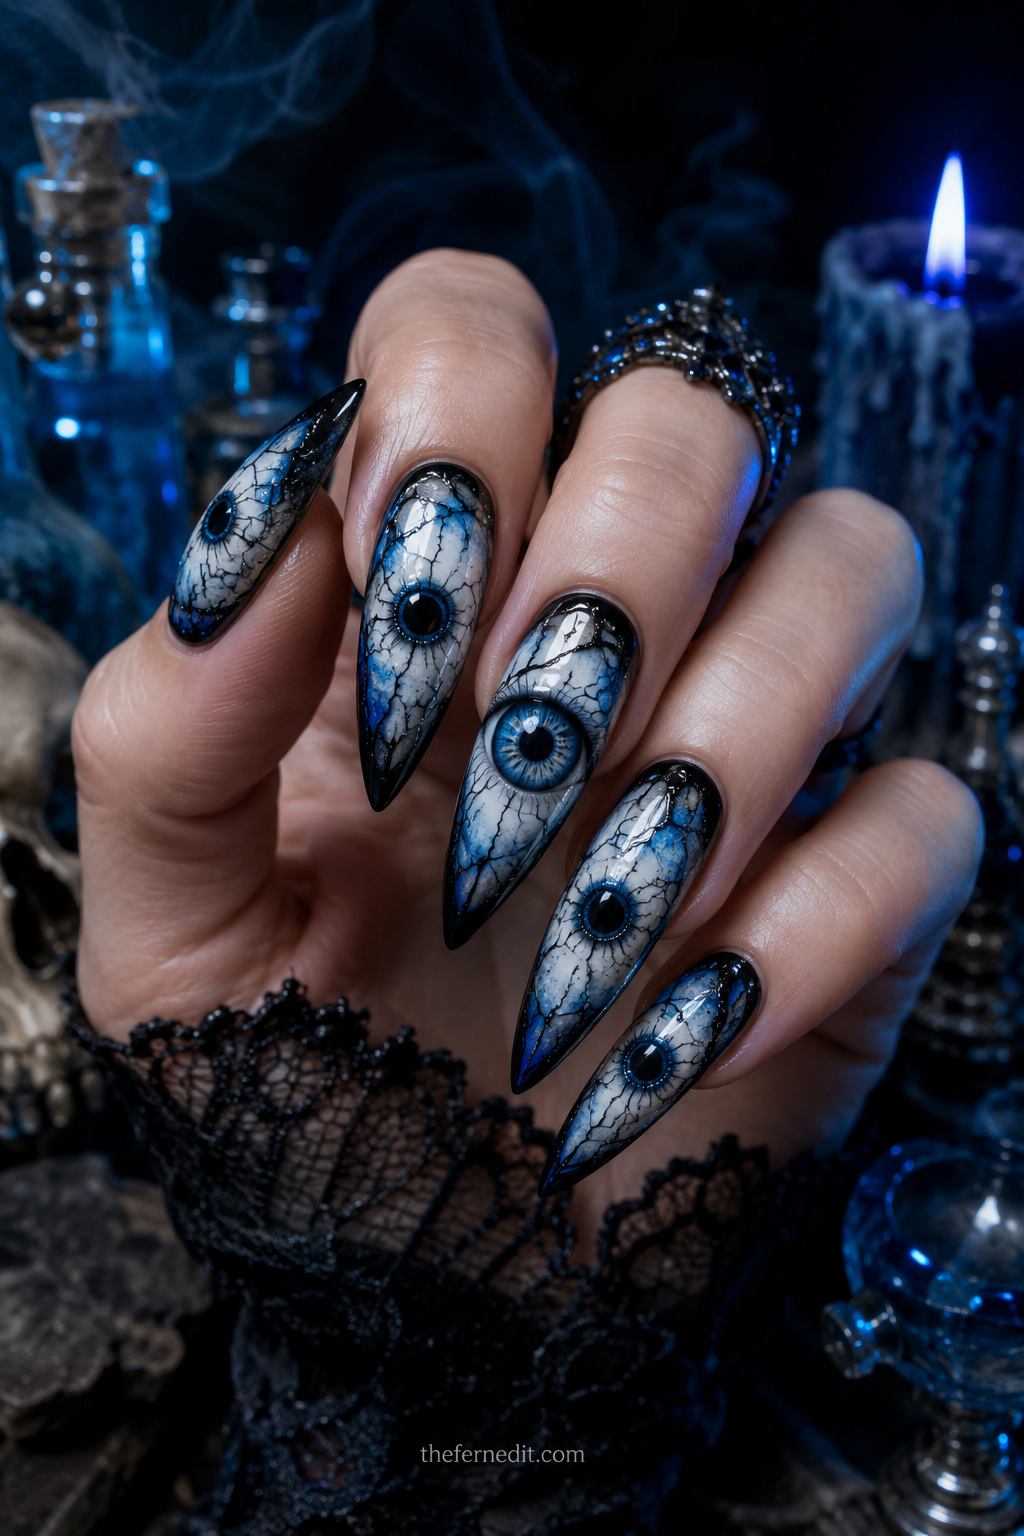
The image shows a short squoval set in matte black with a single accent nail carrying one large eye — a white oval, a colored iris, a black pupil, and fine red veins radiating from the edges. It is the most literal design here and it works because it is confined to one nail. Build in order: white oval, cure, iris circle, cure, pupil dot, cure, then the red veins last with a very fine brush. Keep the veins thin and irregular, radiating from the outer edge of the white toward the iris without touching it. Glossy top coat over the eye only, matte over the rest, for a wet-looking contrast.
Tombstone Matte
The image shows a medium squoval set in a flat concrete grey with no design at all — just a matte finish in a shade that reads as weathered stone. This is the most understated Halloween manicure possible, and it works entirely through color association. Grey is genuinely wearable through the whole season and never announces itself as a costume. The matte finish is essential; a glossy grey reads as metallic rather than as stone. Two thin coats. Matte finishes show skin oils, so an occasional wipe with a lint-free cloth keeps it looking sharp. A single small black crack line drawn on one nail is an optional upgrade.
Glow in the Dark
The image shows a short round set in a pale mint gel that appears almost white in daylight and glows soft green in darkness. Glow pigments are suspended in a clear or pale base and charge under light before releasing it slowly in the dark, which means the daytime appearance is usually a chalky pastel. Choose a shade you would wear regardless of the glow, since you will see the daytime version far more often. Apply over a white base to maximize brightness, since the glow reflects off whatever sits beneath it. Two to three coats for a strong effect. Glossy top coat.
Gothic Lace
The list closes with the most ornate option. The image shows a long almond set in sheer black where fine black lace patterns — scalloped edges, small floral motifs, tiny connecting threads — cover two accent nails while the rest stay in solid sheer black. The lace reads as Victorian mourning rather than as Halloween novelty, which is what makes it elegant. This is the most technically demanding design on the list and lace-pattern water decals are a legitimate route to the same result with far less risk. If painting freehand, work in stages with a very fine brush and cure between elements. Glossy top coat to seal.
The Takeaway
Halloween nails work on a spectrum, and the smart move is deciding where on it you want to sit before choosing a design. Full costume drama has one day of relevance; black chrome, oxblood, and matte grey carry the entire season. If you want both, keep four nails in a wearable dark shade and put the ghost, the spider, or the eye on a single accent nail.
This article is for general beauty and self-care education only and is not medical advice.
Frequently asked questions
What are the easiest Halloween nails to do at home?
Ghosts and dots. A milky base with small white ghosts requires only a dot tool and a fine brush, and the wavy bottom edge is forgiving of imperfection.
How do I make Halloween nails work-appropriate?
Keep the design to one accent nail and use dark neutrals rather than orange and green. Black chrome, oxblood, and a matte grey all read as seasonal without being costume.
When should I get Halloween nails done?
Mid-October. A gel manicure lasts two to three weeks, so a mid-month appointment carries you through the holiday and slightly past it.
What colors are best for Halloween nails?
Black, deep orange, oxblood, poison green, and concrete grey. Burnt and deepened versions of each read far more sophisticated than bright primary versions.
Can Halloween nails last into November?
Yes, if you choose oxblood, black chrome, matte grey, or a plain deep orange. Figurative designs like ghosts and pumpkins date immediately after the holiday.

We cite sources and update this guide regularly.