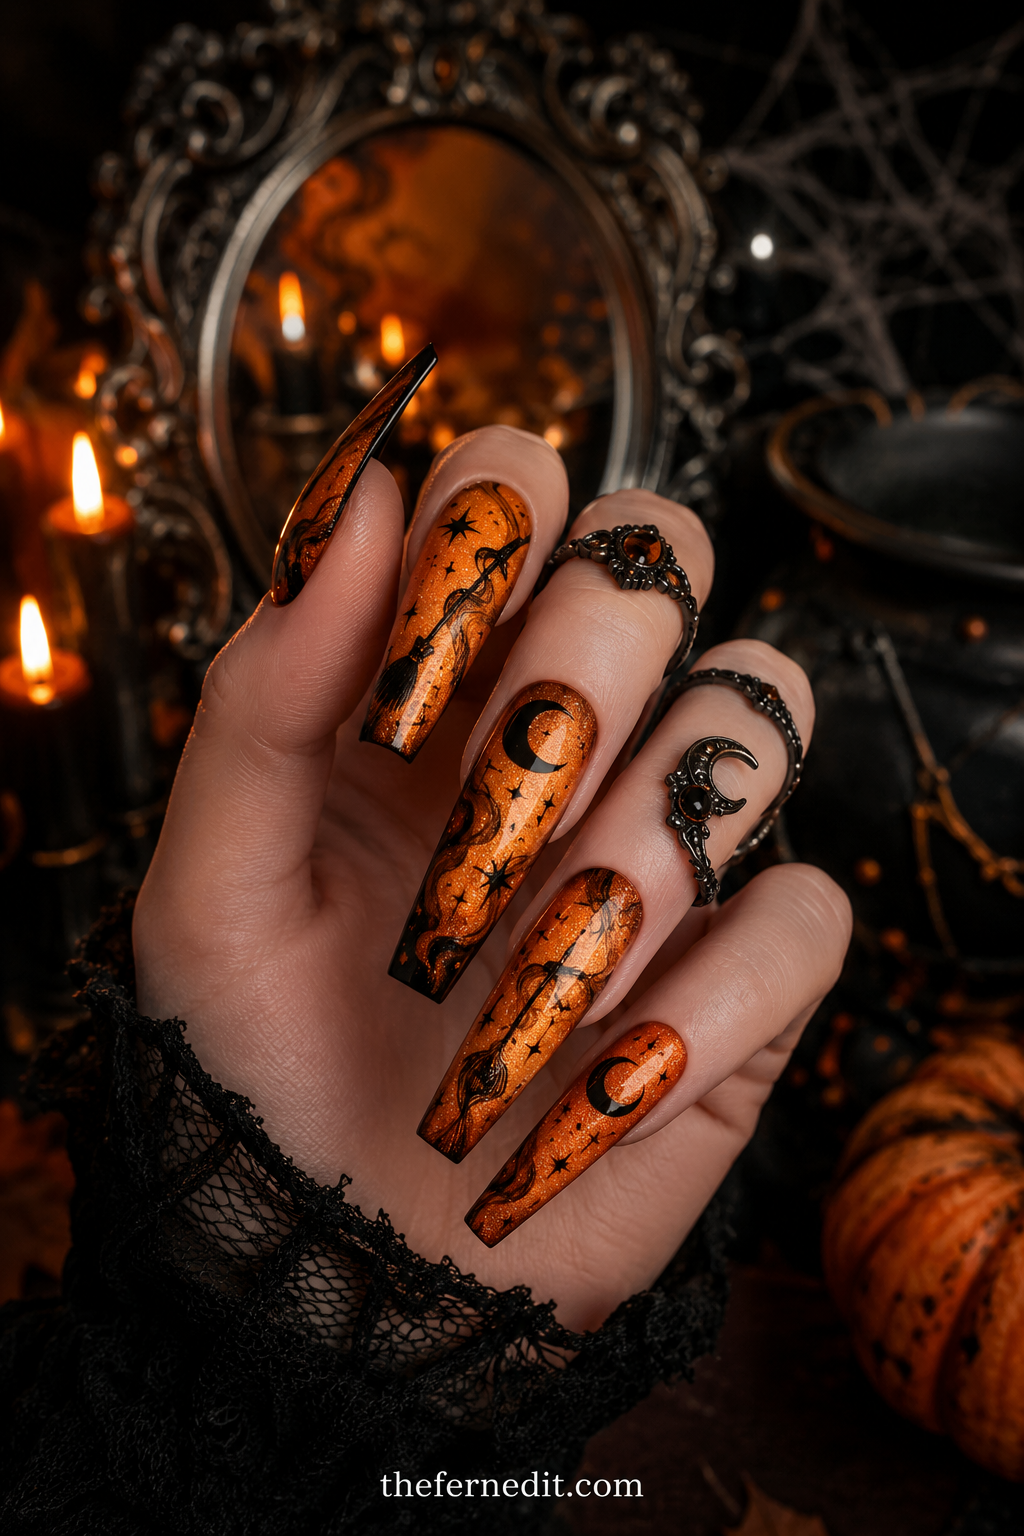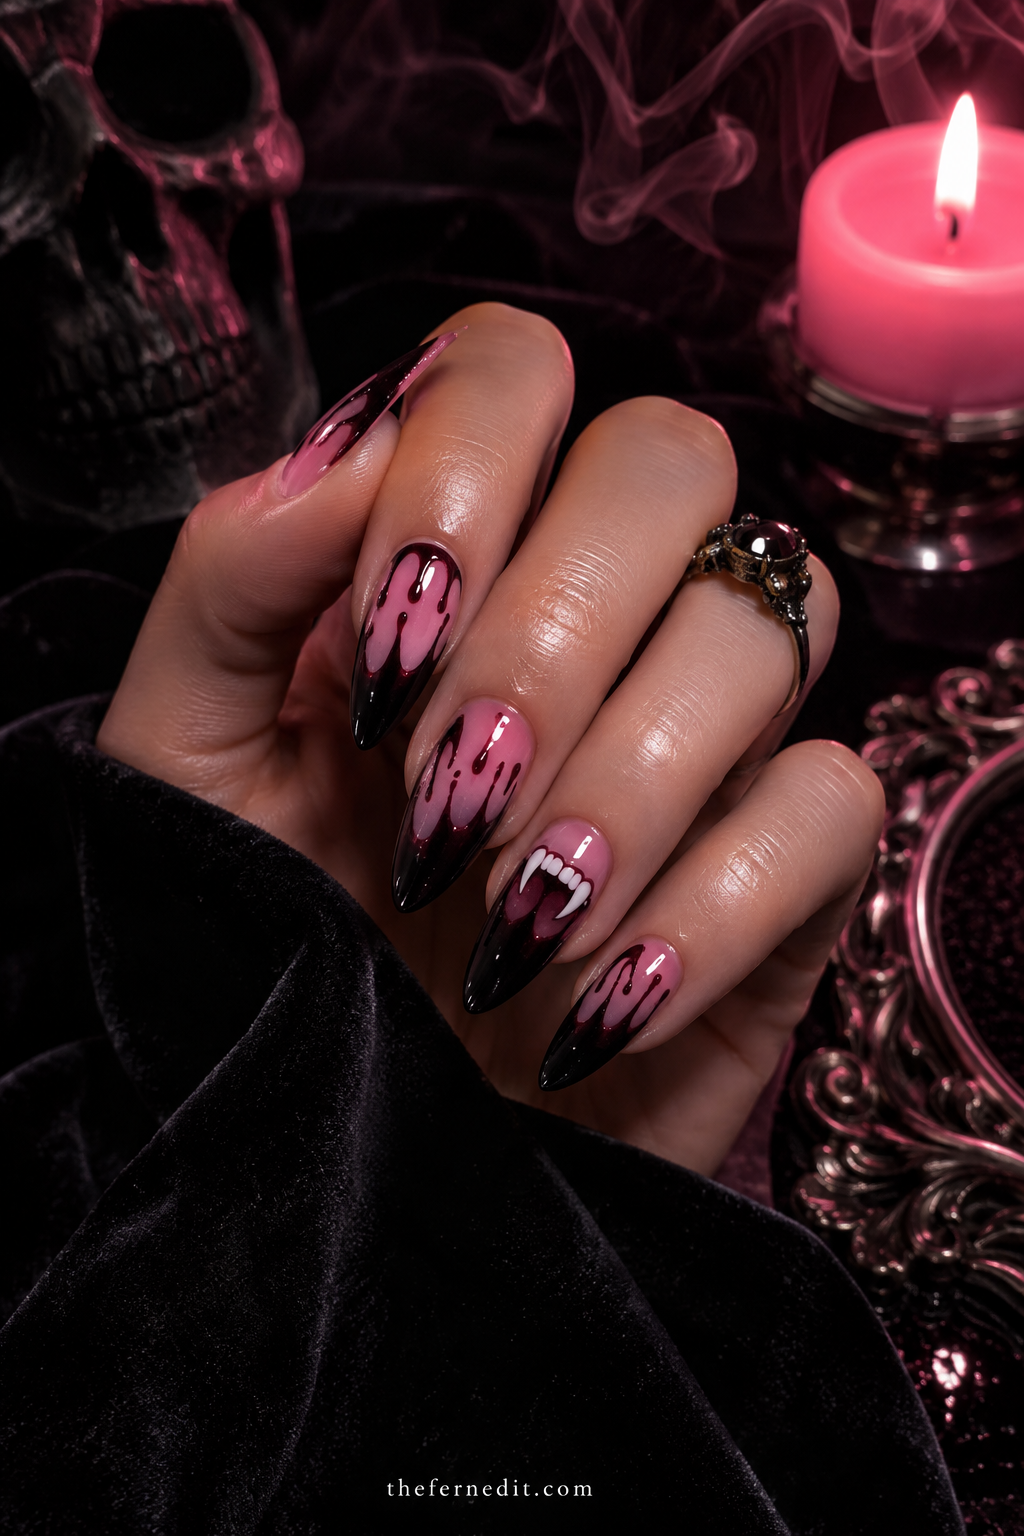
Burnt and Onyx
The image shows a short squoval set where three nails sit in a deep burnt orange and two in glossy black, with no pattern at all — just the two colors distributed across the hand. This is the smartest way to wear the Halloween palette, and the entire trick is the orange. A bright pumpkin orange next to black reads as decoration; a burnt, brown-shifted orange next to black reads as autumn styling. That single substitution is what separates a sophisticated version of this pairing from a costume version. Distribute the colors unevenly across the hand rather than alternating them, since alternating reads as mechanical while an uneven split looks deliberate. Two thin coats of each. Cuticle cleanup matters on both — orange shows stray brushstrokes almost as clearly as black does. Glossy top coat throughout.
Ember French
The image shows a short round set with a black base and a burnt orange tip, reversing the usual arrangement where the darker color sits at the edge. Putting the brighter color at the tip creates the impression of something glowing at the fingertips. The high contrast between the two means the smile line must be genuinely clean, since any wobble is highlighted rather than hidden. Define the curve with a fine brush in orange gel first, cure, then fill toward the free edge in a second coat for full opacity. Glossy top coat with extra over the tip.
Tortoise Twist
The image shows a medium almond set where the classic pairing is reinterpreted as tortoiseshell — irregular pools of burnt orange and deep black blotted over a honey base with softened edges, so the two colors bleed into each other rather than sitting as separate blocks. It is the most elegant interpretation in this article and it carries well past Halloween because tortoiseshell is a year-round pattern. The irregularity is forgiving to execute; there is no line to get right. A dotting tool or toothpick does the work. A generous top coat flattens the layered pigment into one smooth surface.
Split Diagonal
The image shows a short squoval set where each nail is divided by a clean diagonal line, orange on one side and black on the other, with the angle mirrored across the two hands. The graphic quality is high and the palette makes it unmistakably seasonal without any imagery. Nail vinyls or striping tape give the crisp boundary this depends on — press the edge down firmly so nothing seeps underneath, and remove the tape while the second color is still wet. Work orange first, then black, since black bleeding into orange is more visible than the reverse.
Marigold Matte
The image shows a medium squoval set in a muted golden-orange with a matte finish and no black at all — the black living only in a single accent nail. Reducing black to one nail rather than half the set shifts the balance considerably, letting the orange carry the manicure while the black provides an anchor. Muting the orange toward gold rather than red keeps it warm and seasonal. Matte finish suits the earthy tone better than gloss, though it shows skin oils and needs occasional wiping.
Copper and Coal
The image shows a short almond set where two nails are finished in copper chrome and three in matte black. Replacing flat orange with copper chrome is the single most effective upgrade to this palette — it retains the warm orange family while adding a metallic quality that reads as luxe rather than as holiday. The contrast between reflective copper and light-absorbing matte black is the whole design. Chrome requires a fully cured non-tacky base and a generous no-wipe top coat. Matte top coat on the black nails.
Flame Ombré
The image shows a medium coffin set with a gradient running from black at the cuticle through deep red to burnt orange at the free edge, blended so no band is identifiable. It reads as embers, which is the intent. Three shades rather than two is what makes this work — attempting to blend black directly into orange produces a muddy brown transition, while the red acts as a bridge. Build with a makeup sponge in four or five light presses. Generous glossy top coat to smooth the texture.
Pinstripe Pair
The image shows a short squoval set in matte black where fine burnt orange pinstripes run vertically down two accent nails, spaced unevenly. Vertical stripes are more flattering than horizontal because they visually lengthen the nail. Vary the stripe widths — some hairline, some three times as wide — which keeps the design from looking mechanical. Striping tape over a fully cured black base, orange painted across, tape removed while wet. Glossy top coat over the orange, matte over the black.
Amber Jelly Over Black
The image shows a short round set where a translucent amber-orange jelly has been layered over a black base on two accent nails, producing a deep smoky orange that no single polish could achieve. Layering a sheer color over a dark base is an underused technique that produces genuinely unusual results — the black shows through, muting and deepening the orange into something closer to smoked glass. Apply and cure the black first, then build two coats of the jelly over it. Glossy top coat.
Colorblock Corners
The image shows a short squoval set in warm nude where a small black triangle occupies the upper outer corner of each nail and a small orange triangle occupies the lower inner corner. Using a neutral base and reducing the two colors to small geometric accents is a way of wearing the palette at very low intensity — recognizably seasonal, entirely wearable. Nail vinyls give the crisp edges. Keep both triangles small, no more than a fifth of the nail each. Glossy top coat.
Rust Velvet
The image shows a medium almond set in a rust-orange magnetic gel with a soft amber beam running down each nail, paired with a single matte black accent nail. The magnetic finish adds dimension that a flat orange lacks entirely, and the gold shimmer in most orange magnetic gels reinforces the warmth. Hold the magnet flat for a diffused glow rather than a sharp diagonal, which suits the warm base better. Work one nail at a time and cure immediately.
Checkerboard Small
The image shows a short round set where two accent nails carry a small orange and black checkerboard, four squares across, with the remaining nails in solid burnt orange. Keeping the check small and confining it to two nails is what makes this wearable rather than loud. Build with striping tape in two passes — horizontal lines first, cure, then vertical — or paint the squares individually with a flat brush. Consistency in square size is what makes a checkerboard look deliberate. Glossy top coat.
Sunset Tips
The image shows a short squoval set in black where the free edge fades from black into burnt orange over a short distance, with no defined line anywhere. The gradient is confined entirely to the tip area, which makes it far quicker to execute than a full-nail ombré and produces a subtler result. Use a small sponge, pressing orange only at the very edge and building in three or four light passes. The fade should occupy no more than the top quarter of the nail. Glossy top coat.
Terracotta and Ink
The image shows a medium squoval set in a dusty terracotta with a single black accent nail, both in a satin finish. Pushing the orange further toward clay and softening the finish on both colors produces the most muted version of this palette possible — it reads as autumn pottery rather than as Halloween. This is the design to choose if you want the pairing but not the holiday. Satin top coat throughout, which sits between matte and gloss and suits the earthy palette better than either.
Web on Orange
The image shows a short round set in burnt orange where a fine black web spreads from the corner of one accent nail. Reversing the usual arrangement — black web on orange rather than on nude — makes the design bolder while keeping the linework identical. Three radiating lines from the corner, connected by two or three sagging arcs. Keep it confined to a corner rather than covering the nail. Very fine liner brush, thinned black gel paint. Glossy top coat.
Gilded Orange
The image shows a short almond set in deep burnt orange where a fine gold line runs horizontally across the base of each nail, with a single black accent nail carrying the same gold line. Adding a third metallic color to the pairing lifts it considerably and gives the eye somewhere to land. Gold works better than silver here because it sits in the same warm family as the orange. Gel paint and a striping brush, curing each nail immediately after drawing. Seal generously.
Black Base Speckle
The image shows a short squoval set in matte black where fine orange speckles scatter across all five nails at varying sizes, like sparks. Achieve it by loading a fine brush with thinned orange gel paint and flicking it toward the nail from a short distance. Vary the speckle sizes dramatically — a few large among many tiny reads far more convincing than uniform dotting. Keep the density moderate. Glossy top coat over the speckles only for a contrast against the matte base.
Half and Half
The image shows a short round set where each nail is split horizontally across the middle, orange on the bottom half and black on the top. The horizontal split is a bolder, more architectural choice than a diagonal and it suits square and squoval shapes better than rounded ones, where the curve fights the straight line. Striping tape for the boundary. Work orange first. Glossy top coat to flatten the ridge where the tape sat.
Smoked Pumpkin
The image shows a medium almond set where a hazy black aura sits at the center of each nail, fading outward into a burnt orange base with no defined edge. Aura designs work through diffusion rather than line, and black diffusing into orange produces a smoky, ember-like quality. Build the aura with a small sponge, pressing black repeatedly in the center over a cured orange base and letting it fade naturally at the edges. Four or five light applications. Generous glossy top coat.
Matte Orange, Chrome Black
The list closes with a finish contrast rather than a color one. The image shows a short squoval set where three nails are in matte burnt orange and two are in black with gunmetal chrome. Pairing the flattest possible finish with the most reflective one creates a tension that neither color alone provides, and it makes a simple two-color manicure look considerably more designed. Chrome requires a fully cured non-tacky base; matte requires a matte top coat. Applying two different top coats across one hand takes an extra few minutes and is entirely worth it.
The Takeaway
The orange and black pairing has a bad reputation it does not deserve, and the problem is almost always the orange. Swap bright pumpkin for burnt orange, rust, terracotta, or copper chrome, and the same combination that looked like a costume starts looking like autumn. Distribute the two colors unevenly across the hand rather than alternating them, and add gold if you want a third note.
This article is for general beauty and self-care education only and is not medical advice.
Frequently asked questions
How do I make orange and black nails look less like a costume?
Use a burnt, brown-shifted orange rather than a bright pumpkin orange. That single change moves the palette from decoration into autumn styling.
What is the most wearable orange and black design?
Tortoiseshell. It uses both colors but blends them into a pattern that reads as year-round rather than as Halloween.
Can I wear orange and black nails after Halloween?
Yes, if you choose tortoiseshell, terracotta and ink, or copper and coal. Anything with webs, checkerboards, or high-contrast blocking dates immediately.
What third color works with orange and black?
Gold. It sits in the same warm family as the orange and lifts the pairing without introducing a clash. Silver reads colder and fights the orange.
Which orange shade is most flattering?
Burnt orange and rust flatter the widest range of skin tones. Bright orange tends to suit warm and olive tones and can look harsh on cooler ones.

We cite sources and update this guide regularly.