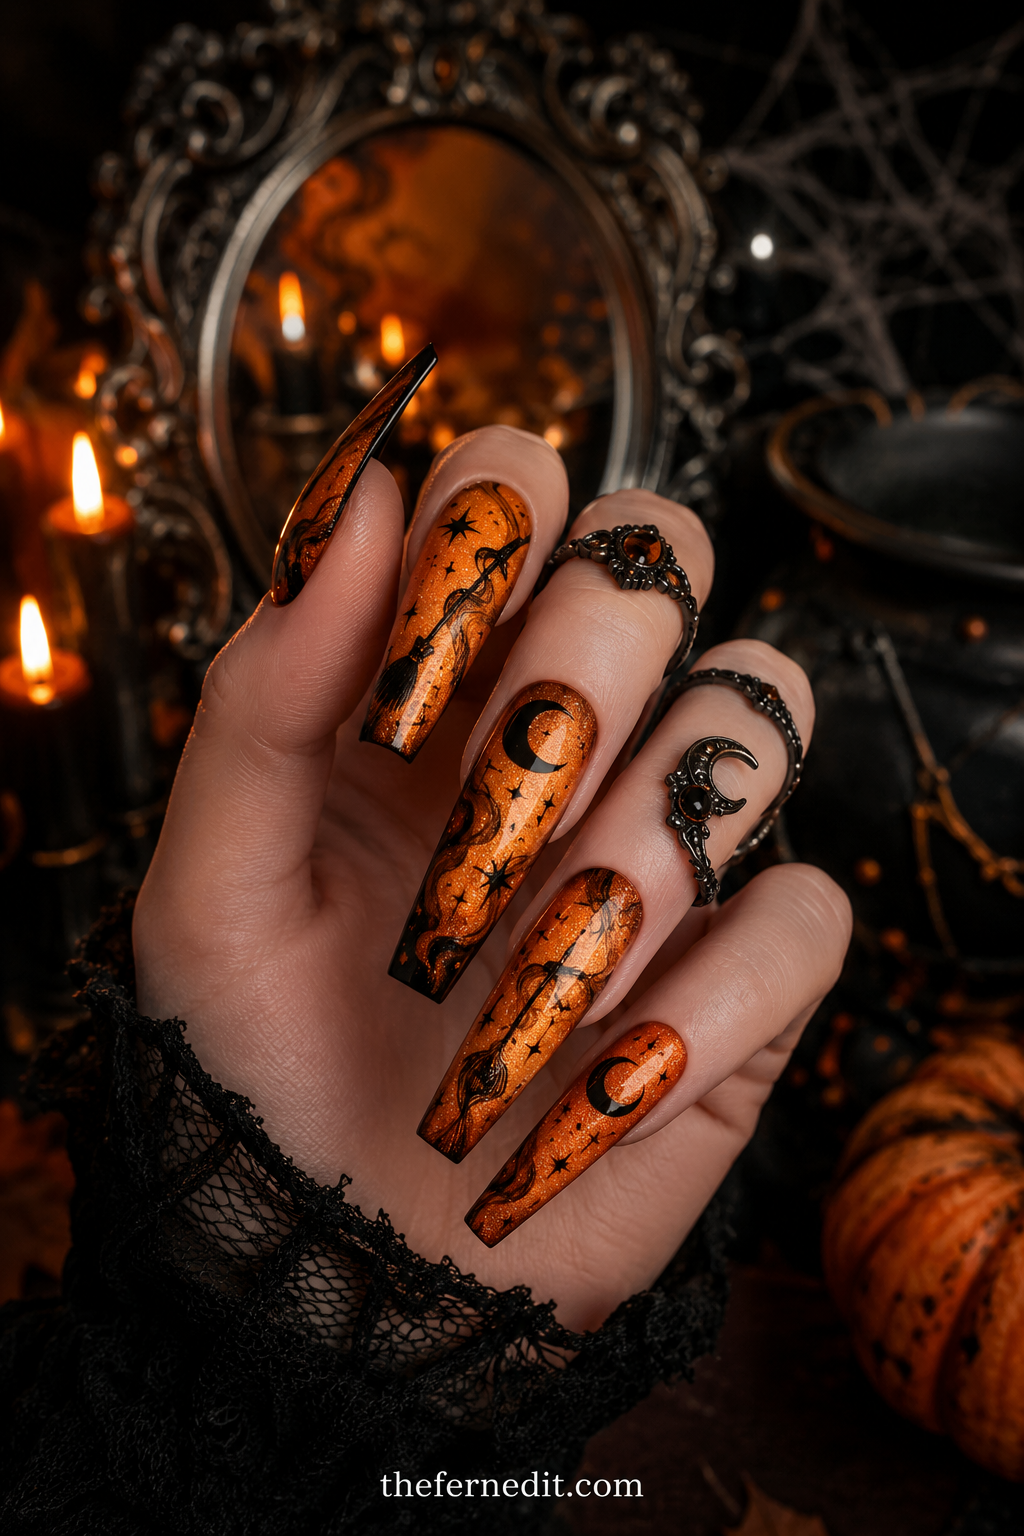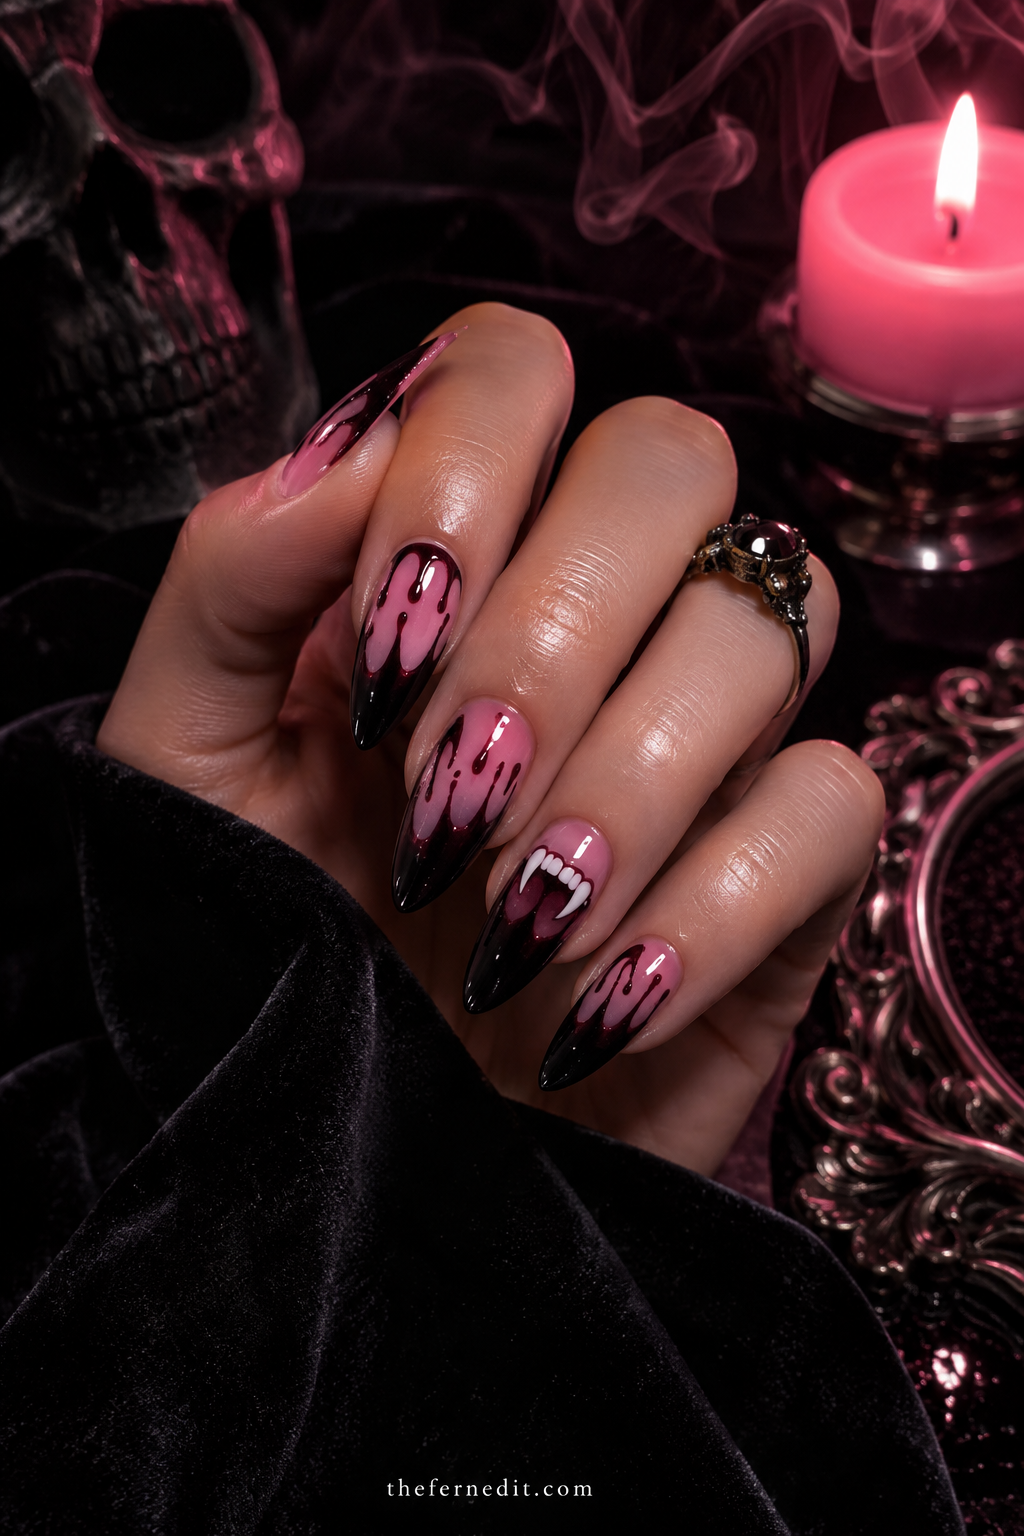
Fresh Blood Drip
The image shows a long coffin set in stark matte white where deep crimson drips run from the cuticle down each nail, varying in length, each ending in a heavy rounded bulb. The matte base is what makes this version genuinely unsettling — a glossy white reads clean and clinical, while a matte one reads like bone or bandage. Variation is everything: identical drips look decorative, uneven ones look real. Draw the widest part at the cuticle, pull downward with a fine brush at inconsistent lengths, then place a dot at the bottom of each drip and blend it upward into the line so the bulb looks like it is gathering weight. Use a deep crimson with brown in it rather than a bright red. Glossy top coat over the drips only, matte over the white, creates a wet-versus-dry contrast that intensifies the effect considerably.
Skeleton Bones
The image shows a long coffin set in matte bone-white where black lines trace finger bones down the full length of each nail, with rounded joint markings where the knuckles would fall. The nail becomes a continuation of the hand's skeleton, which is what makes this design genuinely striking rather than merely decorative. Line quality determines everything — each bone should be drawn as two parallel lines with rounded caps rather than as a single thick stroke, which is what gives the shape dimension. Keep the width consistent along each bone and slightly wider at the joints. Use thinned black gel paint and a fine liner brush, working slowly. Matte top coat throughout, since bone has no shine.
Black Widow
The image shows a medium almond set in glossy black where one accent nail carries a single large spider with a red hourglass on its abdomen, its legs extending past the edges of the nail. The legs breaking the frame are what make it feel like the spider is crawling onto the finger rather than sitting on the nail. Draw the body as two ovals — a small head and a larger abdomen — then eight legs, each bending twice rather than running straight. Bent legs read as arachnid; straight ones read as a star. The red hourglass goes on last as two small triangles meeting at a point. Glossy top coat.
Gothic Cathedral Lace
The image shows a long almond set in deep sheer black where fine black lace patterns cover two accent nails — scalloped arches, small pointed motifs, thin connecting threads suggesting stained glass tracery. The reference is Victorian mourning rather than Halloween novelty, which is what makes it genuinely elegant rather than costume. This is the most technically demanding design in this article, and lace water decals produce a near-identical result with far less risk. If painting freehand, build in stages with a very fine brush and cure between elements so lines do not bleed into each other. Glossy top coat to seal the raised paint flat.
Vampire Bite
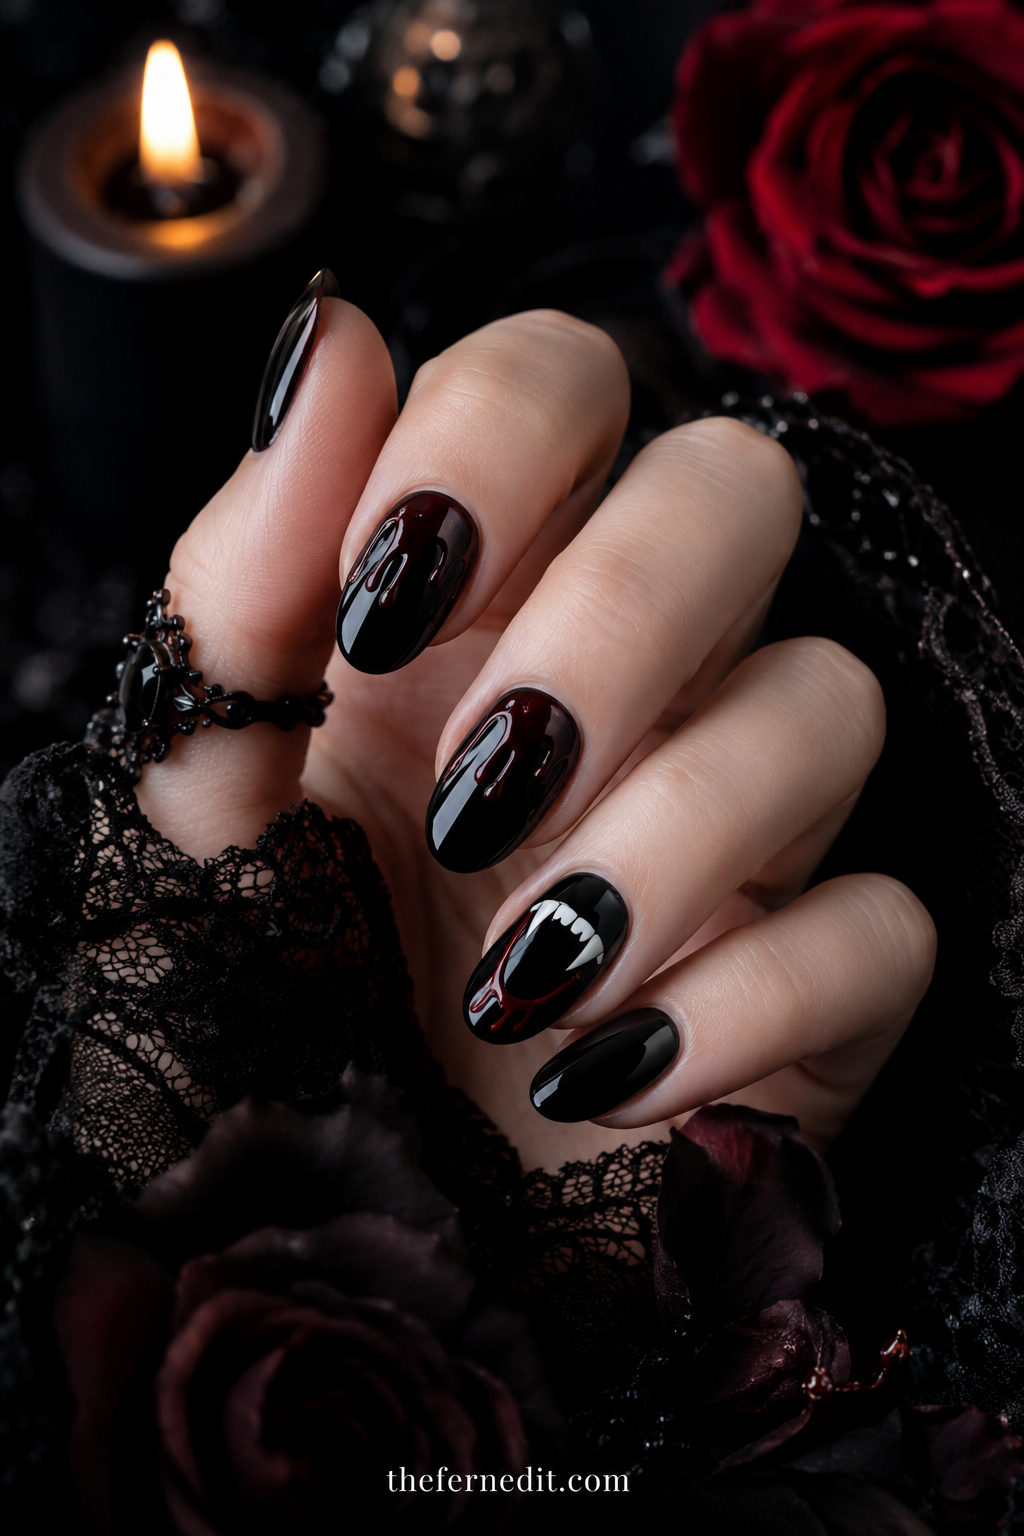
The image shows a short squoval set in pale porcelain where one accent nail carries two small dark puncture marks with a thin trail of blood running down from each. The restraint is what makes it effective — two dots and two lines, nothing more. Overworking this design kills it immediately. Draw the punctures as small oval dots in a very dark crimson, spaced about the width of a tooth apart, then pull two thin uneven trails downward from them. One trail should be noticeably longer than the other. Keep everything small relative to the nail. Glossy top coat over the blood only for a wet look.
Smoky Aura
The image shows a medium almond set where a hazy dark cloud sits in the center of each nail, fading outward into a pale grey base with no defined edge anywhere. Aura designs work through diffusion — there is no line, only a gradient radiating from a central point. The effect reads as something spectral gathering under the surface of the nail. Build it with a small sponge or an airbrush, pressing the dark shade repeatedly in the center and letting it fade naturally at the edges. Four or five light applications build better diffusion than two heavy ones. Generous glossy top coat to smooth the texture.
Raven Matte
The image shows a short almond set in a flat, light-absorbing black with no design at all. This is the simplest entry here and one of the most effective, because a full matte black reads as deliberate and slightly menacing in a way that a glossy black never does — gloss reflects and softens, matte swallows light entirely. Two thin coats; thick coats on black streak badly and cannot be fixed after curing. Cuticle cleanup is critical, since any flooding at the base is starkly visible against skin. Matte finishes show skin oils, so an occasional wipe with a lint-free cloth keeps the surface uniform.
Cracked Porcelain
The image shows a medium squoval set in an off-white glossy base where fine dark cracks spread across two accent nails like a broken doll's face. The cracks should radiate from one or two origin points rather than being scattered randomly, and each should branch into smaller lines as it travels outward. That branching structure is what makes a crack look like a crack rather than a scratch. Use a very fine brush and thinned dark grey rather than pure black — grey reads as depth, black reads as ink. Keep the cracks sparse; two or three main lines with branches is more convincing than a dense web.
Séance Board
The image shows a long coffin set in a warm aged-parchment beige where two accent nails carry small hand-lettered characters and a crescent shape in dark brown, referencing an old spirit board without reproducing one. The aged base is what makes this work — a crisp white would look like paper, while a warmed, slightly uneven beige looks like something old. Letter the characters small and slightly irregular, since perfect lettering breaks the antique effect. Use a fine brush and a dark sepia brown rather than black. Matte or satin top coat suits the aged reference better than gloss.
Blood Moon
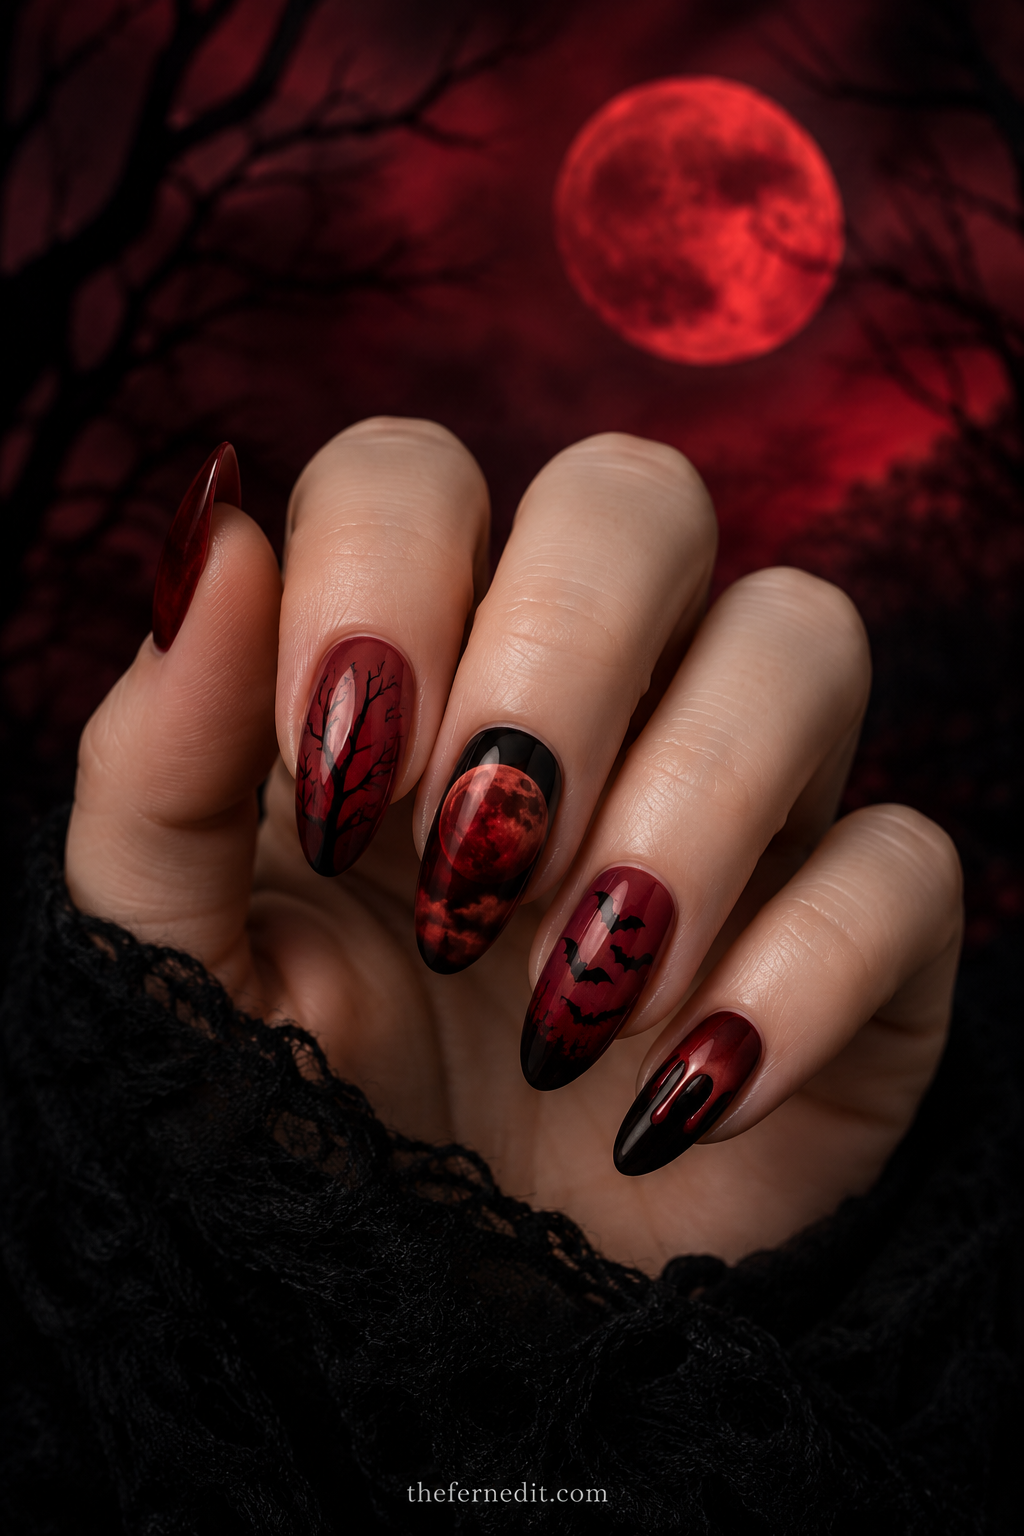
The image shows a long almond set with a black-to-deep-red gradient and a single dark crimson circle sitting high on each nail. The moon reads as ominous rather than romantic because of the color — a red moon carries an entirely different weight than a pale one. Build the gradient with a sponge, darkest at the cuticle fading to deep red at the tip, and cure fully before adding the circle. Paint the moon in two coats so it sits opaque against the gradient. A few very fine darker lines across the moon suggest craters without needing detail. Glossy top coat.
Barbed Wire
The image shows a short squoval set in matte charcoal where a thin silver wire runs diagonally across two accent nails, with small four-point barbs at intervals along it. The design is industrial and harsh, which is exactly the intent. Draw the main wire as a single fine line with a slight wave rather than perfectly straight, then add barbs as small X shapes crossing the line at three or four points. Keep the barbs small — oversized ones turn the design cartoonish. Silver gel paint over a matte charcoal base gives the contrast this needs. Matte top coat throughout.
Coffin Black Chrome
The image shows a long coffin set in black with a gunmetal chrome finish, the shape and the finish reinforcing each other into something genuinely severe. Coffin nails already carry a gothic association; the chrome adds a hard, metallic quality that pushes it further. The base must be fully cured and non-tacky before the powder goes on, buffed with a soft applicator until the surface goes fully reflective. Seal with a generous no-wipe top coat, extra over the free edge where chrome wears first. This is the most wearable design in this article — it stays sophisticated well past October.
Ghostly Smoke
The image shows a medium almond set in deep black where thin wisps of translucent white curl upward across two accent nails, fading as they rise. The wisps suggest something rising off the nail rather than sitting on it. Use a very thinned white gel paint — almost a wash — and a fine brush, drawing curved lines that taper to nothing at the top. Vary the curves so no two wisps mirror each other. Build the density in two light passes rather than one heavy one, since opaque white reads as paint rather than as smoke. Glossy top coat.
Witch's Brew
The image shows a short squoval set in a translucent acid green built in three thin jelly coats, with tiny bubbles suggested by small clear dots scattered across the surface. The translucency is what makes this read as liquid rather than as flat color. Build the green slowly and stop before full opacity. The bubbles go on last as small dots of clear gel with a thin darker outline on one side only, which creates the illusion of a curved surface catching light. Keep them small and scattered irregularly. Glossy top coat exclusively — matte destroys the liquid effect.
Torn Stitch
The image shows a medium squoval set in a muted grey-beige where a jagged dark line runs across two accent nails with small stitches crossing it at intervals, like a wound crudely sewn shut. The jaggedness of the main line is essential — a smooth line reads as decorative, an irregular one reads as damage. Draw the tear first with a fine brush, varying the angle sharply every few millimeters, then add stitches as short straight lines crossing it perpendicular at uneven spacing. Uneven spacing sells the crudeness. Matte top coat suits this better than gloss.
Shadow Claw
The image shows a long stiletto set in matte black where three parallel scratch marks in a dark grey run diagonally across two nails, as though something has raked across them. The marks should taper — wider where they begin, narrowing to nothing where they end — which is what makes them read as claw marks rather than as stripes. Keep them parallel but not perfectly evenly spaced. Use grey rather than a light color, since the subtlety is what makes it menacing rather than graphic. Matte top coat throughout.
Eclipse Ombré
The image shows a medium almond set with a gradient running from a deep charcoal at the cuticle to pure black at the free edge, with a thin ring of pale silver where the two meet on one accent nail. The gradient is subtle enough that the eye reads it as depth rather than as two colors, and the silver ring suggests light escaping around an eclipsed shape. Build the gradient with a sponge in several light passes. The silver ring goes on last as a fine arc with a striping brush. Glossy top coat to give the black depth.
Haunted Forest
The image shows a long coffin set with a smoky grey-to-black gradient where bare black tree silhouettes rise from the free edge of two accent nails, branches spreading upward into the lighter grey above. The trees should be leafless with irregular branching, each branch splitting into smaller ones. Draw the trunk first as a tapering line, then add branches at uneven angles, splitting each one or two more times. Irregularity is what makes trees look real. Very fine brush, thinned black gel paint. Build the gradient base first and cure fully. Glossy top coat.
Scarlet Splatter
The image shows a short squoval set in matte off-white where irregular flecks and small droplets of deep red scatter across all five nails at varying sizes. The randomness is the design. Achieve it by loading a fine brush with thinned red gel paint and flicking it toward the nail from a short distance, or by dabbing a small sponge irregularly. Vary the droplet sizes dramatically — a few large ones among many tiny ones looks far more convincing than uniform speckling. Let some droplets run slightly, which suggests movement. Glossy top coat over the red only for a wet finish against the matte base.
Midnight Ritual
The list closes with the most atmospheric design. The image shows a long almond set in deep black where fine gold linework traces small occult-style geometry across two accent nails — circles, triangles, thin radiating lines — reading as arcane symbols without reproducing anything specific. Gold against black is what makes this read as ceremonial rather than as graffiti. Keep the linework fine and the composition sparse, with plenty of black space around each element. Use gold gel paint and a very fine brush, curing between elements so lines stay crisp. Glossy top coat.
The Takeaway
Spooky nails succeed through restraint, not through adding more. Two puncture marks are more effective than a full vampire scene, and three tapering claw marks land harder than a covered nail. Choose matte over gloss for the base, keep your reds dark and brown-toned, and let irregularity do the work that precision cannot.
This article is for general beauty and self-care education only and is not medical advice.
Frequently asked questions
What makes Halloween nails look genuinely spooky rather than cute?
Angular shapes, matte finishes, irregular lines, and darker desaturated colors. Roundness and gloss both soften a design; sharpness and flatness harden it.
What is the easiest spooky nail design for beginners?
Scarlet splatter or a full matte black. Neither requires controlled linework, and splatter benefits from randomness rather than precision.
Should spooky nails be matte or glossy?
Matte generally reads more unsettling because it absorbs light. Combining both — matte base with glossy blood or accents — creates a wet-versus-dry contrast that is more effective than either alone.
What red works best for blood effects?
A deep crimson with brown in it. Bright reds read as paint; darker, browner reds read as blood.
Can spooky nails be worn after Halloween?
The color-only designs can. Matte black, coffin black chrome, and eclipse ombré all carry into November. Figurative designs like skeleton bones and vampire bites do not.

We cite sources and update this guide regularly.