To make a manicure last longer, prep matters most: clean and lightly buff the nail, push back cuticles, and skip oil or lotion right before painting. Then apply thin coats with a base coat, color, and top coat, and "cap" the free edge of each nail to seal it. Afterward, reapply top coat every two to three days, wear gloves for dishes and cleaning, avoid long hot soaks, and keep cuticles oiled. These habits are what keep polish from chipping.
There are few things more deflating than a fresh manicure that chips by the next morning. You did everything right, or so it felt, and yet there is a little flake missing from your thumb before the polish even feels worn in.
There are few things more deflating than a fresh manicure that chips by the next morning. You did everything right, or so it felt, and yet there is a little flake missing from your thumb before the polish even feels worn in.
Here is the reassuring part. A short-lived manicure is almost never bad luck. Chipping comes down to a handful of small, fixable details across three stages: how you prep, how you apply, and how you treat your nails afterward. Get those right and a regular polish can hold for days, while a long-wear formula can stay glossy for up to two weeks.
Key takeaways
- Most chipping starts before the color goes on. A clean, oil-free, lightly buffed nail is the real secret.
- Thin coats last longer than thick ones, which dry slowly and peel easily.
- Always cap the tip. Running base, color, and top coat over the free edge seals the most chip-prone spot.
- Top coat is your best friend. Reapply a fresh layer every two to three days.
- Water and heat are the enemy. Gloves and cooler showers protect your manicure more than you would think.
Why nail polish chips
Chipping almost always traces back to one overlooked detail at one of three stages. Before painting, soft, dry, or oily nails keep polish from gripping. During application, thick coats, skipped base or top coat, or not enough drying time weaken the finish. After painting, hot water, household chemicals, and everyday knocks loosen and lift the polish. Fix all three and a manicure transforms from one-day wonder to week-long staple.
Step 1: Prep your nails the right way
This is where lasting manicures are won, and where most people rush.
- Start clean and dry. Wash your hands, then remove any old polish completely. Wipe each nail with a lint-free pad and a little polish remover or nail prep to clear away oil and residue.
- Skip the lotion beforehand. Moisturizer is wonderful, just not in the hour before you paint. Any oil left on the nail stops the base coat from bonding.
- Shape and lightly buff. File in one direction to avoid splits, then very lightly buff the surface to smooth ridges and help polish grip. Do not over-buff or you thin the nail.
- Tidy your cuticles. Gently push them back so polish does not overlap onto the cuticle, which is a common reason color lifts at the base. Avoid painting onto the cuticle itself.
- Do not soak first. Nails are porous and swell with water, then shrink as they dry, which cracks fresh polish. Use a cuticle oil or cream the night before instead of a water soak right before painting.
Step 2: Apply polish so it lasts
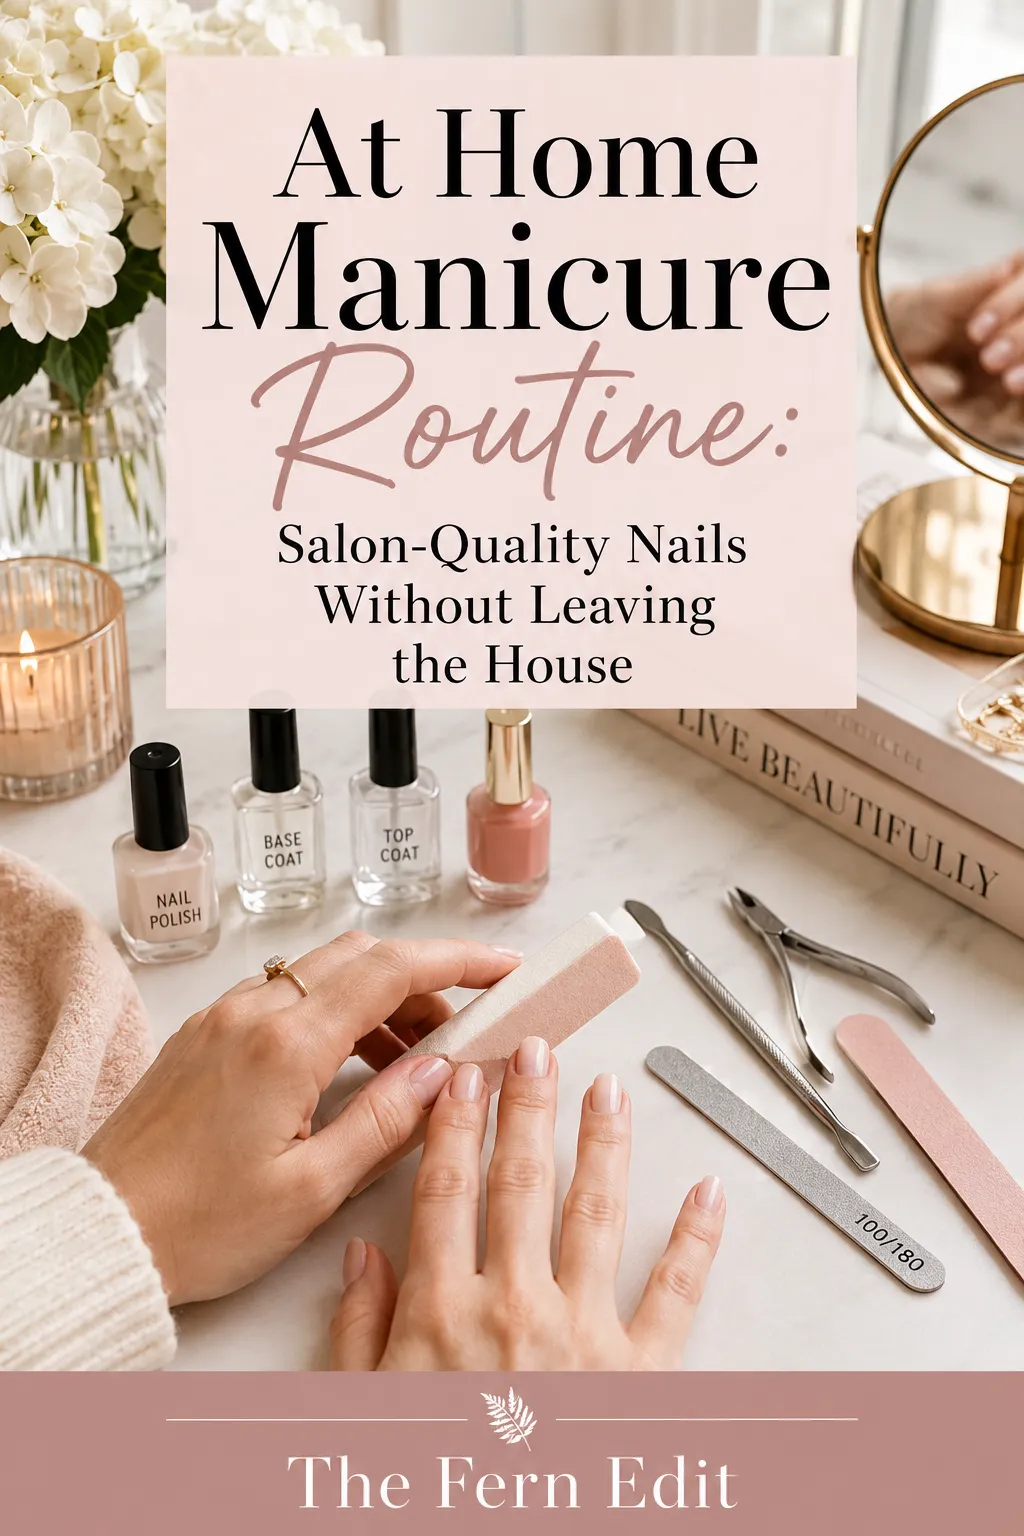
Good technique is a learnable skill, and these basics do most of the work.
- Base coat first. It smooths the surface, grips the polish, and adds real staying power. Never skip it.
- Thin coats, always. Two thin coats of color beat one thick coat. Thick layers dry slowly on the surface while staying soft underneath, so they peel.
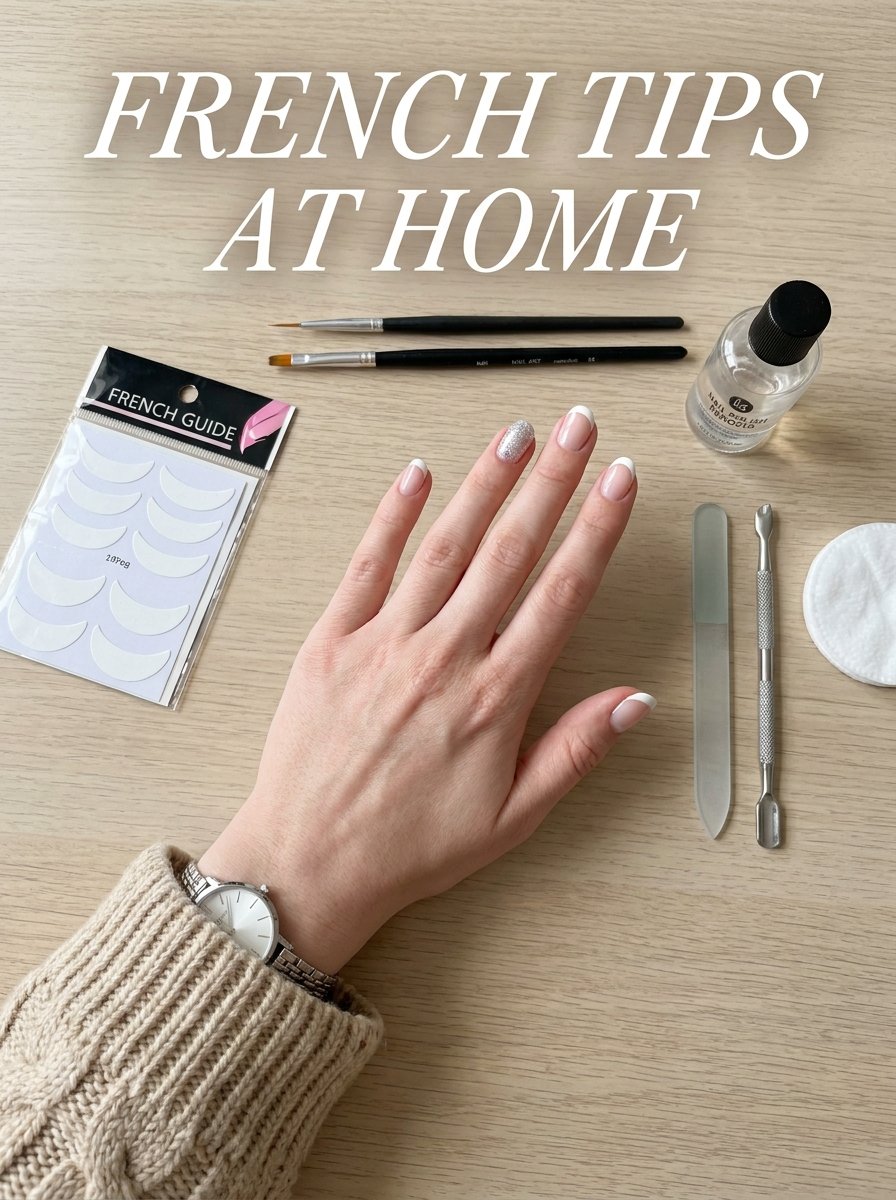
- Cap the free edge. After each coat, swipe the brush along the very tip of the nail. Sealing that edge is the single best trick for stopping chips where they start.
- Finish with top coat. It is the protective shield over your color. Cap the edge with it too.
- Let it dry properly. Give each coat time. Use cool air or a fan, never a hot blow-dryer, since heat keeps polish from setting. A 30 to 60 second dip in ice water can help it harden in a pinch.
- Do not mix brands within a system. Base, color, and top coat from compatible formulas tend to wear better together.
Step 3: Protect your manicure daily
Even a flawless application needs a little daily defense.
- Reapply top coat every two to three days. A fresh thin layer restores shine and reinforces the seal. This one habit can add days to your manicure.
- Wear gloves for wet and chemical work. Dishes, cleaning, and gardening expose polish to water and harsh products. Gloves are the easiest win there is.
- Avoid long hot soaks. Hot baths, hot tubs, and long showers swell the nail and loosen polish. Keep water cooler and shorter when you can.
- Do not use your nails as tools. Opening cans, peeling labels, and prying things put stress right on the polish and the nail tip.
- Keep cuticles oiled. Hydrated nails are more flexible and less prone to the micro-cracks that lead to chips.
Quick fixes for a small chip

A single chip does not mean starting over. File or trim the chipped tip smooth, then cap it with a layer of top coat to stop it spreading. If a patch is more obvious, paint a small accent or design over it and seal with top coat. For a clean repair, remove the polish from just that one nail and repaint it to match.
Common mistakes to avoid
- Skipping base or top coat. Each one does a specific job, and missing either shortens wear.
- Painting thick coats. They look quicker but peel far sooner.
- Forgetting to cap the tip. Unsealed edges are where chips begin.
- Soaking nails right before polishing. Waterlogged nails crack the polish as they dry.
- Going gloveless for chores. Water and chemicals undo a good manicure fast.
Regular polish vs long-wear formulas
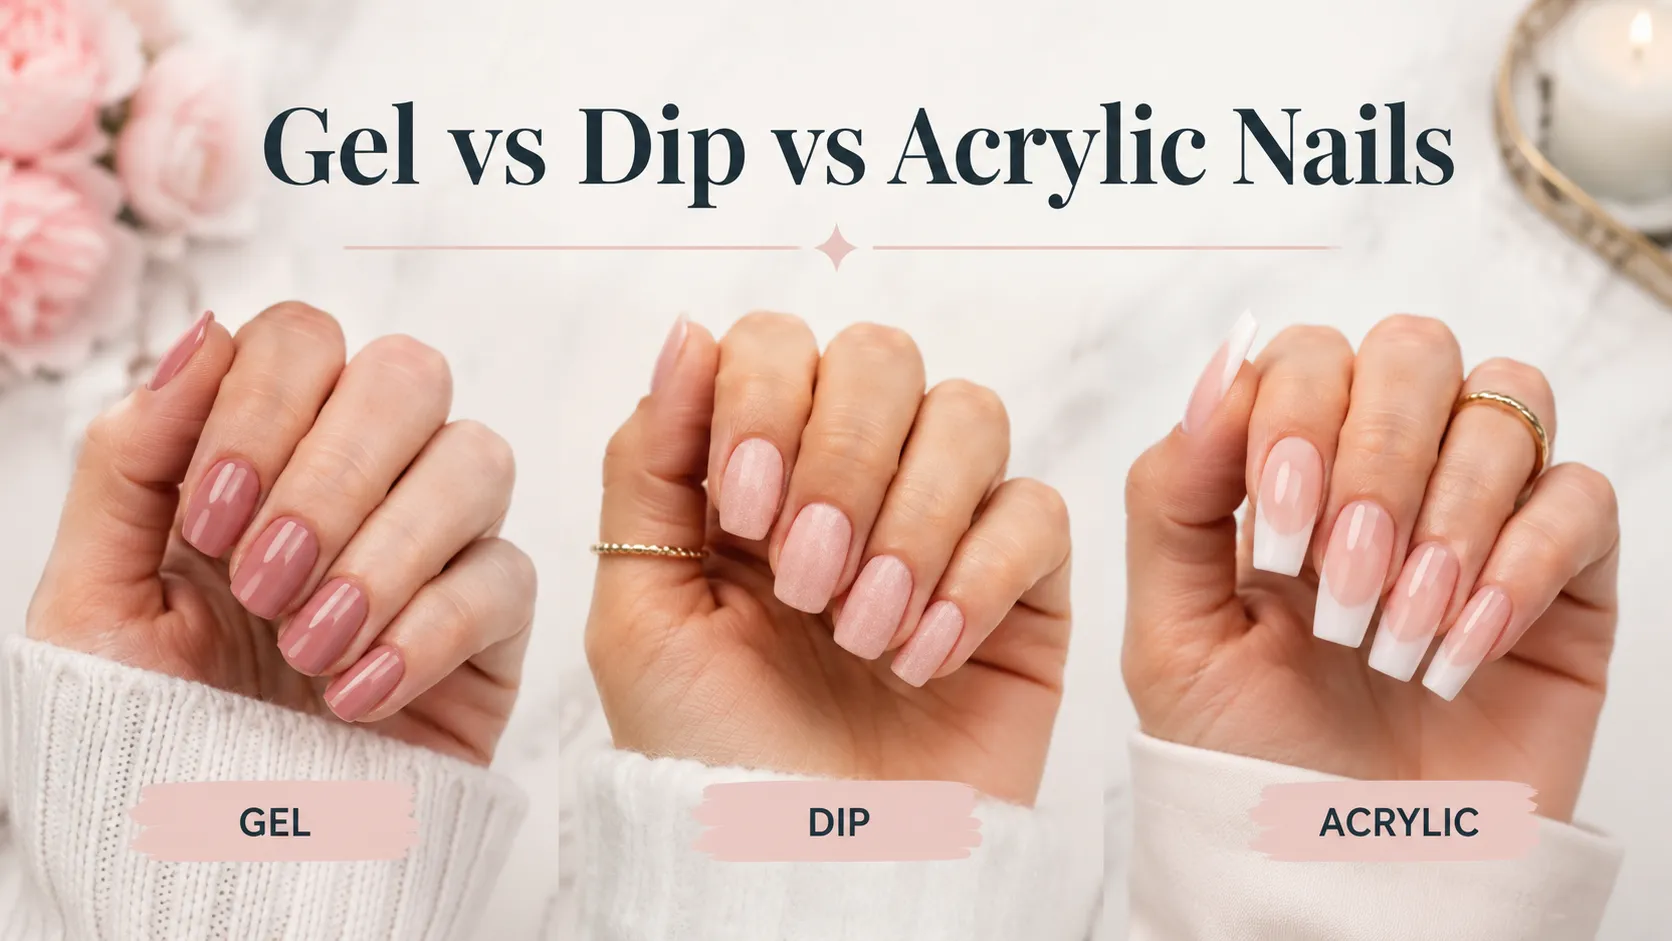
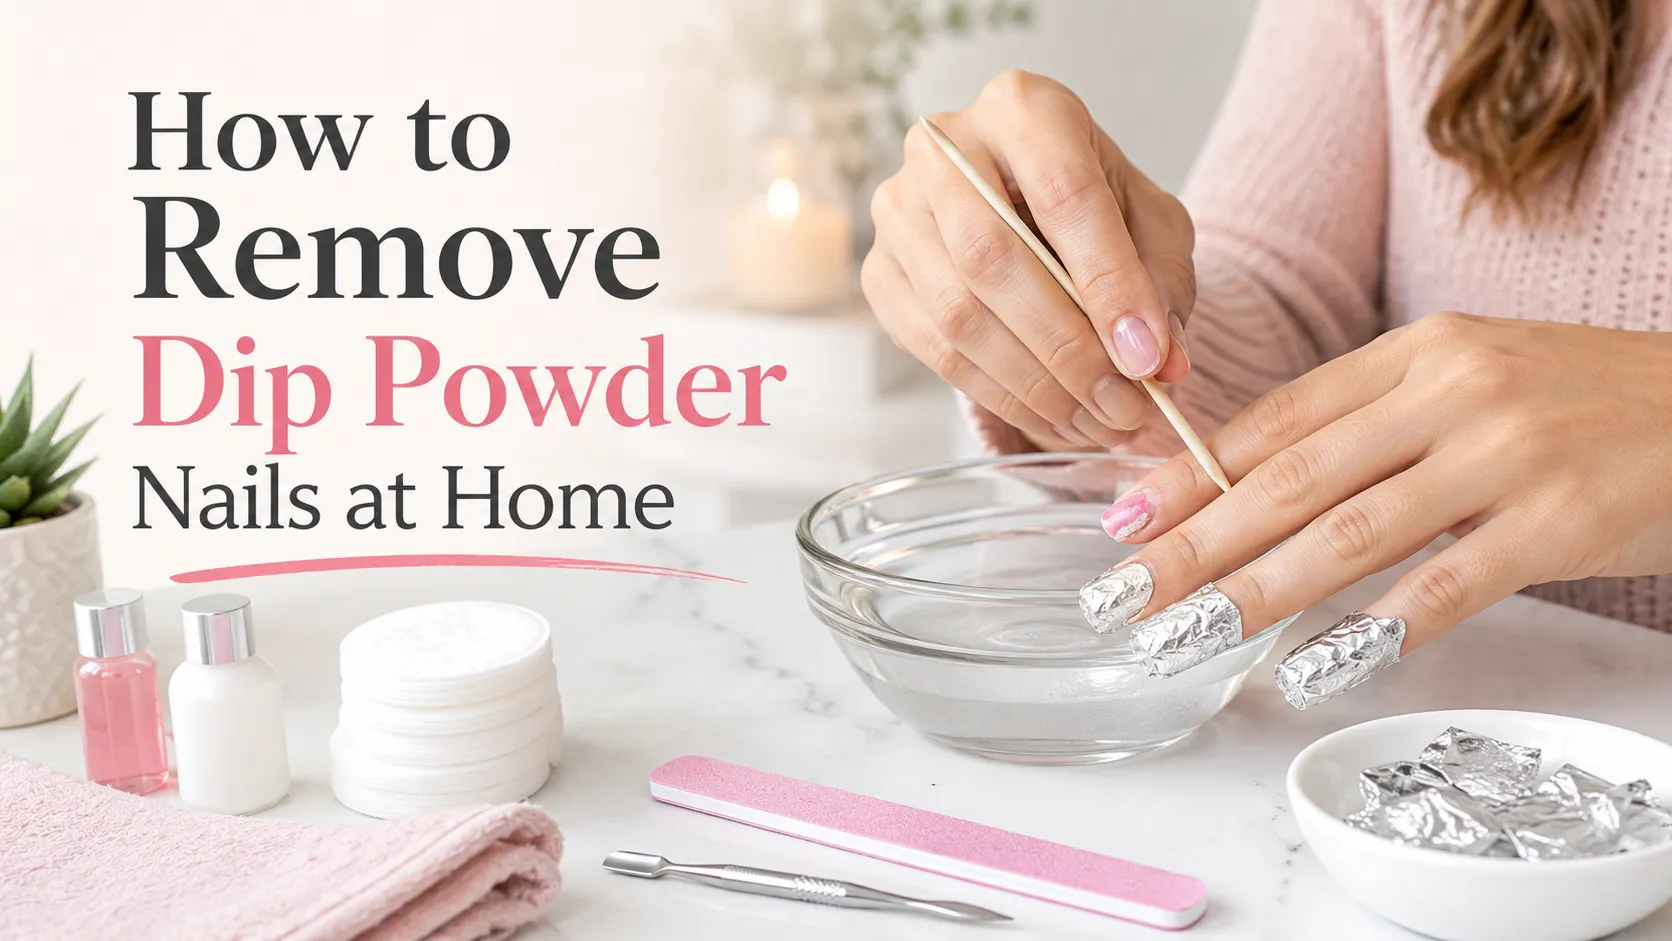
How long a manicure lasts depends partly on the formula. Traditional polish, done well, typically holds a few days before chipping. Long-wear and no-chip formulas, and gel polish, can stay put for up to two weeks. The trade-off is that gel needs careful removal to protect your nails, which is its own skill. If you wear gel, our guide on removing gel nails at home keeps that step gentle.
For the healthy-nail foundation that makes any manicure look better, pair this with cuticle care 101 and how to grow stronger nails.
Expert tips
- Prep the night before with cuticle oil, then paint on clean, dry, oil-free nails in the morning.
- Keep a clear top coat in your bag for a two-minute midweek refresh.
- Paint a thin layer under the tip of the nail, not just on top, when capping the edge.
- Let your manicure cure for an hour before dishes or a hot shower.
- If you chip constantly, look at your nail health first, since strong, hydrated nails simply hold polish better.
Save this for later

Pin this so your next manicure lasts. The short version: prep clean and oil-free, thin coats with base and top coat, cap the tip, then top-coat refresh every few days and glove up for chores. Goodbye, one-day manicure.
Final takeaway
A manicure that lasts is not luck, it is a sequence of small, repeatable habits. Prep clean and oil-free, paint thin coats over a base, cap the tip, finish with top coat, and then protect your hands from water and wear. Refresh that top coat every few days, keep your cuticles oiled, and reach for gloves at the sink. Do that, and you will spend far less time repainting and far more time enjoying nails that actually go the distance.
This article is for general beauty and self-care education only and is not medical advice.
Nail inspiration to save 💅
Tap any look to open it — then save your favorites.

 📌 Save
Love this guide? Save it 📌
Pin it to your favorite board so it's easy to find again — and share it with a friend who'd love it too.
Save to PinterestFrequently asked questions
How can I make my manicure last two weeks?
Two-week wear usually means a long-wear or gel formula plus great habits: clean oil-free prep, thin coats with base and top coat, capping the tip, a top-coat refresh every two to three days, and gloves for wet work. Regular polish, done well, lasts a few days rather than two weeks.
Why does my nail polish chip so fast?
Almost always a prep or protection issue: oily or unbuffed nails, skipped base or top coat, thick coats, or exposure to hot water and chemicals afterward. Fixing those usually solves it.
Does a base coat really make a difference?
Yes. A base coat smooths the nail and grips the polish, which noticeably improves staying power. It is one of the most important steps, not an optional extra.
What does "capping the tip" mean?
It means brushing your base, color, and top coat along the very edge of the nail, not just the top. That seals the free edge, which is where chips most often start.
Should I soak my nails before painting them?
No. Nails absorb water and swell, then shrink as they dry, which cracks fresh polish. Prep with cuticle oil the night before instead, and paint on dry nails.
How often should I reapply top coat?
Every two to three days. A fresh thin layer restores shine and reinforces the seal, adding noticeable days to your manicure.
Does hot water ruin a manicure?
It can. Hot baths, hot tubs, and long showers swell the nail and loosen polish. Cooler, shorter water exposure and gloves for dishes help a lot.
Why does my polish chip at the tips first?
Because the free edge takes the most wear and is easy to leave unsealed. Capping the tip with every coat, and avoiding using your nails as tools, protects that spot.

We cite sources and update this guide regularly.