To remove gel nails at home without damage, gently buff the shiny top coat, protect your cuticles with a little petroleum jelly, then wrap each nail in a 100% acetone-soaked cotton pad and plastic food wrap for about 10 to 15 minutes. Gently push the softened gel toward the tip with a wooden stick, never scrape or peel, then rinse and hydrate. The American Academy of Dermatology recommends soaking rather than picking, because picking pulls off the top layer of your natural nail.
You know the moment. Your gel manicure has grown out, one corner has lifted, and your thumb is already itching to peel the whole thing off. Please don't. That one habit is the single biggest reason nails end up thin, peeling, and sore between manicures. The good news is that taking gels off at home is genuinely easy when you soak instead of pick, and you almost certainly have most of the supplies in your bathroom already.
You know the moment. Your gel manicure has grown out, one corner has lifted, and your thumb is already itching to peel the whole thing off. Please don't. That one habit is the single biggest reason nails end up thin, peeling, and sore between manicures. The good news is that taking gels off at home is genuinely easy when you soak instead of pick, and you almost certainly have most of the supplies in your bathroom already.
This is the calm, no-panic way to remove gel polish at home, the same soak-off approach board-certified dermatologists recommend, plus exactly how to help soft, tired nails bounce back afterward.
Key takeaways
- Soaking with 100% acetone is the dermatologist-approved method. Picking or peeling tears the surface of the nail and causes white spots.
- Plastic food wrap seals tighter than foil, so less acetone drips onto your skin.
- Plan for about 25 to 35 minutes total. Rushing the soak is what causes most of the damage.
- Hard gel and builder gel (BIAB) are different. Thick or hard gels are safer filed down first or removed by a pro.
- Recovery matters as much as removal. Hydrate with cuticle oil and hand cream, and give your nails about 24 hours to firm back up.
What you'll need
Gather everything before you start so you are not hunting for supplies mid-soak with one wrapped hand.
- 100% pure acetone (labeled as 100% acetone nail polish remover, not regular remover)
- Cotton balls or cotton pads
- Plastic food wrap (cling film)
- A fine-grit nail file or buffer
- A wooden or orange cuticle stick
- Petroleum jelly or a thick balm
- Cuticle oil
- A rich hand cream
- Optional: a nail strengthener for afterward
A quick note on acetone: regular nail polish remover and "acetone-free" formulas will not break down true gel. You need 100% acetone, which you can find at most US pharmacies and beauty stores.
The dermatologist-approved soak-off method (step by step)
Total time is roughly 25 to 35 minutes. Work on one hand at a time so your free hand can wrap and unwrap.
Step 1: Protect your space
Acetone can dull and damage countertops, sinks, and furniture. Lay down a sheet of plastic wrap, then a folded towel on top. Open a window or work somewhere well ventilated, since acetone has strong fumes.
Step 2: Buff the shiny top coat
Using a fine-grit file or buffer, lightly scuff the glossy top layer of each nail until it looks dull. You are only breaking the seal so the acetone can get in. You are not trying to file the gel off or thin your natural nail, so keep it gentle.
Step 3: Protect your skin
Rub a little petroleum jelly onto your cuticles and the skin around each nail. Acetone is drying, and this simple barrier helps protect the delicate skin from irritation.
Step 4: Soak and wrap
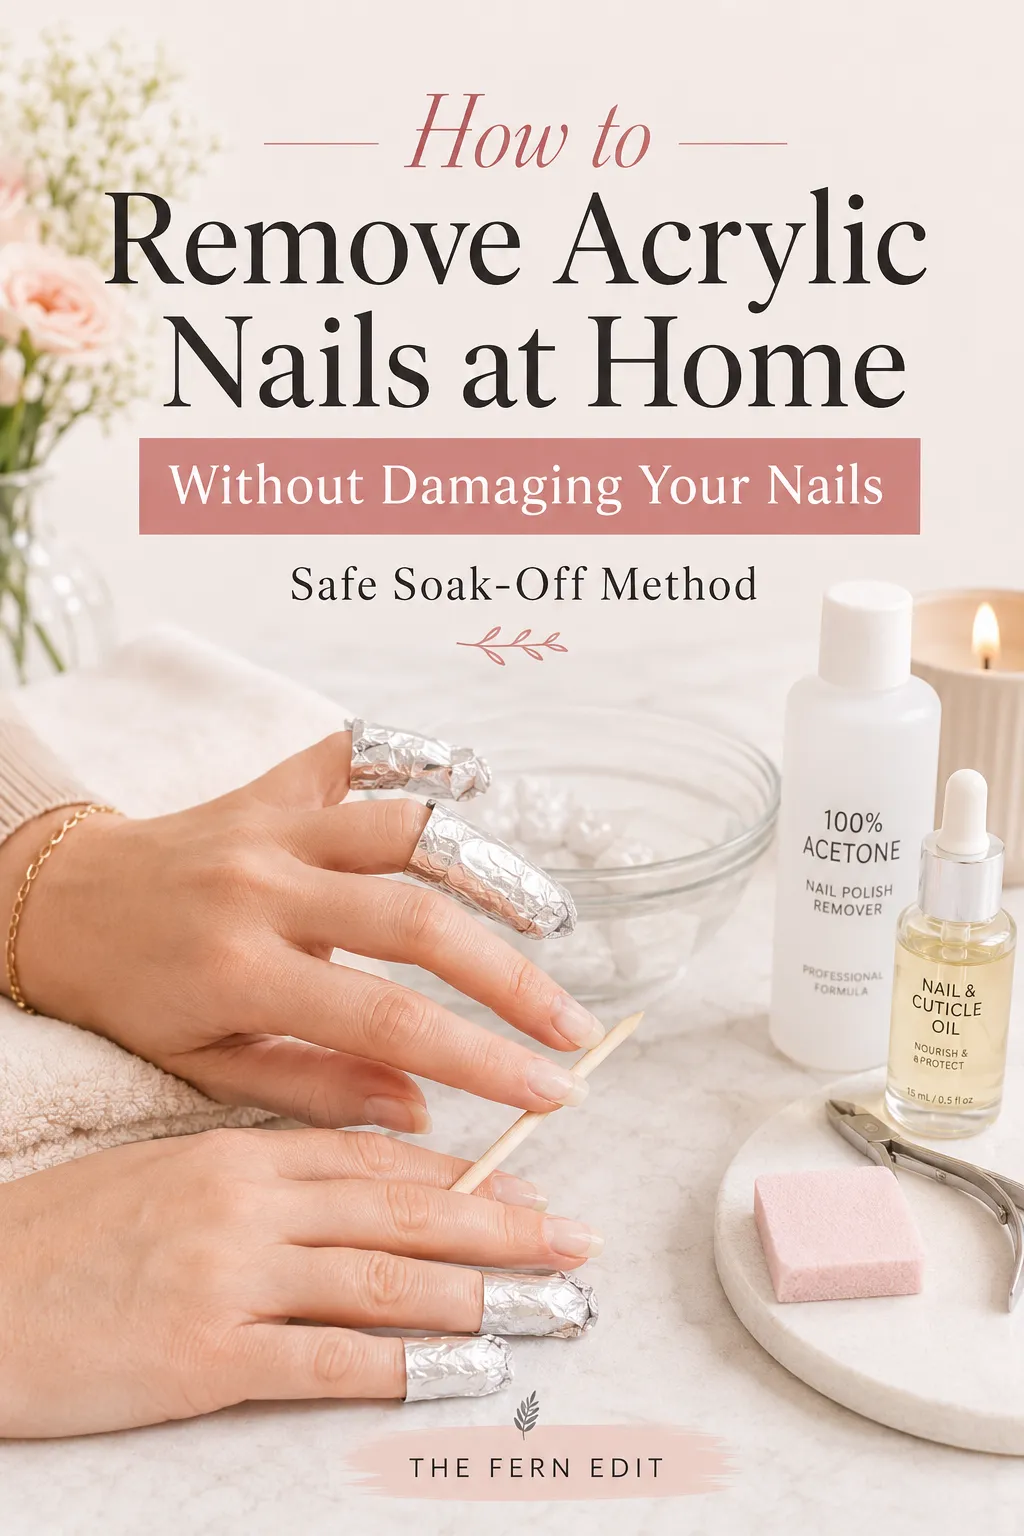
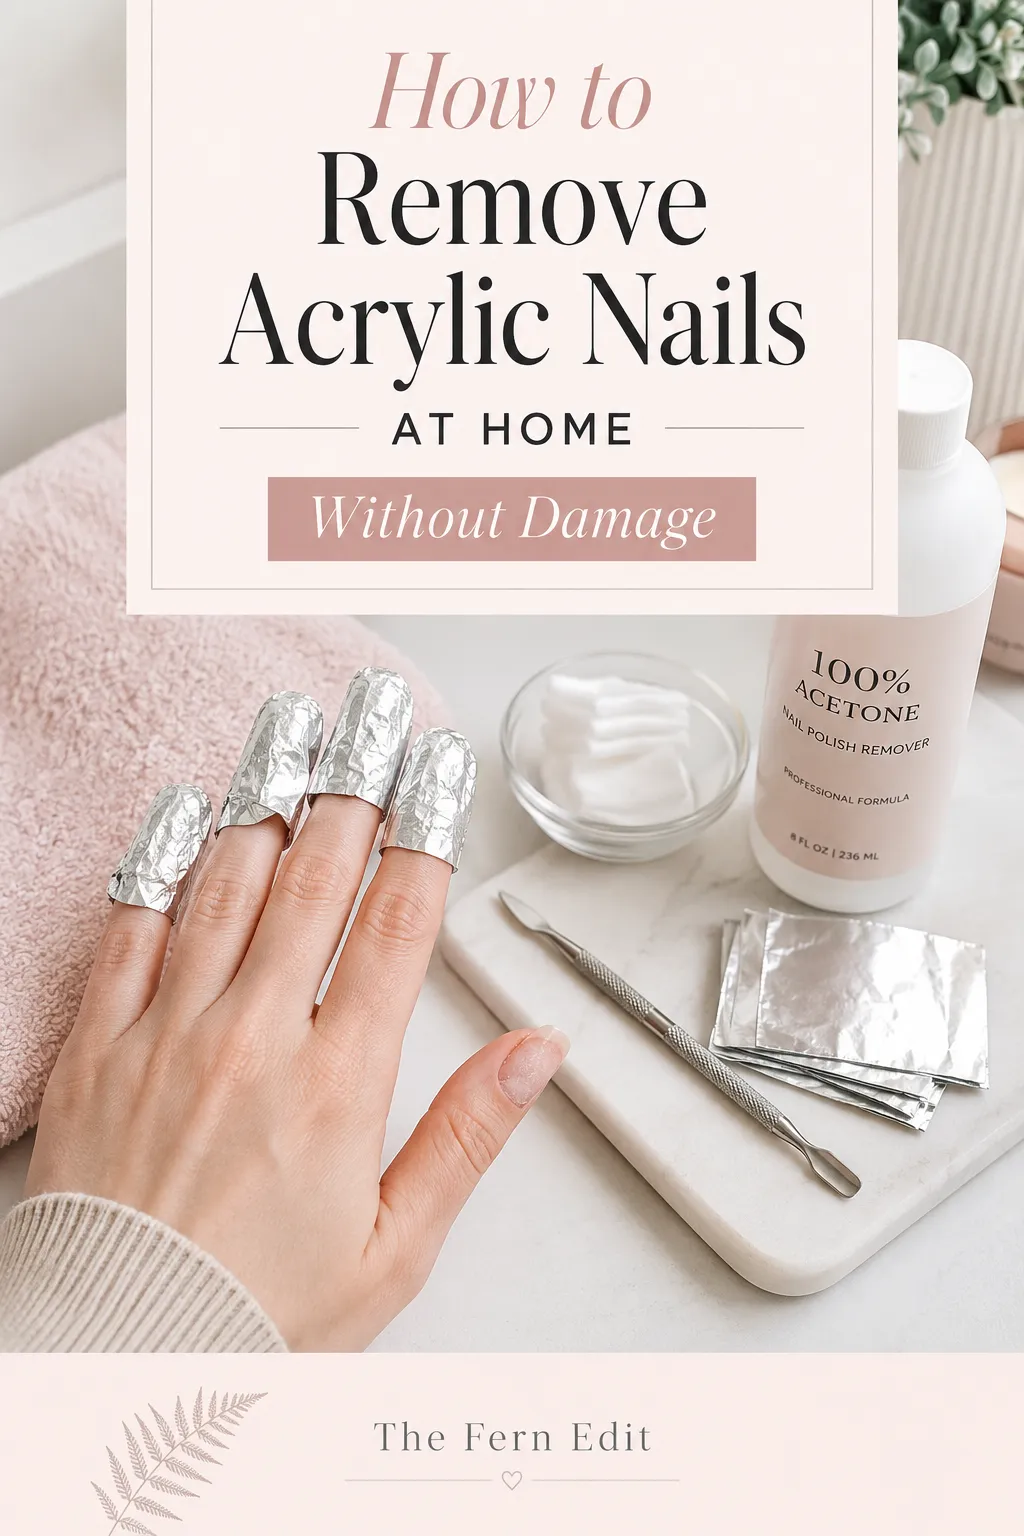
Cut each cotton pad to roughly the size of your nail, which keeps acetone off your skin. Soak a piece in acetone, press it onto the nail, and wrap the fingertip snugly in plastic food wrap. Dermatologists prefer plastic over foil here because it creates a tighter seal, so the acetone is far less likely to drip. Wrap firmly enough to hold the cotton in place, but not so tight that it cuts off circulation.
Step 5: Wait and check
Set a timer for 10 to 15 minutes. When it goes off, unwrap one nail and check. The gel should look lifted, bubbled, or flaky at the edges. If it is still firmly attached, re-wrap and give it another 5 to 10 minutes. Patience here is everything.
Step 6: Gently push, never pry
Starting with one finger, use the wooden stick at a low angle to nudge the softened gel from the cuticle toward the tip. It should slide off with almost no pressure. If any spot resists, do not dig or scrape. Re-soak that nail for a few more minutes instead.
Step 7: Rinse and smooth
Wash your hands with warm, soapy water to remove any acetone residue. If a thin film of gel remains, buff it very lightly with a fine-grit buffer rather than scraping.
Step 8: Hydrate right away
This step is not optional. Massage cuticle oil into each nail and the surrounding skin, then follow with a rich hand cream. Your nails have just been through a drying process and they will drink it up.
How long to soak gel nails
Most standard gel polish softens in about 10 to 15 minutes. Thicker formulas, darker colors, and multiple layers can take longer, so check one nail before unwrapping the rest. The goal is to soak just long enough that the gel wipes away easily. Leaving acetone on far longer than needed only dries out your nails and skin, so it is a balance, not a "more is better" situation.
Removing hard gel, builder gel, and BIAB
Not all gels come off the same way, and this is where a lot of at-home removals go wrong.
- Gel polish (soft gel): Soaks off with acetone using the method above.
- Builder gel and BIAB (builder in a bottle): These layers are thicker, so file down more of the surface before soaking, and expect a longer soak.
- Hard gel: This does not dissolve well in acetone at all. Hard gel is safest filed down by a professional manicurist. Trying to soak or force it off at home is a fast track to damage.
If you are not sure which type you have, that uncertainty alone is a good reason to book a quick salon removal rather than guess.
Common mistakes that damage your nails
Most "gel ruined my nails" stories trace back to one of these.
- Peeling or picking the gel off. This is the big one. It pulls away the top layer of the nail plate, leaving it thin, weak, and prone to peeling for weeks.
- Using metal tools to scrape. Metal cuticle pushers and aggressive scraping can gouge the nail and cause white patches. A wooden stick at a low angle is gentler.
- Reaching for foil instead of plastic wrap. Foil works, but it seals loosely, so acetone tends to drip onto your skin and your table.
- Soaking your whole fingers in a bowl of acetone. This soaks the surrounding skin too and can leave it red, dry, and irritated. Targeted cotton is kinder.
- Not soaking long enough, then forcing it. If the gel is not ready, the fix is more soak time, never more force.
- Skipping the hydration step. Acetone is drying by nature, so the after-care is what keeps nails healthy long term.
How to protect your skin during removal
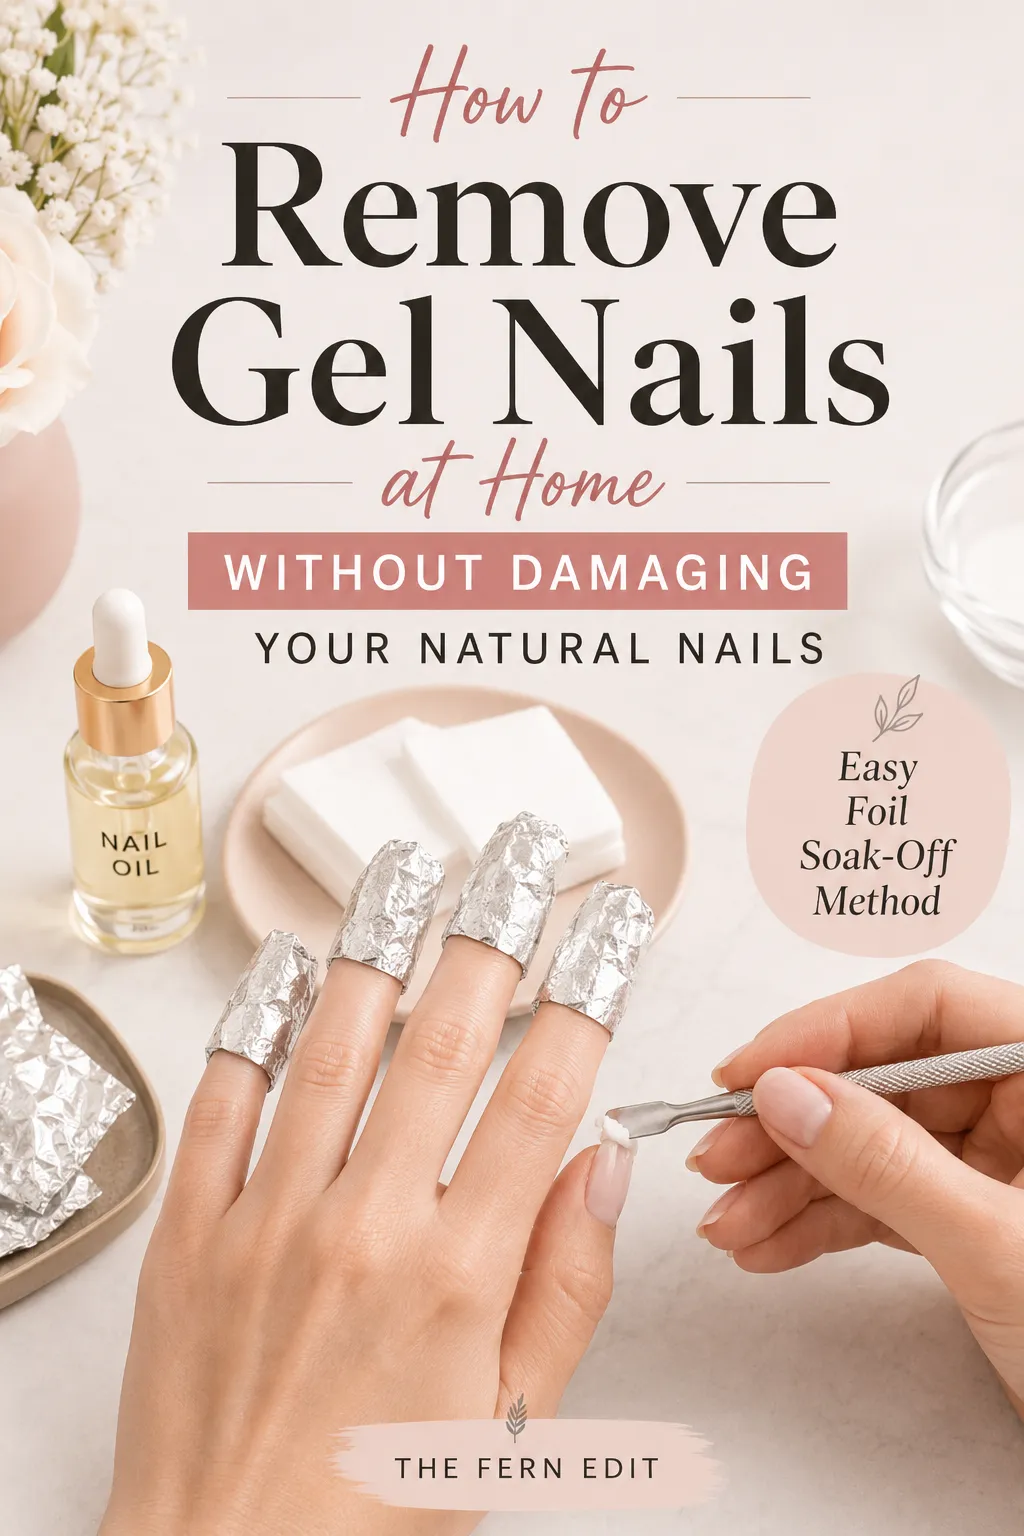
A few small habits make the whole process gentler. Work in a ventilated room so you are not breathing fumes. Keep the acetone on the nail, not the skin, by cutting cotton to size and using that petroleum jelly barrier. If you ever notice red, swollen, itchy, or flaking skin around your nails, that can be a sign of acetone sensitivity, and it is worth giving gels a rest and patch-testing products going forward.
After removal: how to recover soft or peeling nails
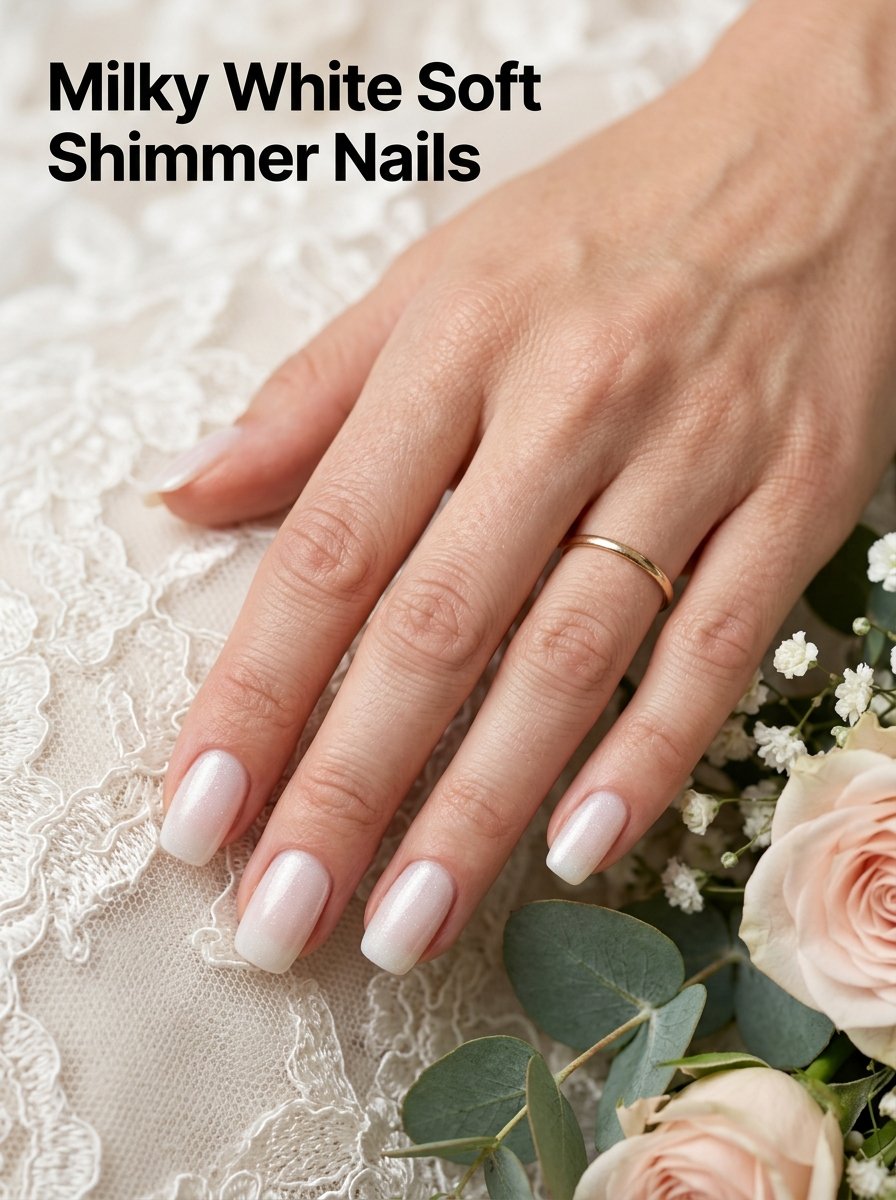
Here is something most people do not realize. Nails wear a coating like gel for weeks, and water moves through a coated nail at about half its normal rate. So right after removal it is completely normal for nails to feel a little soft or bendy. Give them around 24 hours to return to their usual firmness, and resist the urge to immediately judge their condition or reapply polish.
To help them bounce back:
- Apply cuticle oil twice a day to rehydrate the nail and surrounding skin.
- Use a rich hand cream, especially after washing your hands.
- Consider a nail strengthener for a couple of weeks between manicures.
- Take a short gel break so your natural nails can recover.
This is the perfect moment to build a simple maintenance habit. Our guide on how to grow stronger nails walks through the daily routine that helps weak, peeling nails firm up over time.
How often is it safe to wear gels?
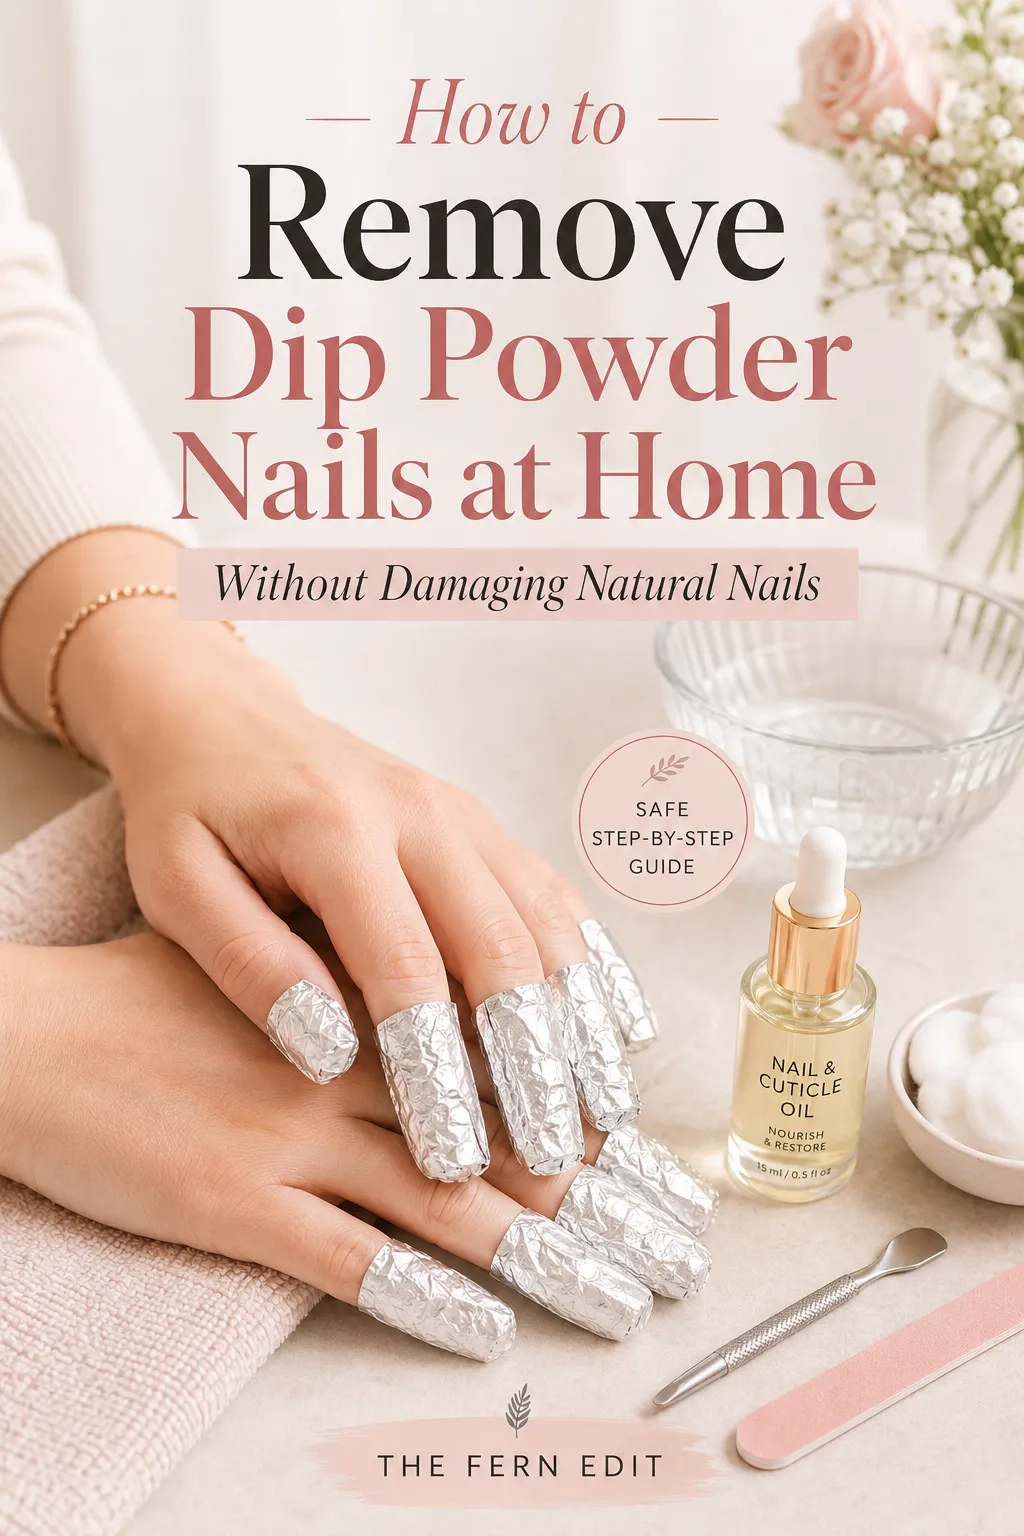
There is no single magic number, but the principle is balance. Repeated acetone exposure, whether at home or in the salon, can gradually leave nails dry, brittle, and prone to peeling. Many dermatologists suggest treating gels as a treat for occasions when you really want long wear, and building in recovery time in between, rather than running back-to-back sets all year. If you love getting gels regularly, the American Academy of Dermatology suggests protecting your hands from the UV curing lamp, since that exposure may slightly raise skin cancer risk over time. Fingerless gloves or a swipe of sunscreen on the backs of your hands before curing both help.
Expert tips for a clean, gentle removal
- Set an actual timer. Guessing leads to under-soaking and then forcing the gel.
- A warm room speeds up the soak, so it is harder in a cold bathroom.
- Do one hand fully, then the other, so you always have a free hand to wrap with.
- Do not reapply gel the same day. Let your nails breathe and rehydrate first.
- If your skin is sensitive, patch-test new products and keep acetone strictly on the nail.
Save this for later
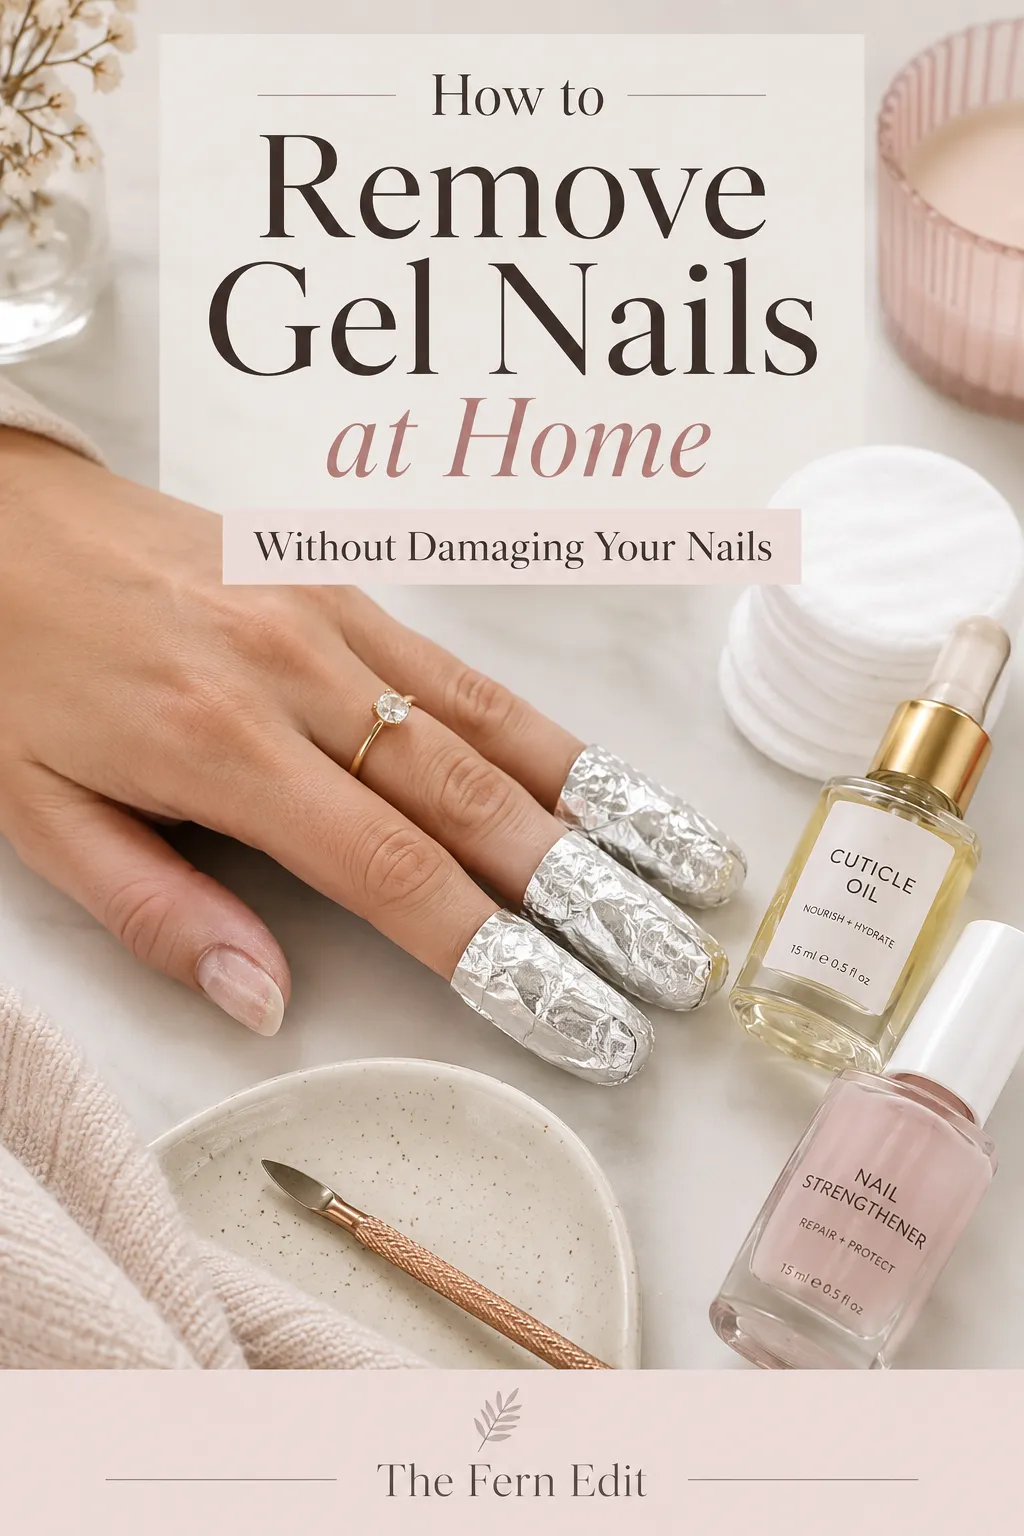
If your gels are growing out right now, pin this so the steps are handy next time. The short version: buff, protect, soak in 100% acetone with plastic wrap, wait, gently push, then hydrate. No peeling, ever.
Final takeaway
Removing gel nails at home is not the scary, nail-wrecking job it is made out to be. The whole secret is patience and a soak, not force. Protect your space, dull the top coat, wrap with 100% acetone, wait, and gently push the gel away, then pour love back into your nails with oil and cream. Treat removal as part of your self-care routine rather than a rushed afterthought, and your natural nails will stay strong enough to carry the next pretty manicure.
This article is for general beauty and self-care education only and is not medical advice. If you have ongoing nail pain, separation, or signs of infection, see a board-certified dermatologist.
Nail inspiration to save 💅
Tap any look to open it — then save your favorites.



 📌 Save
Love this guide? Save it 📌
Pin it to your favorite board so it's easy to find again — and share it with a friend who'd love it too.
Save to PinterestFrequently asked questions
Can I remove gel nails without acetone?
Gentler gel removers exist, but for true gel polish, 100% acetone is the most effective option. Regular and acetone-free removers will not break down gel, which tempts people into peeling, and peeling is what causes the damage.
How long does it take to remove gel nails at home?
Plan for about 25 to 35 minutes from setup to hydration. The acetone soak itself is usually 10 to 15 minutes, with thicker or darker gels needing a little longer.
Will taking gels off at home ruin my nails?
Not if you soak rather than pick. The damage people blame on gels almost always comes from peeling or scraping the polish off, which removes a layer of the natural nail. A proper soak-off protects the nail underneath.
Why are my nails soft or bendy right after removal?
That is normal. Nails sit under a coating for weeks, so they hold a little extra moisture and feel softer for a day or so afterward. Give them around 24 hours and keep them hydrated, and they firm back up.
Can I use foil instead of plastic wrap?
Yes, but plastic food wrap seals tighter, so acetone is less likely to drip onto your skin and surfaces. Most dermatologists prefer plastic for that reason.
How do I remove builder gel, BIAB, or hard gel at home?
File down more of the surface first, then soak longer for builder gel and BIAB. Hard gel does not dissolve well in acetone and is safest filed off by a professional, so it is not ideal for at-home removal.
How often is it safe to get gel manicures?
There is no fixed rule, but giving your nails recovery time between sets is wise, since repeated acetone can dry them out. Reserving gels for times you really want the long wear, and hydrating in between, keeps nails healthier.
What should I put on my nails after removing gel?
Cuticle oil and a rich hand cream right away, then cuticle oil twice daily for the next week. A nail strengthener can help during a gel break too.
How do I safely remove gel polish at home?
Lightly buff the shiny top coat, press acetone-soaked cotton onto each nail, wrap each fingertip in foil, and wait 10 to 15 minutes. Gently nudge off the softened gel with a wooden pusher, re-soak any stubborn spots, and finish with cuticle oil and hand cream. Never peel or scrape.
Why does removing gel polish damage nails?
The damage comes from peeling, scraping, or forcing the gel off, which pulls away the natural nail's top layers, leaving nails thin and weak. The gel itself is not the problem; impatient removal is. A careful soak-off protects your nails.
Can I peel off my gel polish if it's already lifting?
No, never. Peeling lifting gel takes healthy nail layers with it and is the top cause of damage. Even when an edge is tempting, do a proper acetone soak-off instead.
When should I get gel removed professionally?
Consider a salon for hard or builder gels that resist home soaking, for multiple built-up sets, or if you are unsure about doing it gently. See a doctor for any signs of infection or if a nail lifts from the nail bed.

We cite sources and update this guide regularly.