To do a manicure at home, remove old polish, shape and file your nails in one direction, gently push back your cuticles, lightly buff the surface, then cleanse each nail to remove oil. Apply a base coat, two thin coats of color, and a top coat, capping the free edge each time, then finish with cuticle oil once everything is dry. The whole routine takes about 30 to 45 minutes and lasts longest when you prep well and avoid soaking your nails right before painting.
There is a quiet kind of confidence that comes from a neat manicure, and you do not need a standing salon appointment to have it. The gap between a salon result and a DIY one almost always comes down to two things: the right order of steps and a little patience. Master those, and your nails at the kitchen table can look every bit as polished as the ones done in a chair.
There is a quiet kind of confidence that comes from a neat manicure, and you do not need a standing salon appointment to have it. The gap between a salon result and a DIY one almost always comes down to two things: the right order of steps and a little patience. Master those, and your nails at the kitchen table can look every bit as polished as the ones done in a chair.
This is your complete at-home manicure routine, the same sequence a good nail tech follows, broken into clear steps. Save it, follow it once or twice, and it becomes second nature.
Key takeaways
- Prep is the secret. Clean, shaped, oil-free nails are what separate a salon look from a DIY one.
- Shape before you polish, never the other way around, and file in one direction to avoid splits.
- Never cut your cuticles. Soften and gently push them back instead.
- Thin coats with a base and top coat, plus capping the tip, are what make polish last.
- Finish with cuticle oil, and skip soaking your nails in water right before you paint.
What you'll need
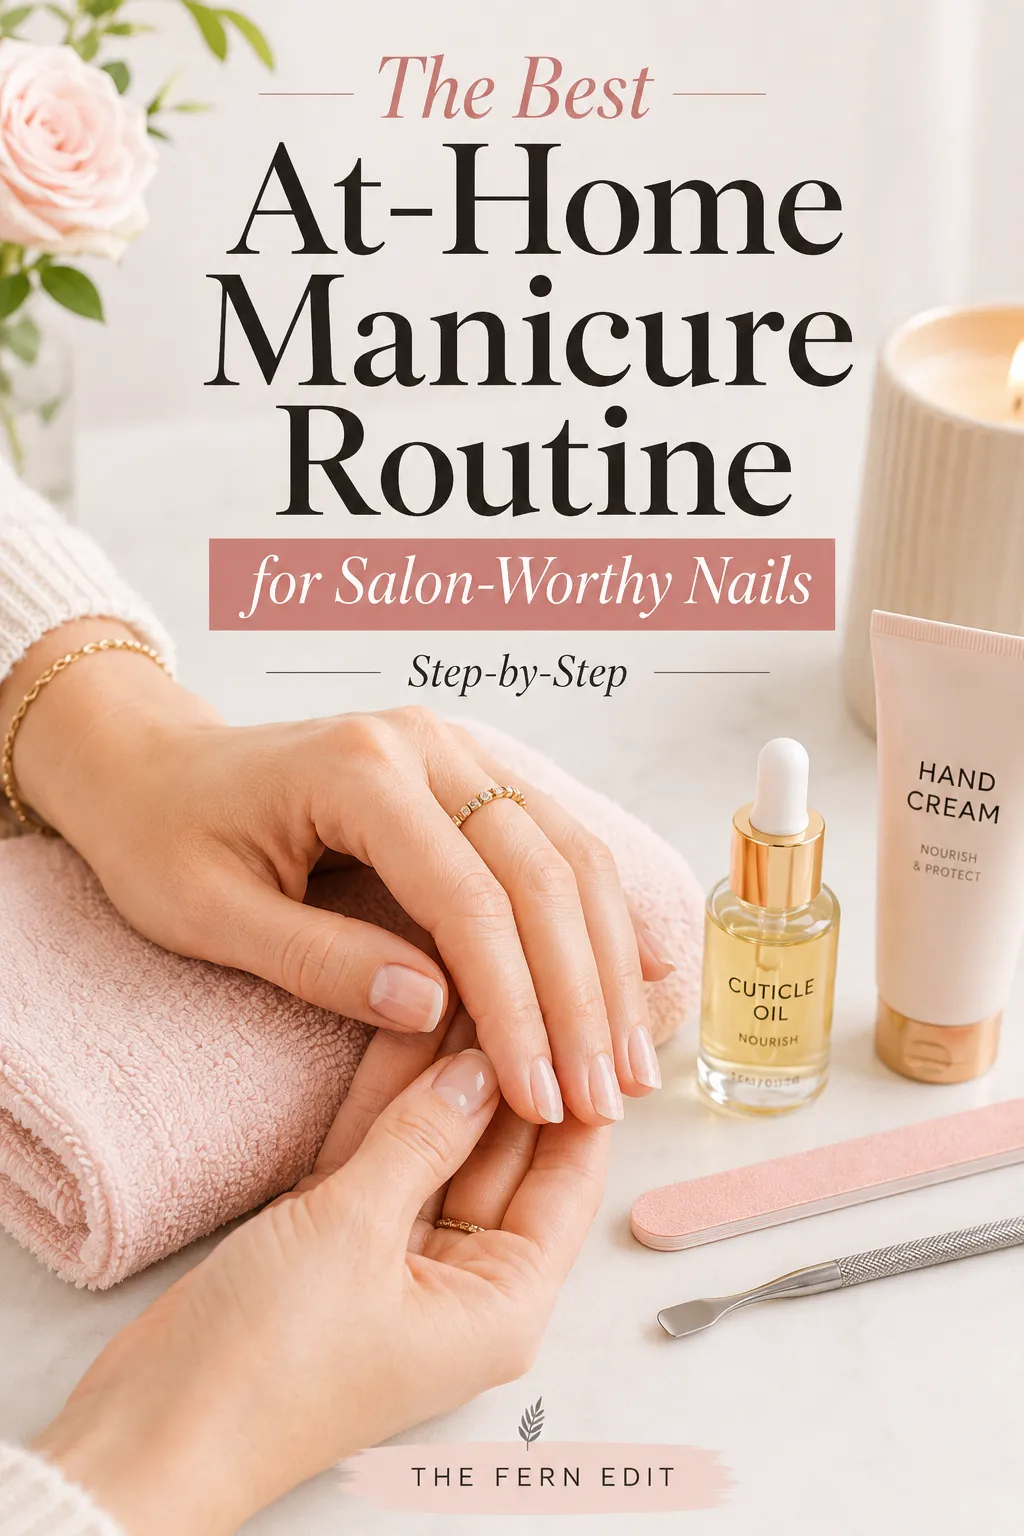
A good kit makes everything easier, and most of it lasts for years.
- Nail clippers
- A glass or fine-grit nail file (around 180 grit for natural nails)
- A fine-grit buffer
- A wooden or rubber-tipped cuticle pusher
- Lint-free cotton pads and polish remover or nail prep
- A little 70% isopropyl alcohol to degrease
- Base coat, your color, and a top coat
- Cuticle oil and a rich hand cream
Step 1: Remove old polish
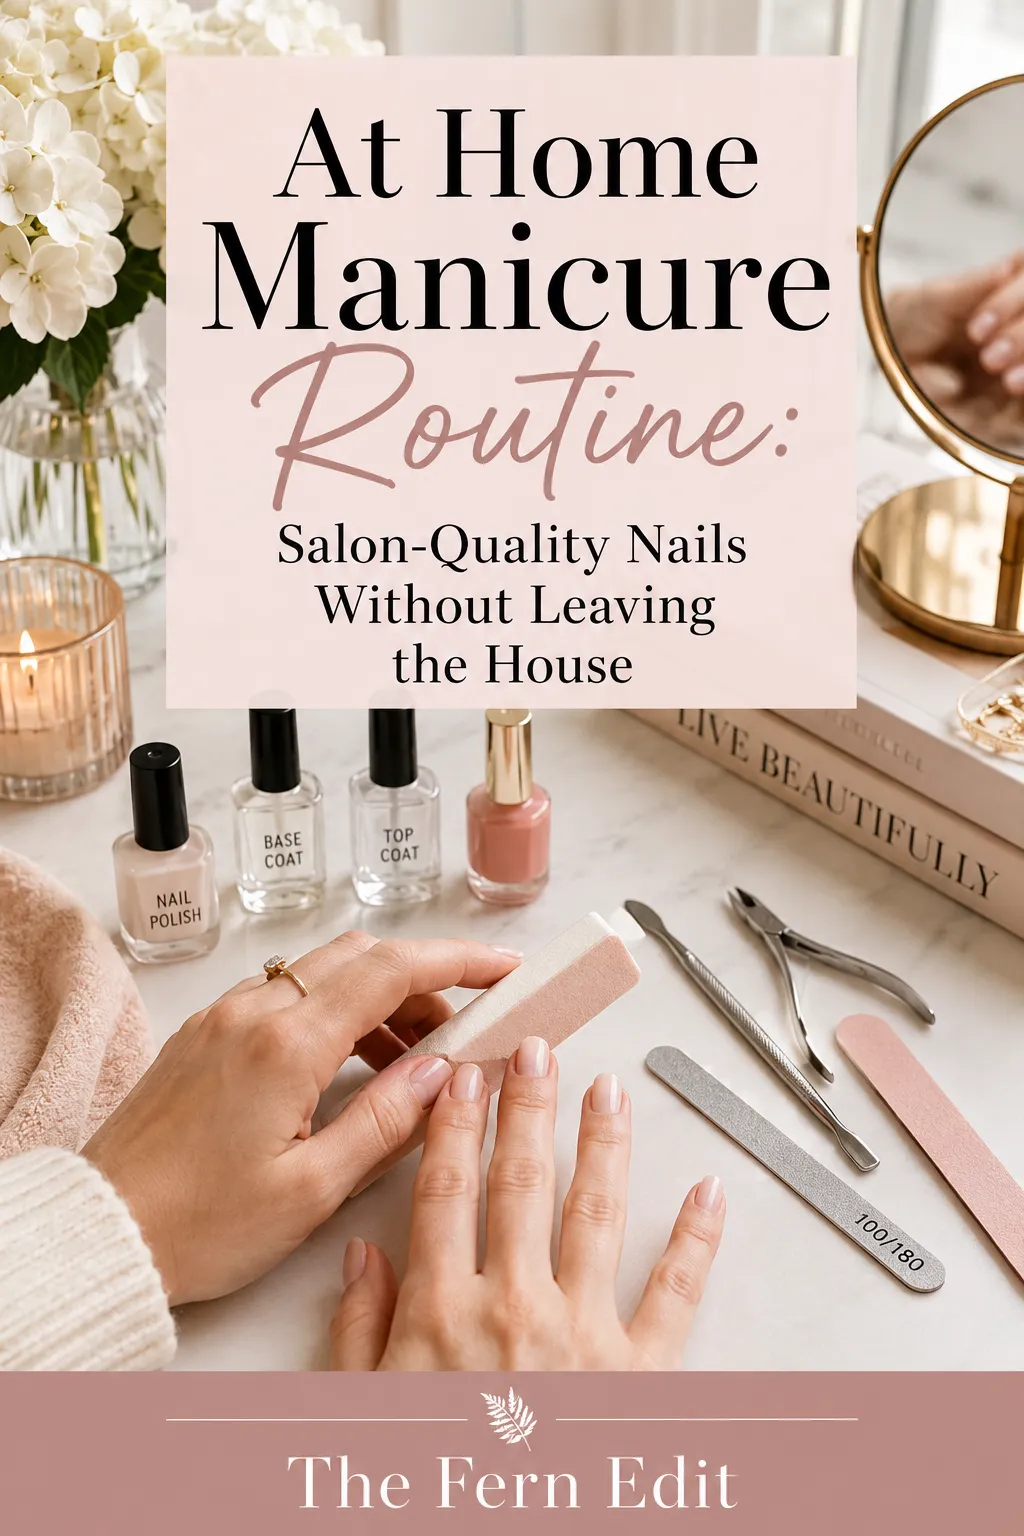
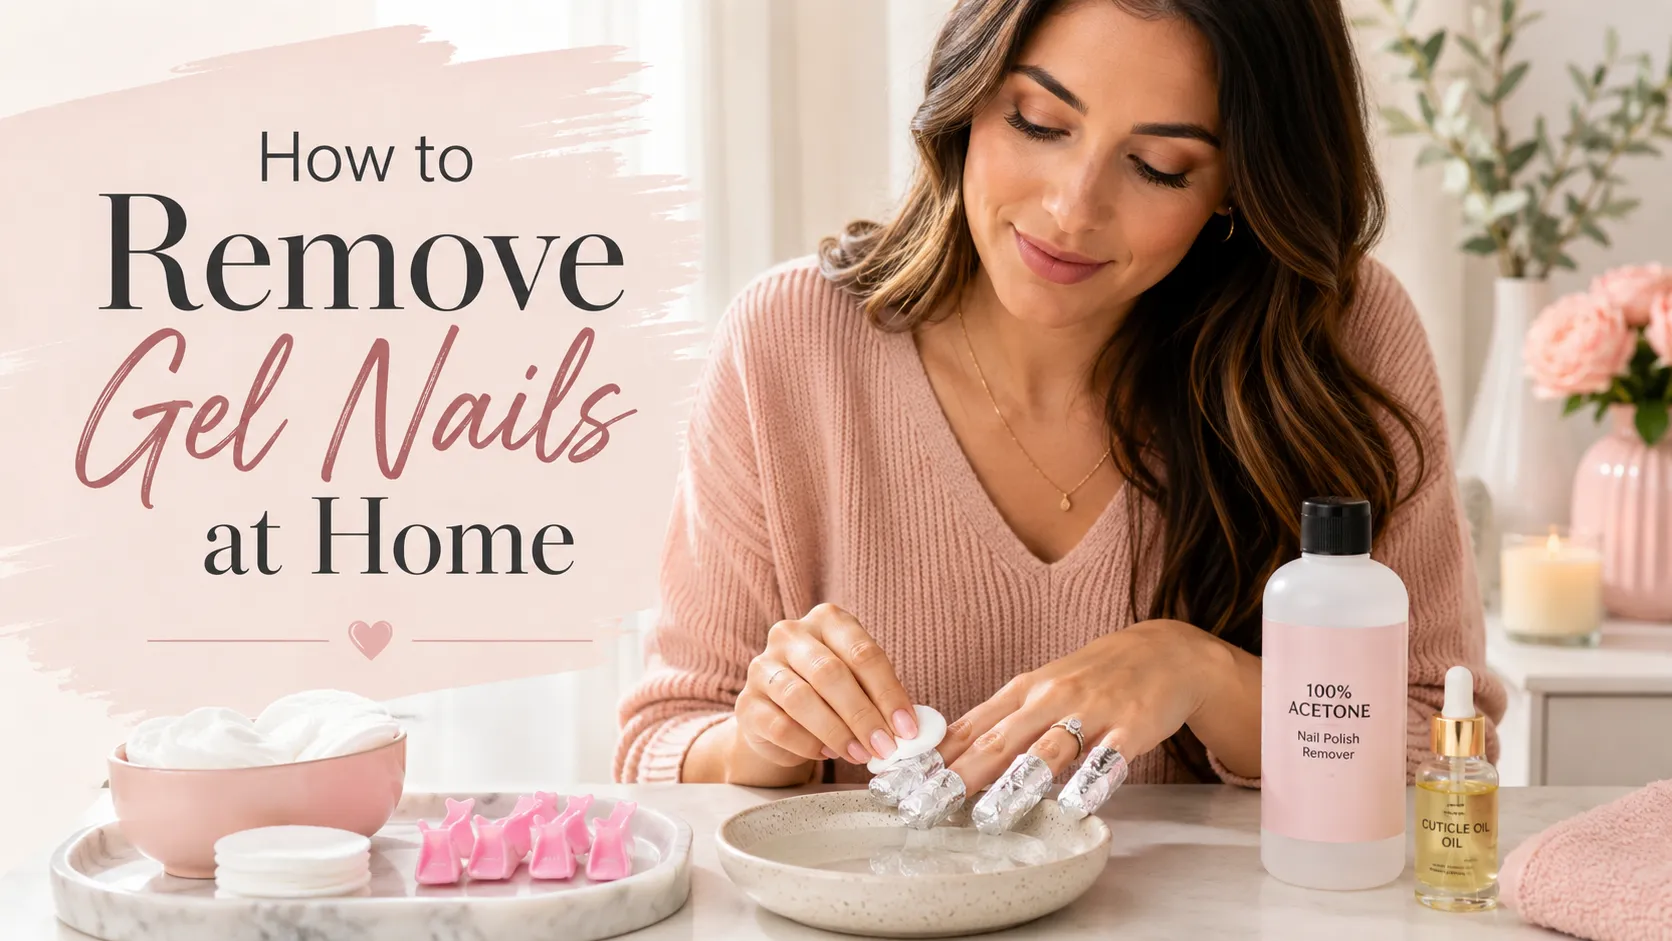
Start with a clean slate. Soak a lint-free pad with remover and press it on each nail for a few seconds before wiping toward the tip, so you lift the color without scrubbing. If you are taking off gel, dip, or acrylic, do not pick or peel it. Our guides on removing gel, acrylics, and dip powder cover the gentle, soak-first way.
Step 2: Shape and file (plus the best nail shapes)
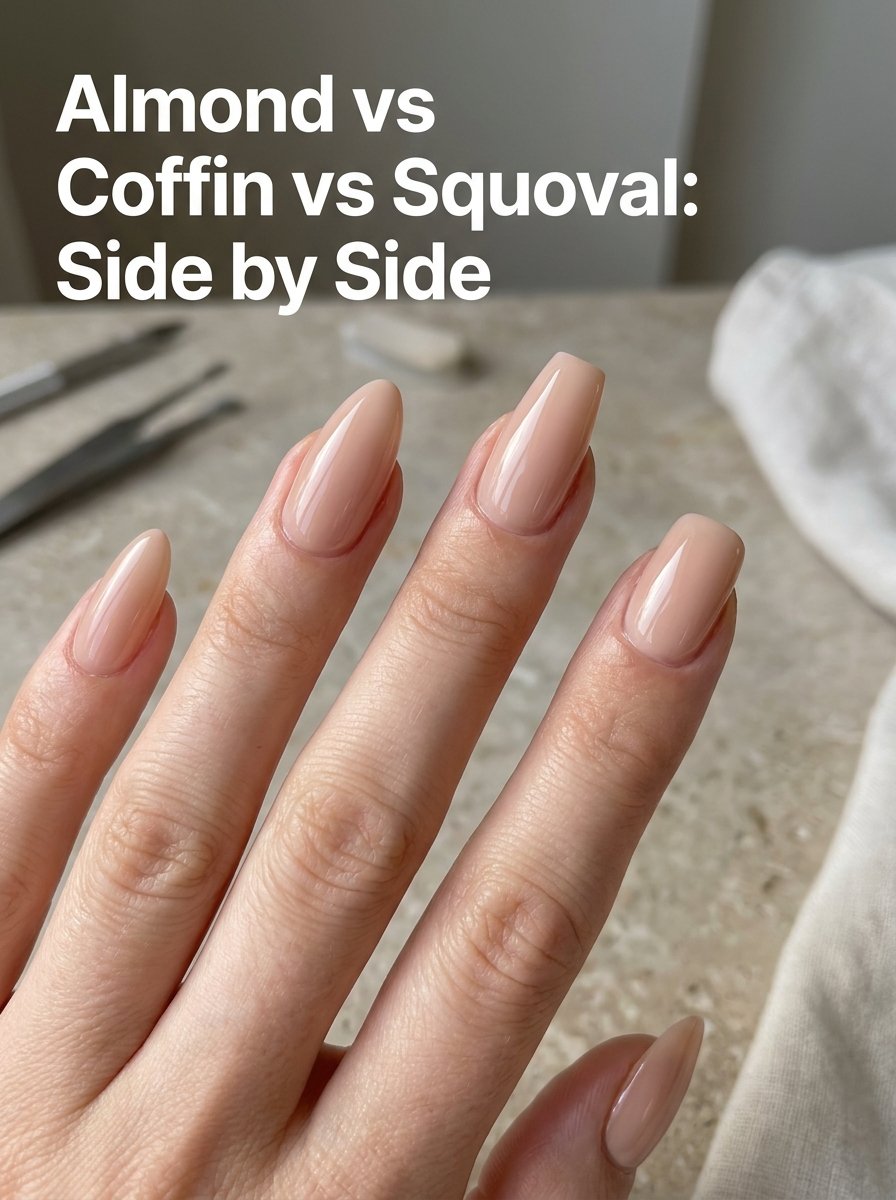
Shape first, polish second, always. Clip to your desired length if needed, using two or three small cuts across the nail rather than one big snap, which can start a split along the stress line. Then refine the shape with your file, working in one direction instead of sawing back and forth.
Here are the most popular shapes and who they flatter.
Round
Follows the natural curve of your fingertip. The easiest shape to do at home, low maintenance, and great for short or wide nail beds. Very break-resistant.
Squoval
A square tip with softly rounded corners, the lovechild of square and oval. Widely considered the most forgiving everyday shape because the rounded corners remove the weak points where nails crack, and it flatters almost every hand.
Square
Straight sides and a flat top. Strong and classic, best on short to medium nails, though sharp corners can catch, so soften them slightly.
Oval
Sides filed at an angle to a rounded tip. Elongates the fingers and flatters smaller hands, but needs a little length to work.
Almond
Tapered sides meeting a soft point. Elegant and lengthening, but structurally weaker, so it suits naturally stronger nails or a bit of length.
If your nails break easily, round or squoval are your friends. Our guide on why nails keep breaking explains how shape affects strength.
Step 3: Care for your cuticles
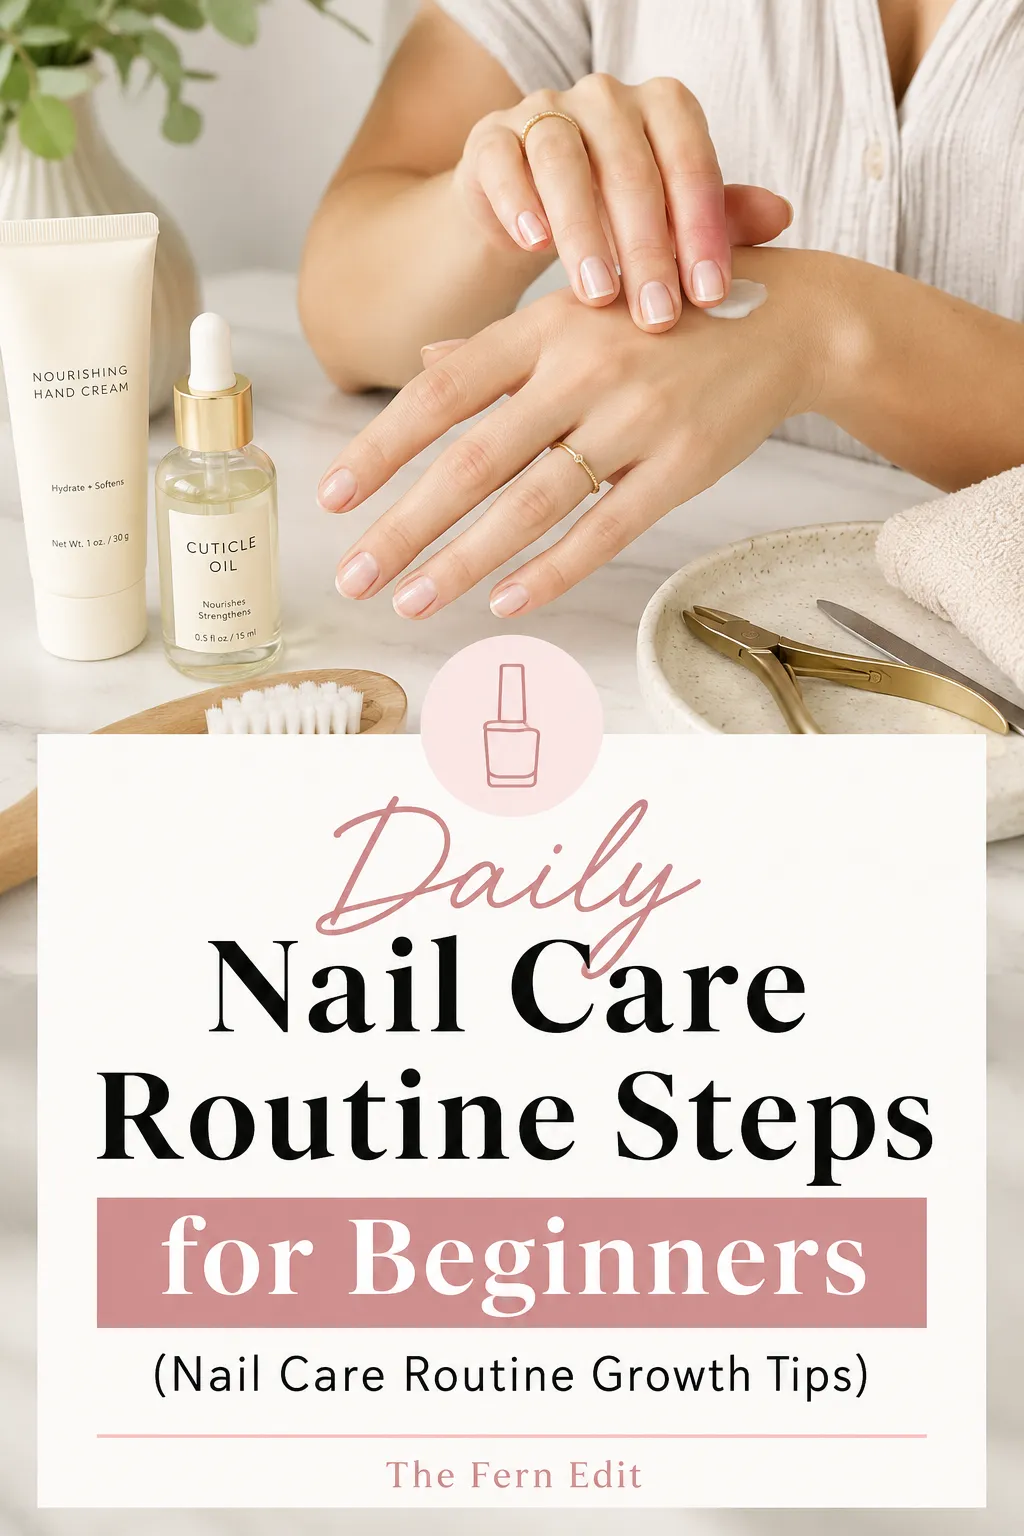
Soften your cuticles first, either with a warm cloth after a shower or a swipe of cuticle remover or oil, then gently push them back with a wooden or rubber-tipped pusher. Never cut them. The cuticle is a protective seal against infection, and pushing back gives the same tidy look safely. For the full method, see cuticle care 101.
Step 4: Buff lightly
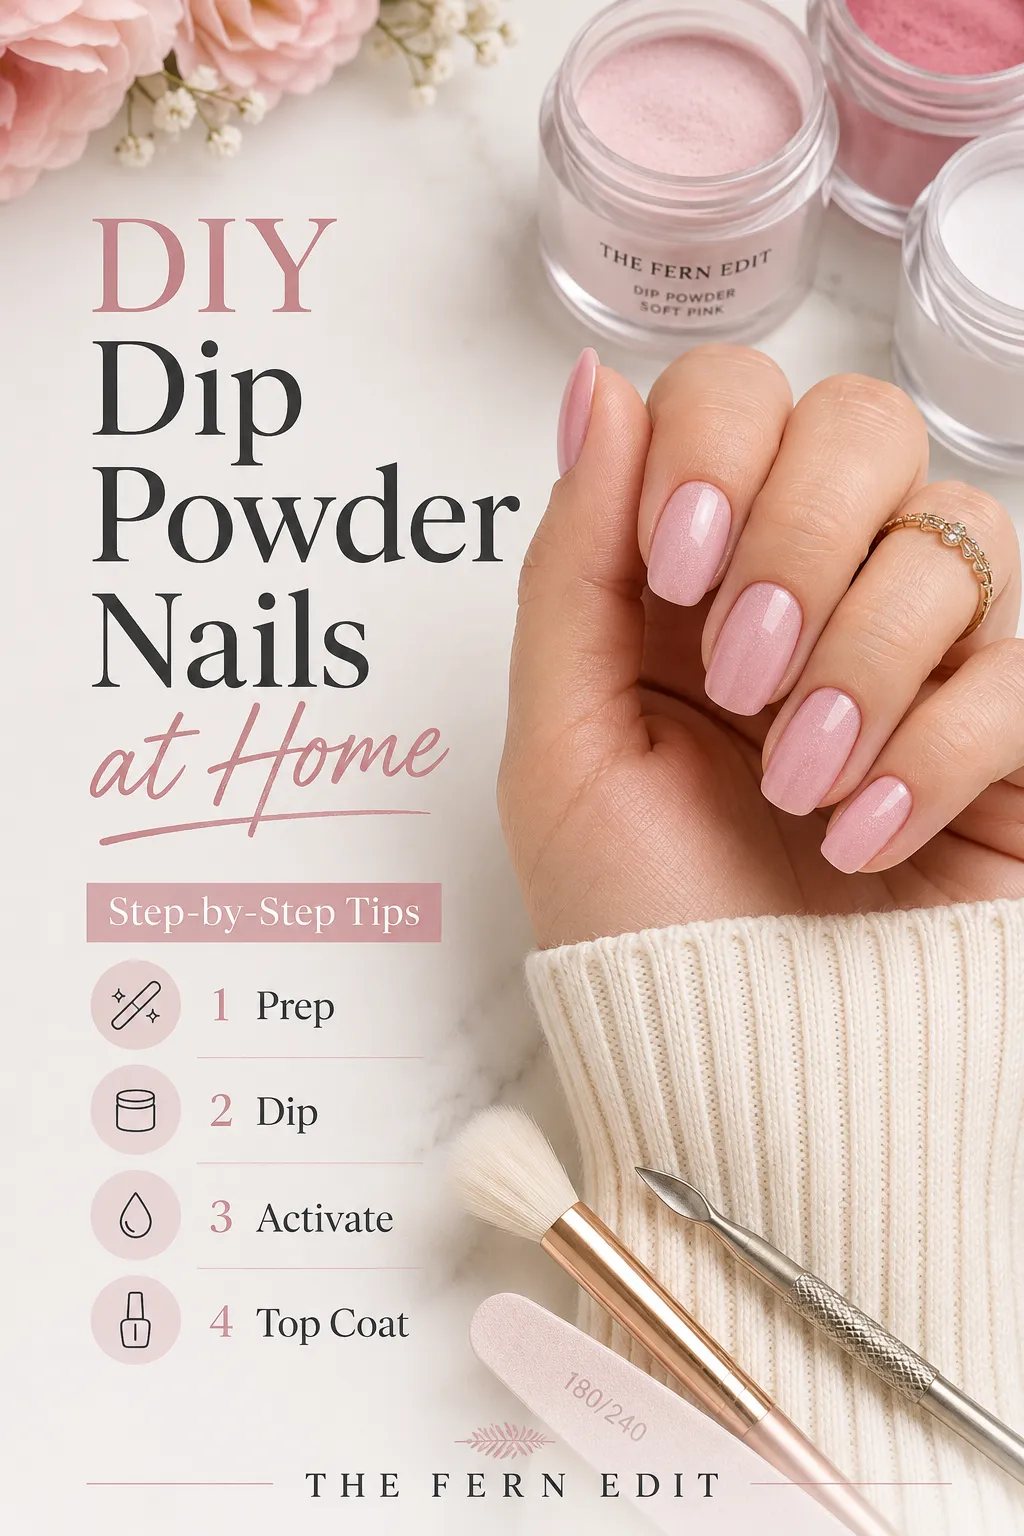
Run a fine-grit buffer over each nail in one or two light passes to smooth surface ridges and help polish grip. The goal is an even, slightly matte surface, not a high shine. Over-buffing thins and weakens the nail, so go gently, then dust off the powder.
Step 5: Cleanse the nail

This is the step most people skip, and it matters more than any product. Wipe each nail with a lint-free pad and a little isopropyl alcohol or nail prep to remove every trace of oil, lotion, or dust. Polish only bonds to a truly clean, dry nail, so do not apply hand cream right before this point.
A quick but important note: do not soak your nails in water right before polishing. Nails are porous and swell when wet, then shrink as they dry, which cracks fresh polish. Soften cuticles with oil rather than a long water soak when a manicure is the goal.
Step 6: Base coat
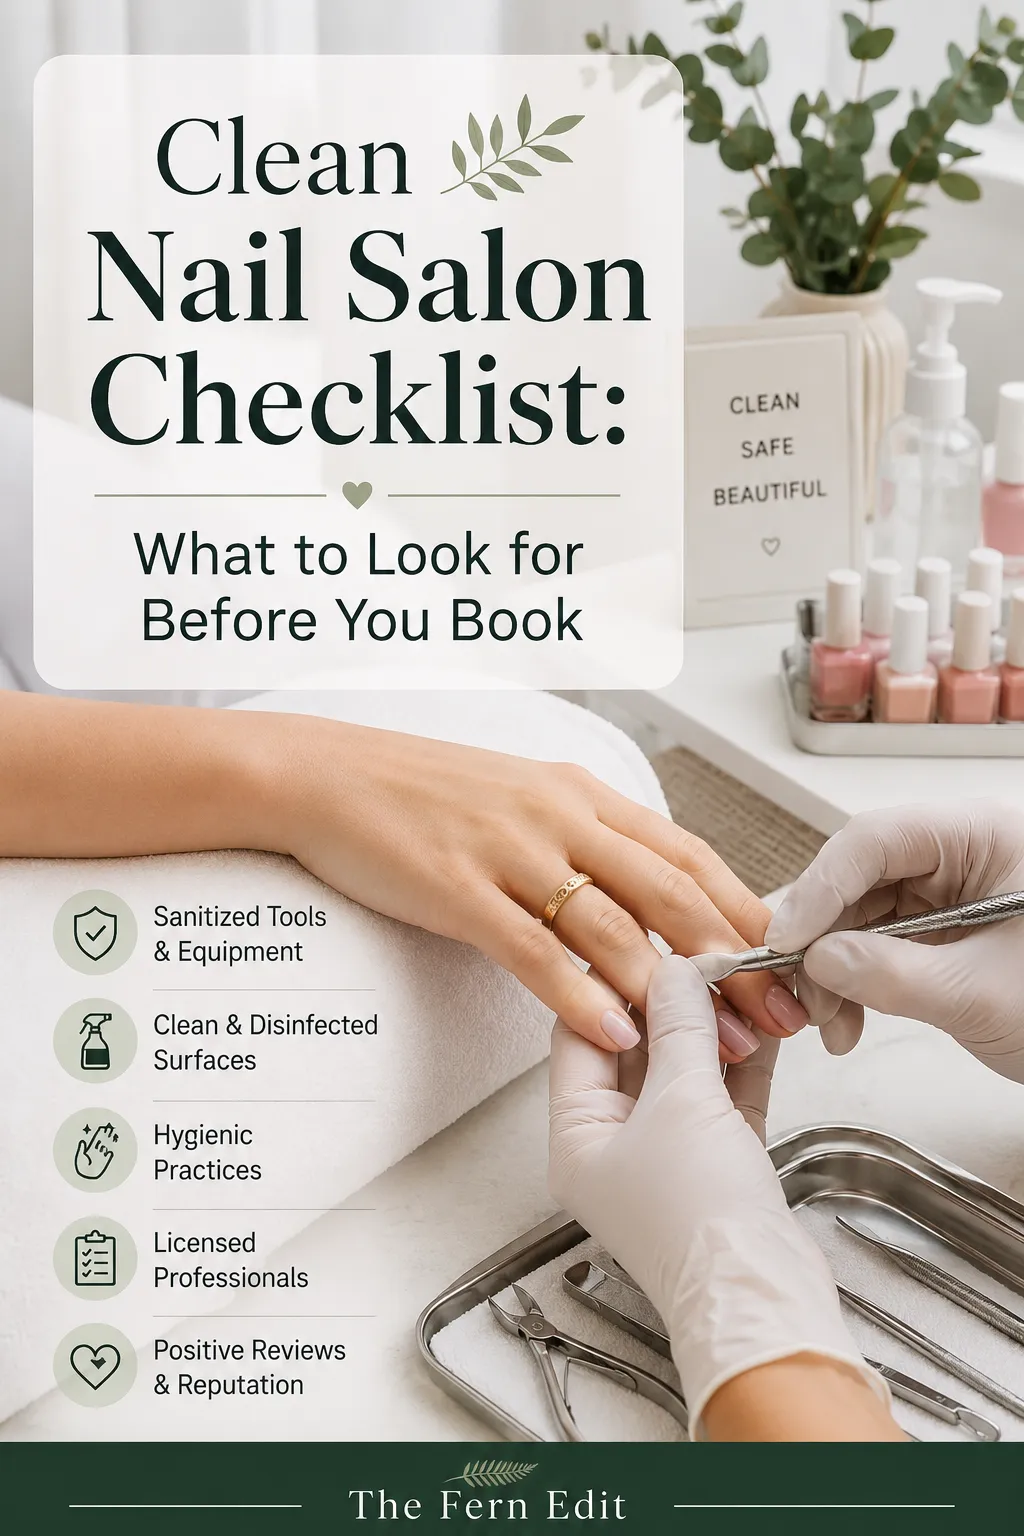
Always start with a base coat. It smooths the surface, helps the color grip, and adds real staying power. Apply one thin, even layer and let it set.
Step 7: Color
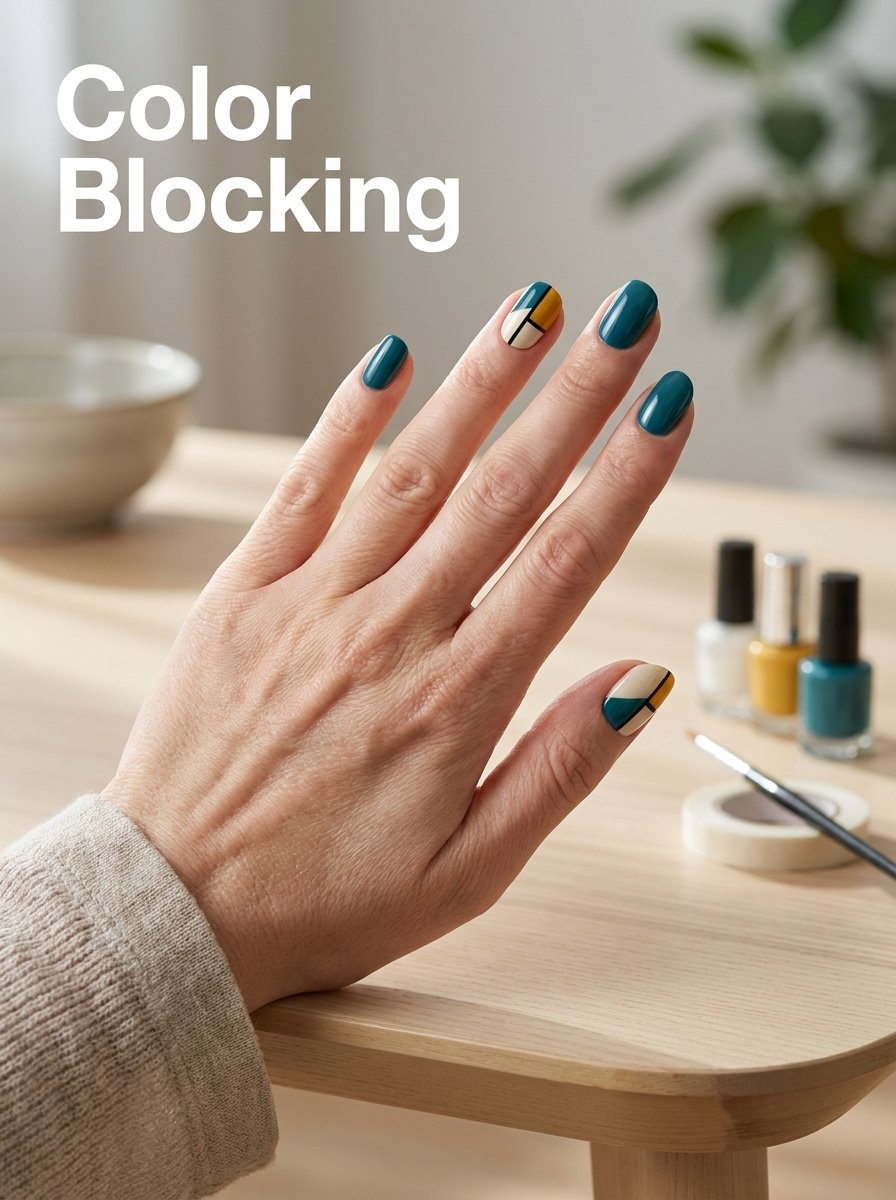
Apply your color in two thin coats rather than one thick one. Thick coats stay soft underneath and peel, while thin coats dry evenly and last. After each coat, swipe the brush along the very tip of the nail to "cap" the free edge. That single trick seals the spot where chips usually start. Let the first coat dry before the second.
Step 8: Top coat
Finish with a top coat, the protective shield over your color, and cap the tip with it too. This is what gives a manicure its glossy, durable finish.
Step 9: Dry properly
Patience here saves your whole manicure. Give each layer time, and use cool air or a small fan, never a hot blow-dryer, since heat keeps polish from setting. A 30 to 60 second dip in ice water can help everything harden in a pinch.
Step 10: Hydrate
Once everything is fully dry, massage in cuticle oil and a rich hand cream. This nourishes the nail and cuticle and adds the final salon-finish glow. Keep that oil handy and reapply daily.
How to make it last
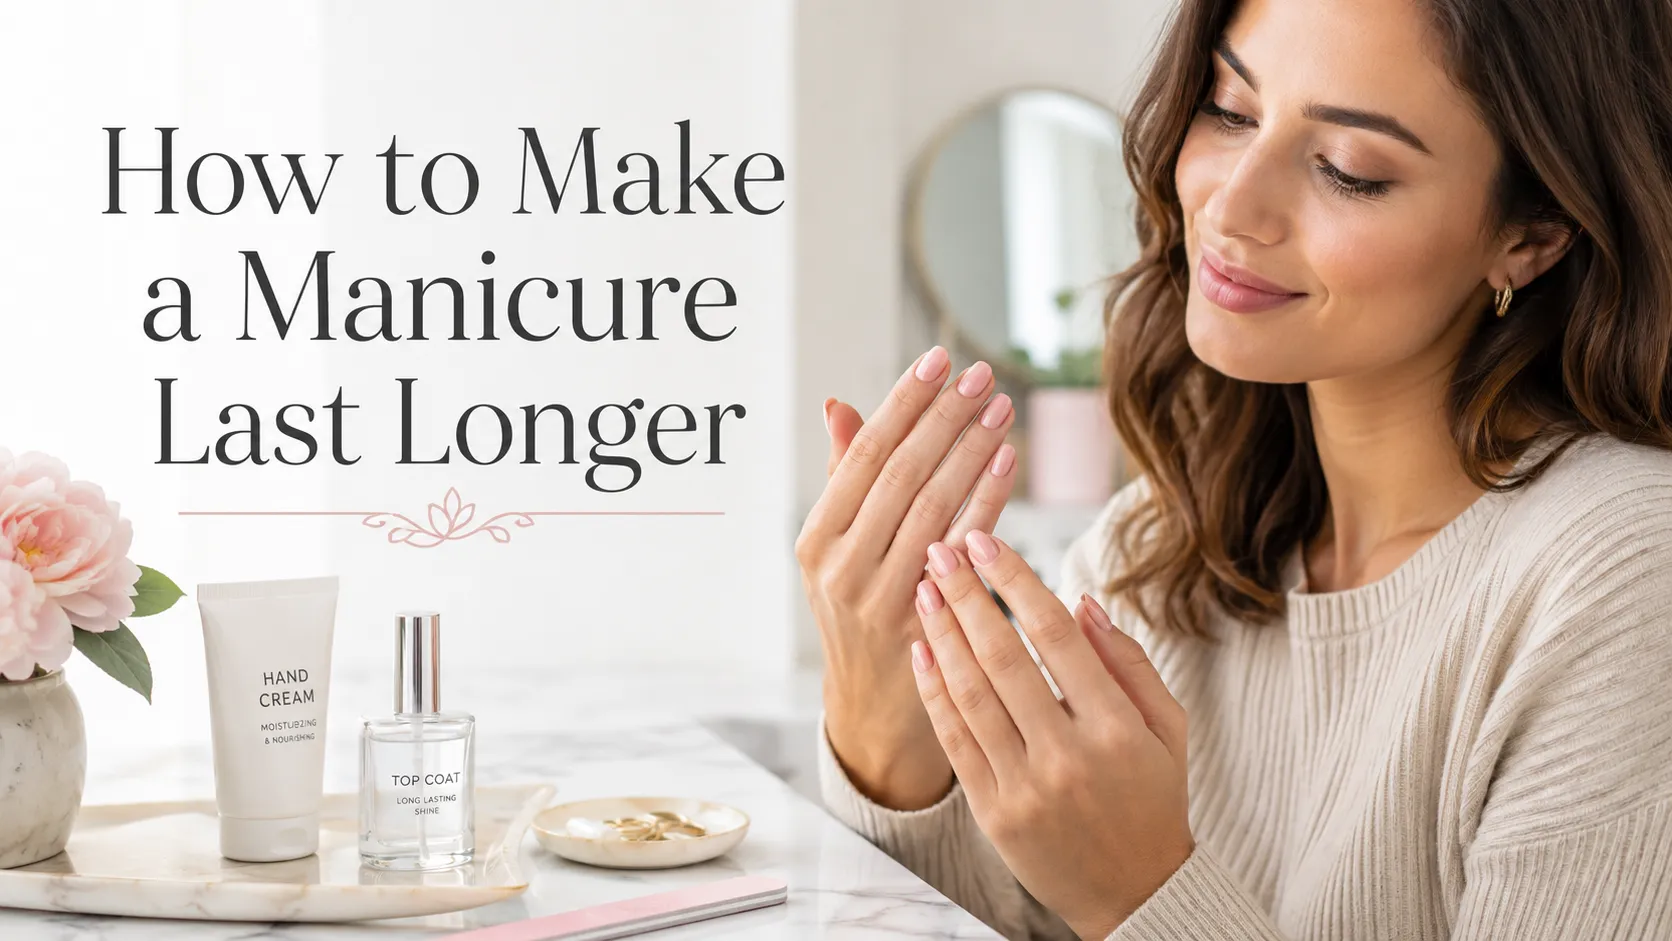
A great manicure is also a maintained one. Reapply a thin layer of top coat every two to three days, wear gloves for dishes and cleaning, avoid long hot soaks, and do not use your nails as tools. For the full playbook, see how to make a manicure last longer.
Common mistakes
- Polishing before prepping. Shape, tidy cuticles, and degrease first, every time.
- Skipping the cleanse step. Oil on the nail is the top reason polish lifts early.
- Soaking nails right before painting. Waterlogged nails crack fresh polish.
- Thick coats. They look quicker and peel sooner.
- Forgetting to cap the tip. Unsealed edges are where chips begin.
- Rushing the dry time. Smudges and dents undo all your work.
At-home vs salon
A salon manicure often runs around $25 to $65, which adds up quickly if you go twice a month. Once you own a good kit, an at-home manicure costs very little per session, gives you full control over hygiene, and fits any schedule. The trade-off is practice. Your first few may feel slow, but the routine becomes quick and genuinely relaxing, a small pocket of self-care that is entirely yours.
Final takeaway
A beautiful at-home manicure is really just a sequence done in the right order: prep, shape, tidy, cleanse, then base, color, and top coat with the tip capped, finished with oil. None of it is hard, and all of it gets easier with repetition. Give yourself the unhurried half hour, and you will end up with nails that look professionally done and a little ritual that feels like a reset for your whole week.
This article is for general beauty and self-care education only and is not medical advice.
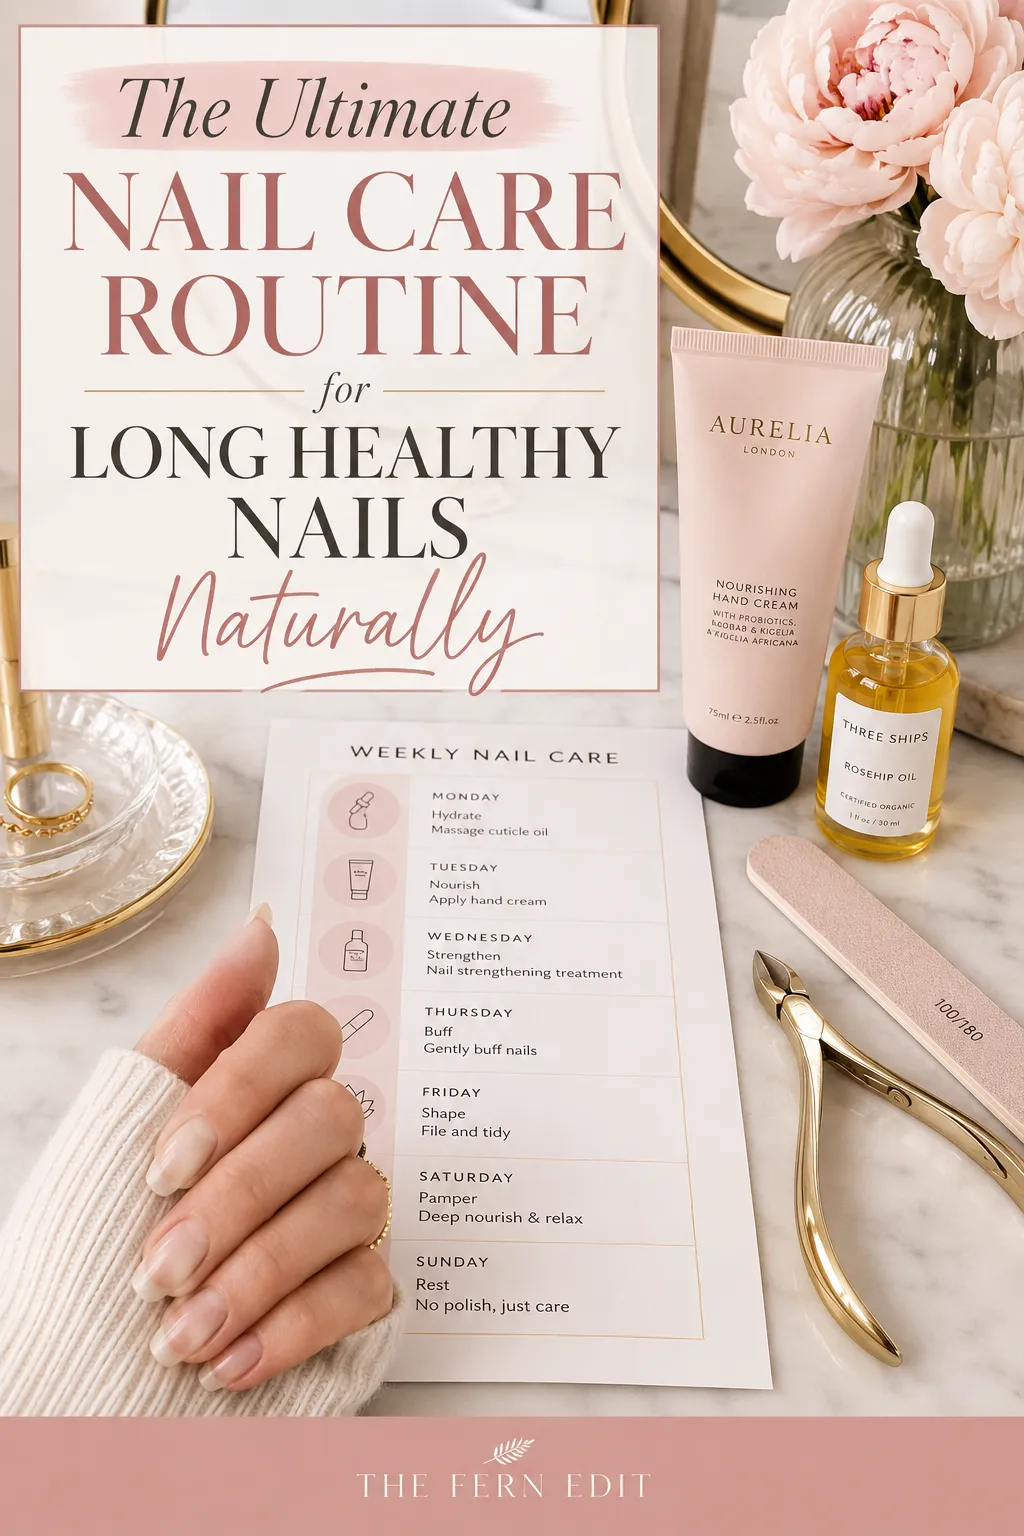
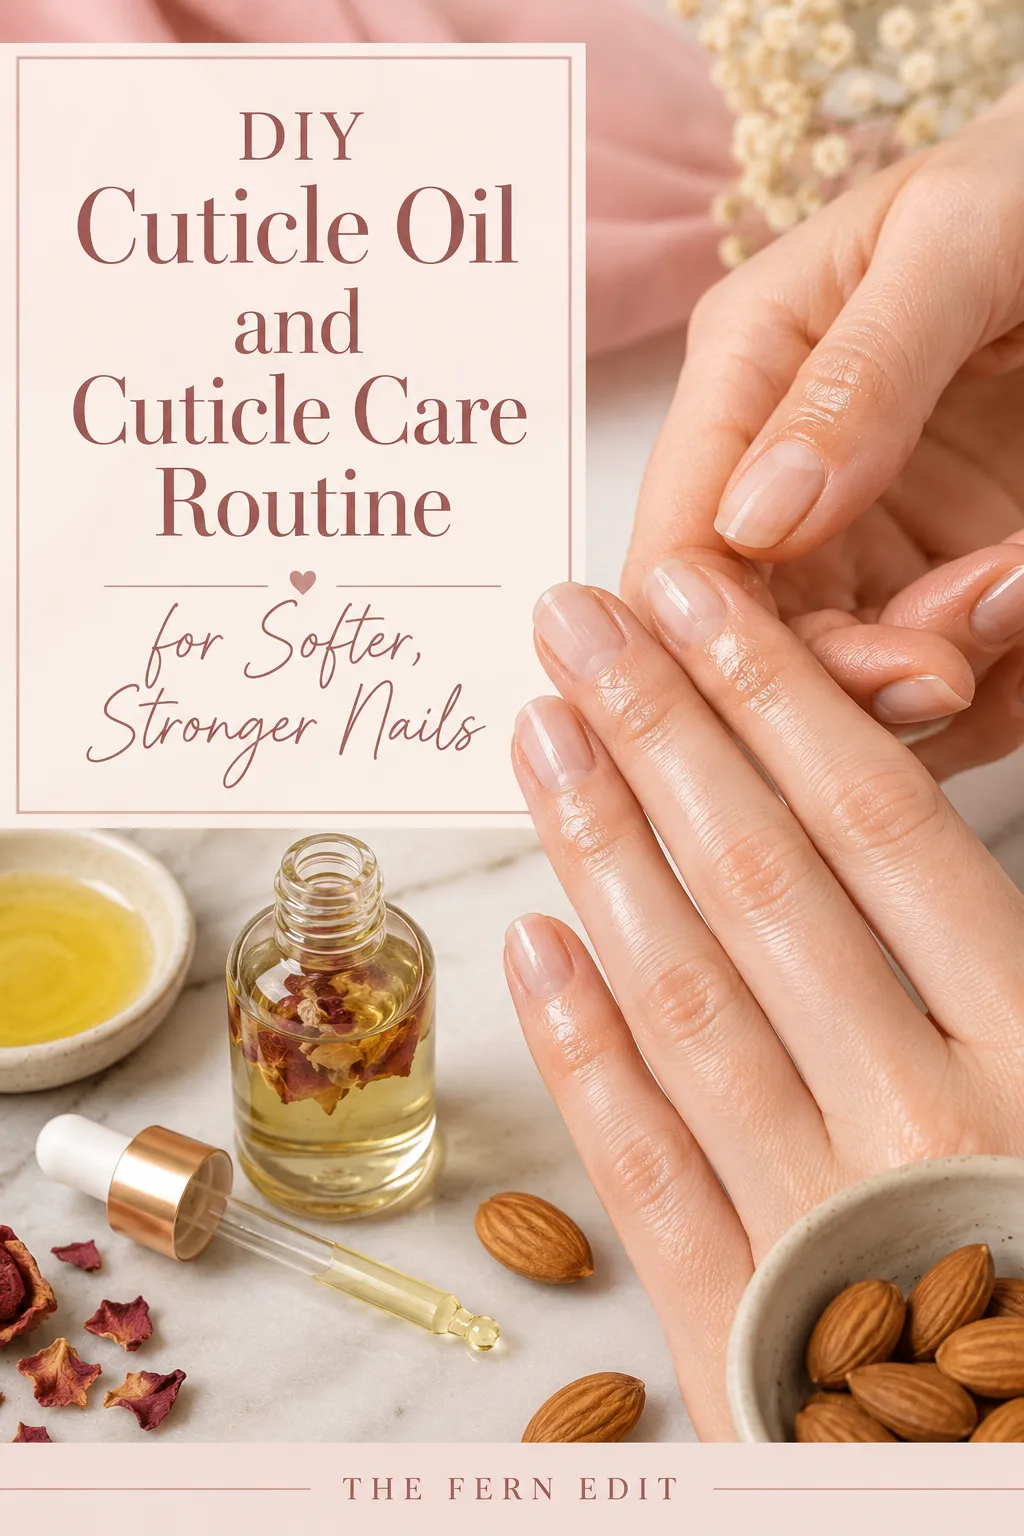
Nail inspiration to save 💅
Tap any look to open it — then save your favorites.


 📌 Save
Love this guide? Save it 📌
Pin it to your favorite board so it's easy to find again — and share it with a friend who'd love it too.
Save to PinterestFrequently asked questions
How do I do a manicure at home step by step?
Remove old polish, shape and file in one direction, soften and push back cuticles, lightly buff, then cleanse each nail with alcohol. Apply base coat, two thin coats of color, and top coat while capping the tip, dry with cool air, then finish with cuticle oil.
How long does an at-home manicure take?
About 30 to 45 minutes once you have your kit and a little practice. The drying time between coats is the part worth not rushing.
What is the best nail shape for everyday wear?
Squoval and round are the most forgiving for daily life, because their soft corners resist breaking and snagging. Almond and oval are more elongating but need a little length and strength.
Should I soak my nails before a manicure?
Not right before polishing. A long water soak makes nails swell and then crack the polish as they dry. Soften your cuticles with oil or a quick warm cloth instead, and paint on clean, dry nails.
Do I really need a base coat and a top coat?
Yes. The base coat helps color grip and adds wear, and the top coat shields it from chips. Skipping either noticeably shortens how long your manicure lasts.
Why does my at-home polish chip so fast?
Almost always a prep issue: oil left on the nail, no buffing, or skipping the cleanse step. Capping the tip and reapplying top coat every few days also make a big difference.
Can I cut my own cuticles at home?
It is best not to. Cutting removes a protective barrier and raises infection risk. Soften and gently push them back, and only trim loose dead skin or hangnails.
How do I keep my manicure from smudging while it dries?
Apply thin coats, use cool air or a fan rather than heat, and give yourself a quiet 10 to 15 minutes before using your hands. A quick-dry top coat helps too.
What is the correct order for an at-home manicure?
Remove old polish, shape and file in one direction, soften and push back cuticles, lightly buff, clean the nail, apply base coat, then two thin coats of polish, a top coat, and finish with cuticle oil and hand cream. Order and thin layers are what make it last.
Should I cut or push back my cuticles?
Always push them back, never cut them. Cuticles protect the nail from bacteria, so cutting them risks infection and damage. Soften them first with warm water or cuticle oil, then gently push them back.
How do I make my manicure last longer?
Use base and top coats, seal the tips, apply thin coats, let each layer dry fully, wear gloves for dishes and cleaning, reapply top coat every few days, and use cuticle oil daily. These habits stretch a manicure to a week or more.
How often can I give myself a manicure?
You can do a manicure weekly, but give your nails occasional polish-free days to oil them directly and check their health. Avoid harsh removal between manicures, and keep up daily cuticle oil for healthy nails.

We cite sources and update this guide regularly.