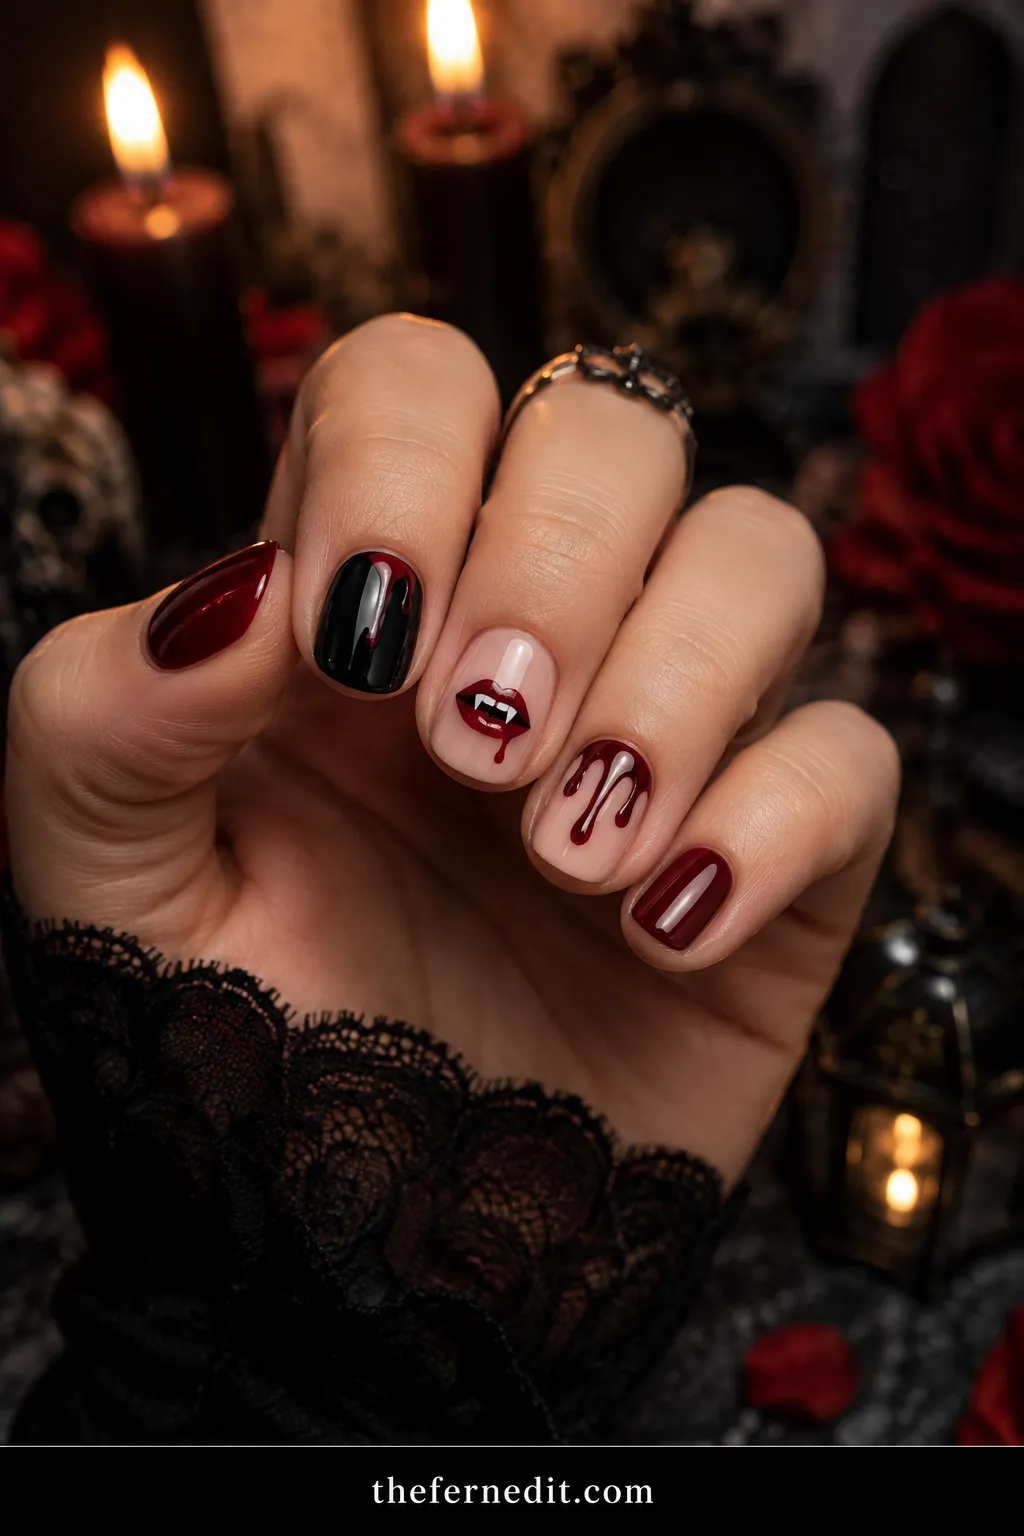
The easiest DIY nail art uses tools you likely already have: a dotting tool (or a bobby pin or toothpick), thin tape or nail guides, and a steady base. Beginner-friendly designs include a single accent nail, simple dots or a polka pattern, negative space looks, color blocking, minimalist lines, an easy French or micro-tip, a glitter gradient tip, and a half-moon. Always start with a base coat and finish with a top coat for a clean, lasting result.
Pinterest is full of stunning nail art that looks impossible to recreate at home, but here is the secret: the prettiest, most wearable nail looks are usually the simplest. You do not need a steady artist's hand or a drawer full of tools to do beautiful nail art yourself. With a few basics you probably already own, you can create clean, modern designs that look like they came from a salon. These ideas are genuinely beginner-friendly, and they actually work.
Pinterest is full of stunning nail art that looks impossible to recreate at home, but here is the secret: the prettiest, most wearable nail looks are usually the simplest. You do not need a steady artist's hand or a drawer full of tools to do beautiful nail art yourself. With a few basics you probably already own, you can create clean, modern designs that look like they came from a salon. These ideas are genuinely beginner-friendly, and they actually work.
Here are easy DIY nail art ideas you can really do at home, plus the simple tricks that make them look professional.
Key Takeaways
- The prettiest DIY nail art is usually the simplest.
- Everyday items like a toothpick, bobby pin, or tape work as tools.
- Beginner designs include dots, accent nails, lines, and color blocks.
- Always use a base coat first and a top coat to finish.
- Thin coats and patience give the cleanest results.
- A steady surface and dry layers prevent smudges.
What You Need (Mostly Things You Own)
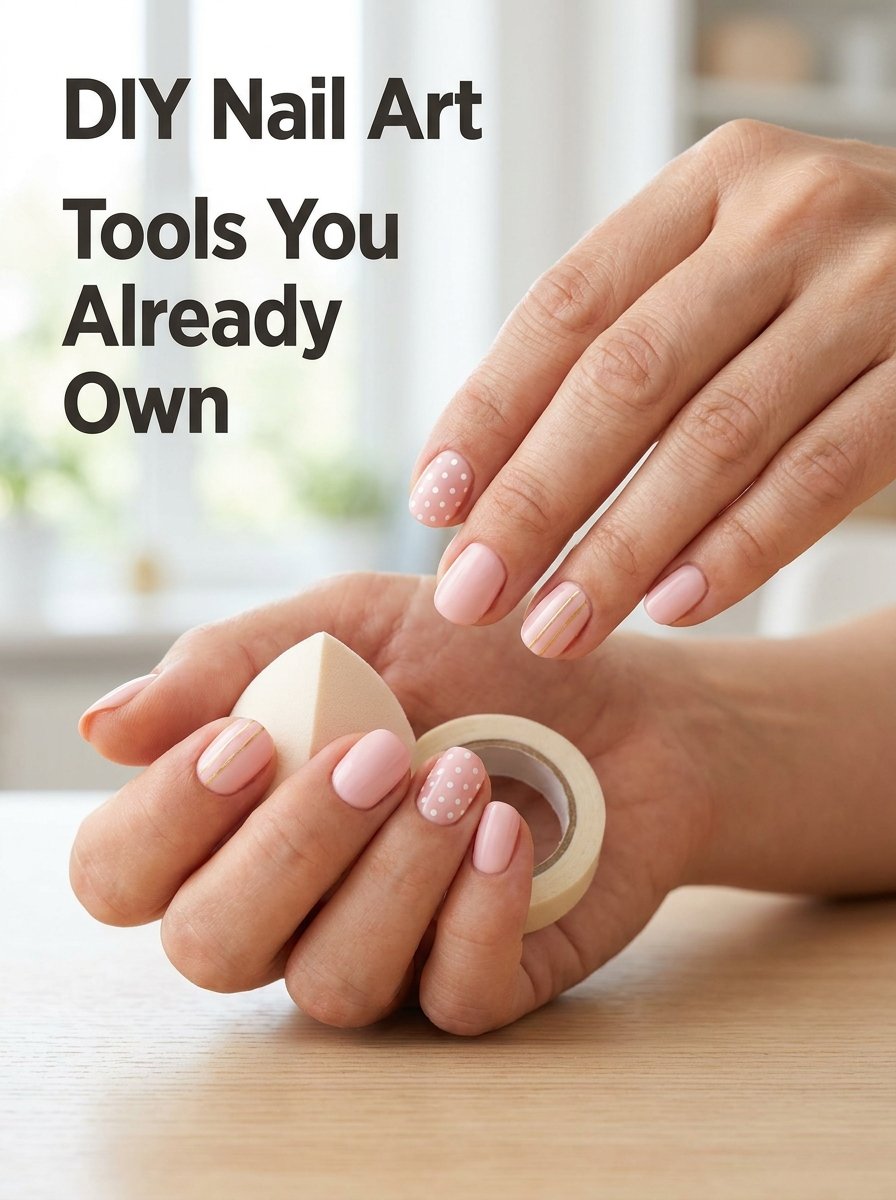
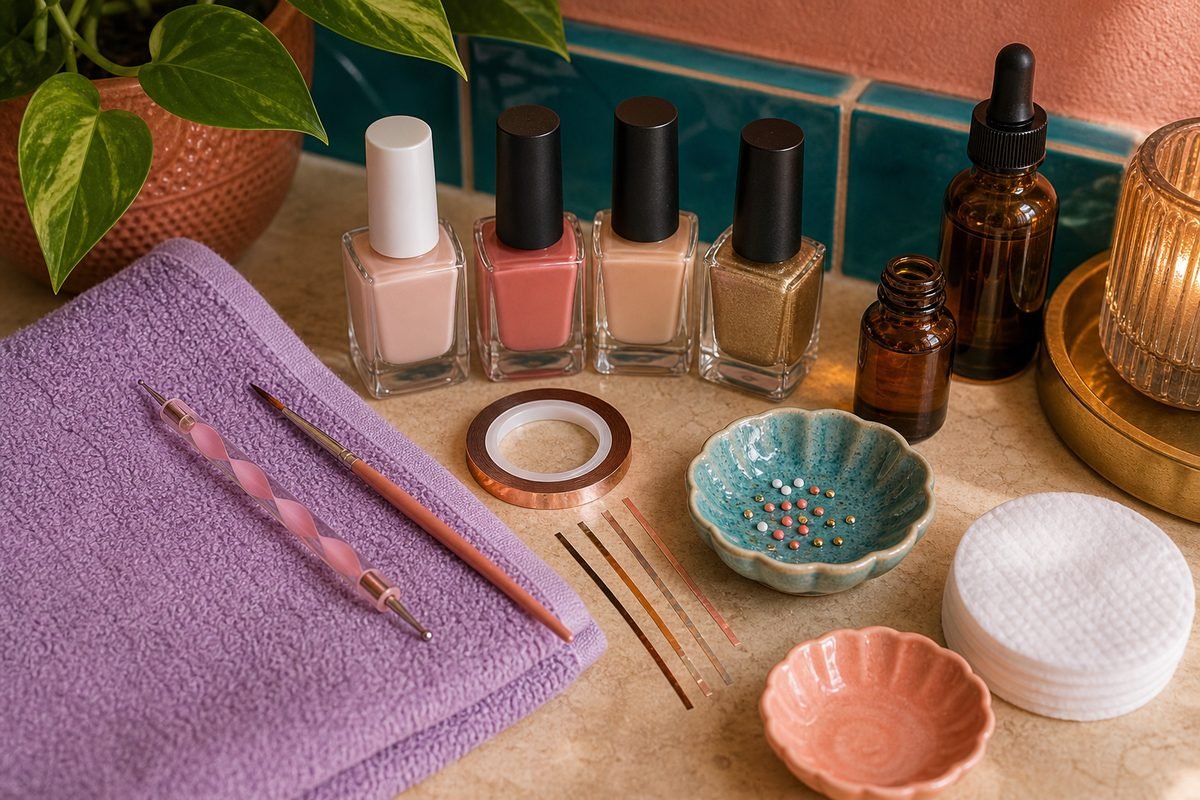
You do not need a professional kit. Most easy nail art uses items already in your home:
- A dotting tool, or substitutes like the round end of a bobby pin, a toothpick, or the tip of a pen for dots.
- Thin tape or nail striping tape (even regular tape works) for clean lines and shapes.
- A small brush or a fine liner, or a clean eyeliner brush, for lines and details.
- Base coat, your polish colors, and a top coat, the non-negotiable basics.
- A makeup sponge for gradient and ombre effects.
That is genuinely all you need to start. Fancy tools can come later if you fall in love with it.
Tips for Clean, Professional Results
A few habits make DIY nail art look polished rather than messy. Always start with a base coat so colors apply smoothly and last. Work with thin coats and let each layer dry before adding detail, since rushing causes smudges. Use a steady surface, resting your hand on the table as you work. Keep a small brush dipped in remover nearby to clean up any stray polish around the edges, this single trick makes everything look neater. And finish with a glossy top coat, which smooths the design, seals it, and gives that salon-quality shine. Patience and a clean-up brush are what separate "DIY" from "professional-looking."
Easy DIY Nail Art Ideas
Here are the most beginner-friendly looks, each simple enough to do on a quiet evening. Start with one or two and build confidence from there.
The Single Accent Nail
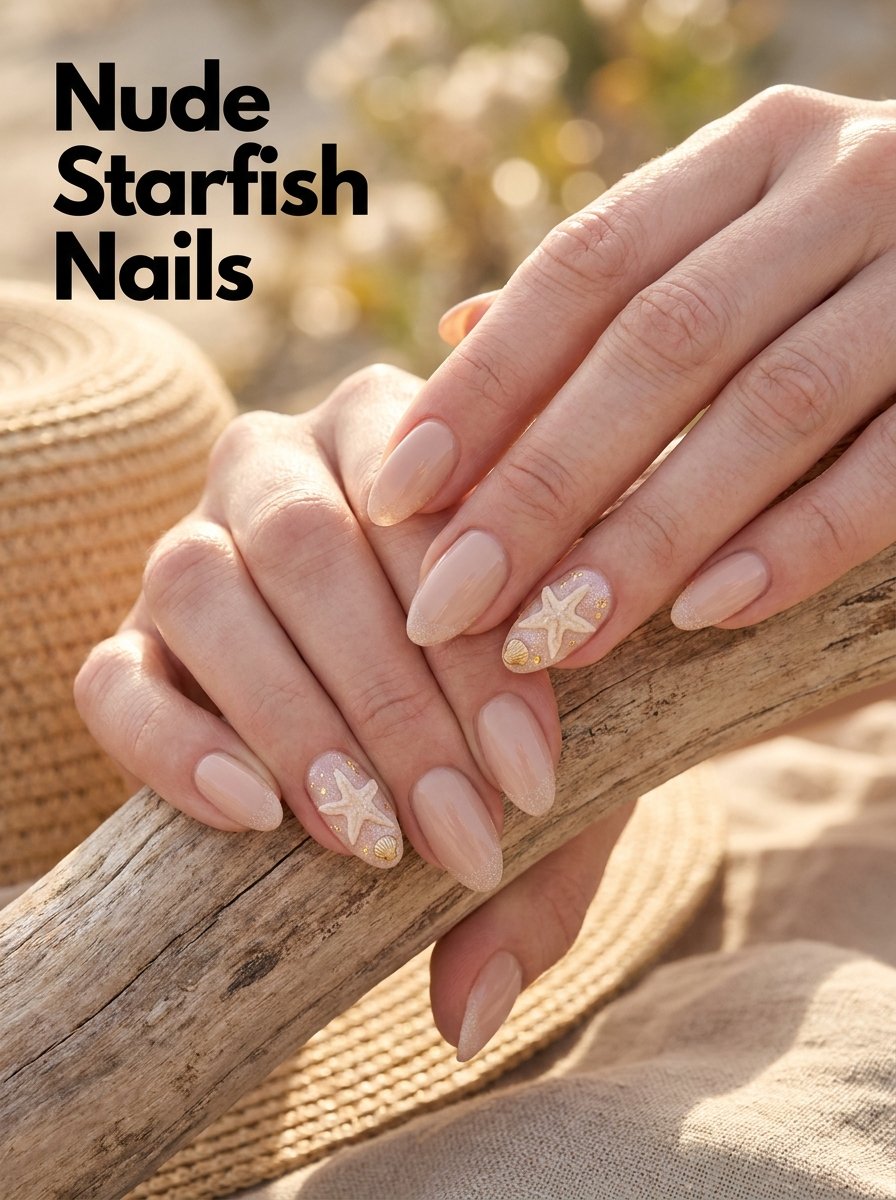
The easiest "design" of all: paint all your nails one neutral or soft color, then make just one nail different. That accent can be a shimmer or glitter polish, a deeper shade, a tiny dot, or a small detail. Because only one nail needs any skill, it is foolproof and looks intentional and chic. The accent nail is the perfect first step into nail art and still looks elegant on short or long nails.
Simple Dots and Patterns
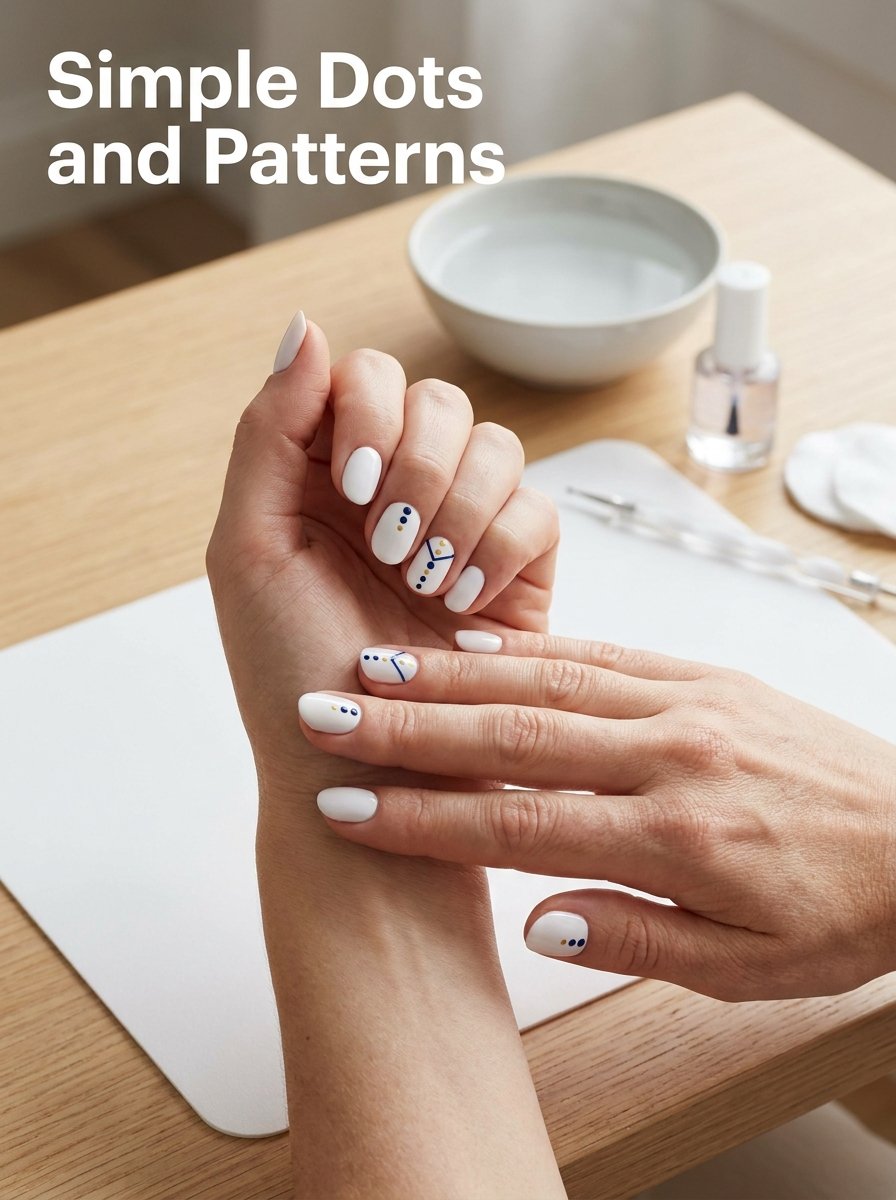
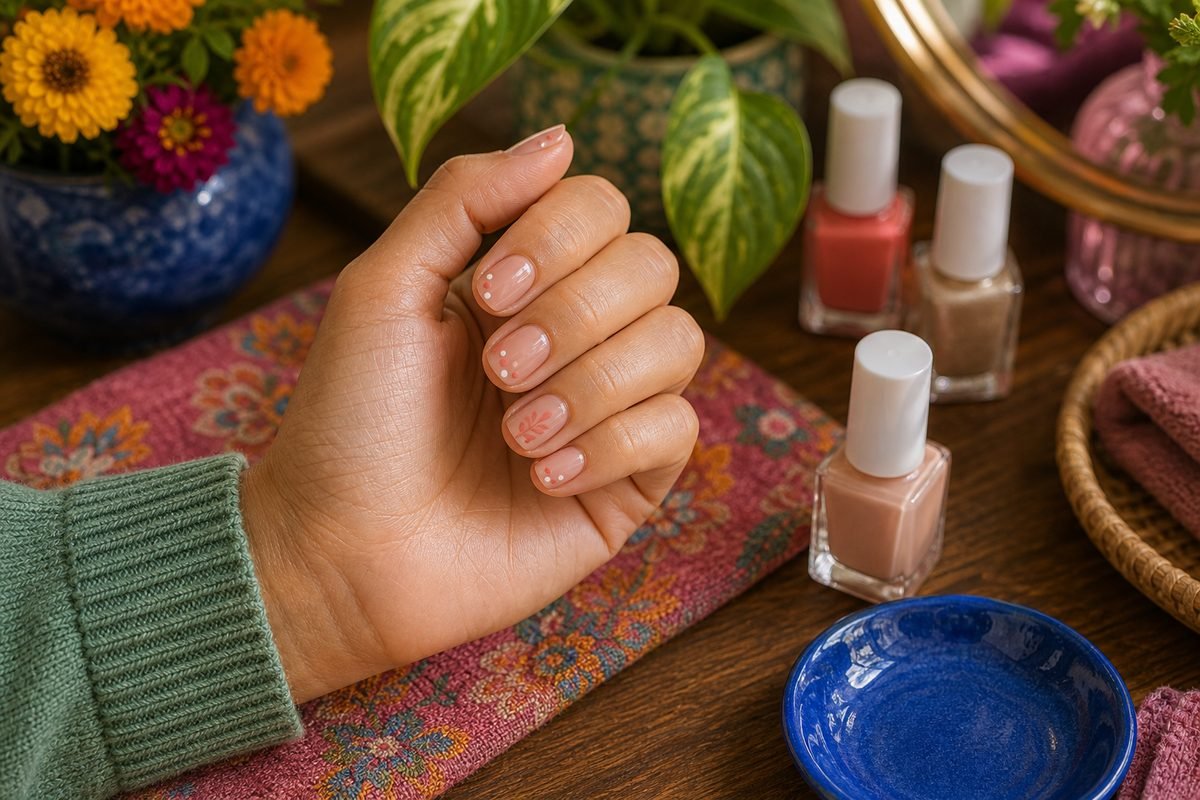
Dots are the most beginner-friendly nail art there is. Dip a dotting tool, bobby pin, or toothpick into polish and press gently onto the nail. You can make a single dot, a cluster, a polka-dot pattern, or a tiny flower (five dots in a circle with one in the center). Dots look cute, clean, and modern, and they are very forgiving since perfect dots are easy to achieve with a round tool. Try white dots over a soft base for a fresh, simple look.
Negative Space and Minimalist Lines
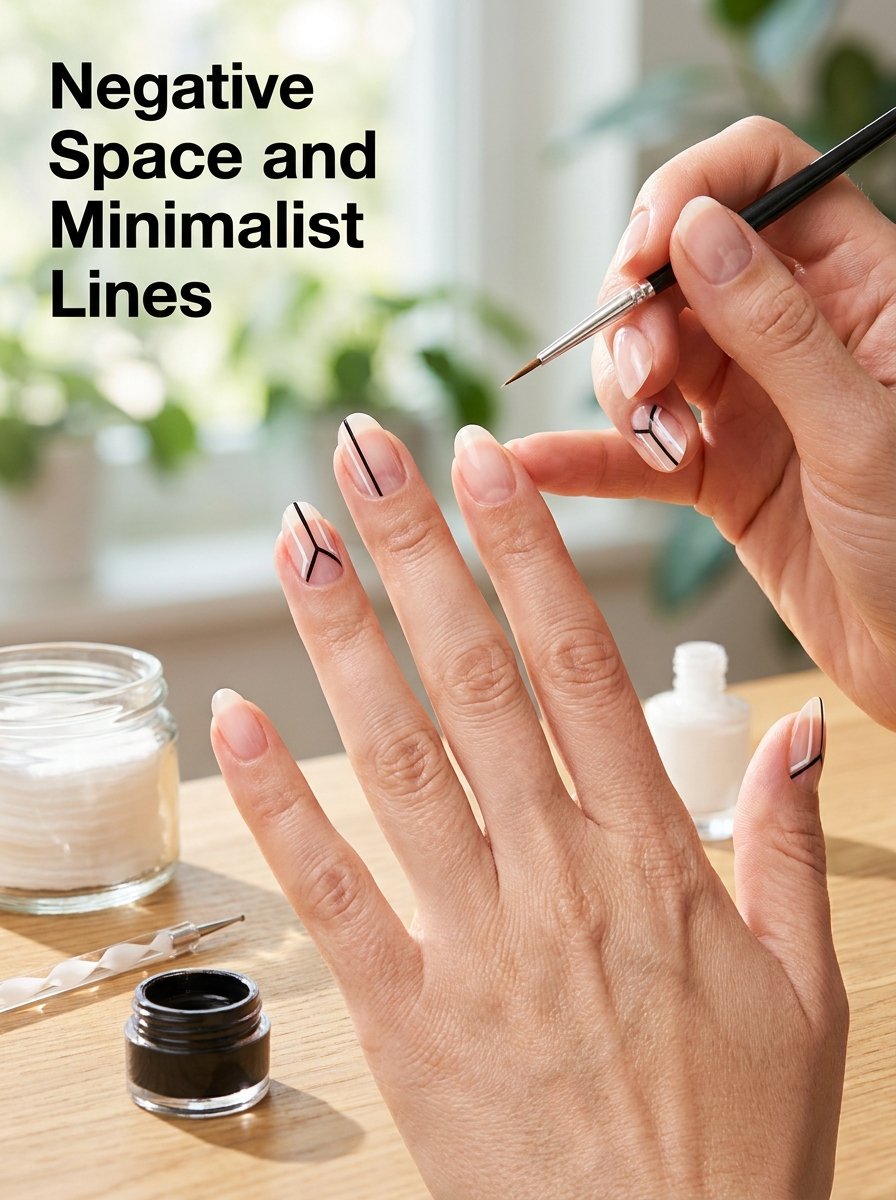
Negative space designs leave part of the bare (or sheer) nail showing, which looks modern and is wonderfully easy because you are doing less, not more. Try a single thin line across the nail, a small shape in one corner, or a sheer base with one delicate detail. For clean lines, use thin tape as a guide: apply it, paint over the exposed area, and peel the tape off before it dries. Minimalist line art is on-trend, beginner-friendly, and especially flattering on short nails.
Color Blocking
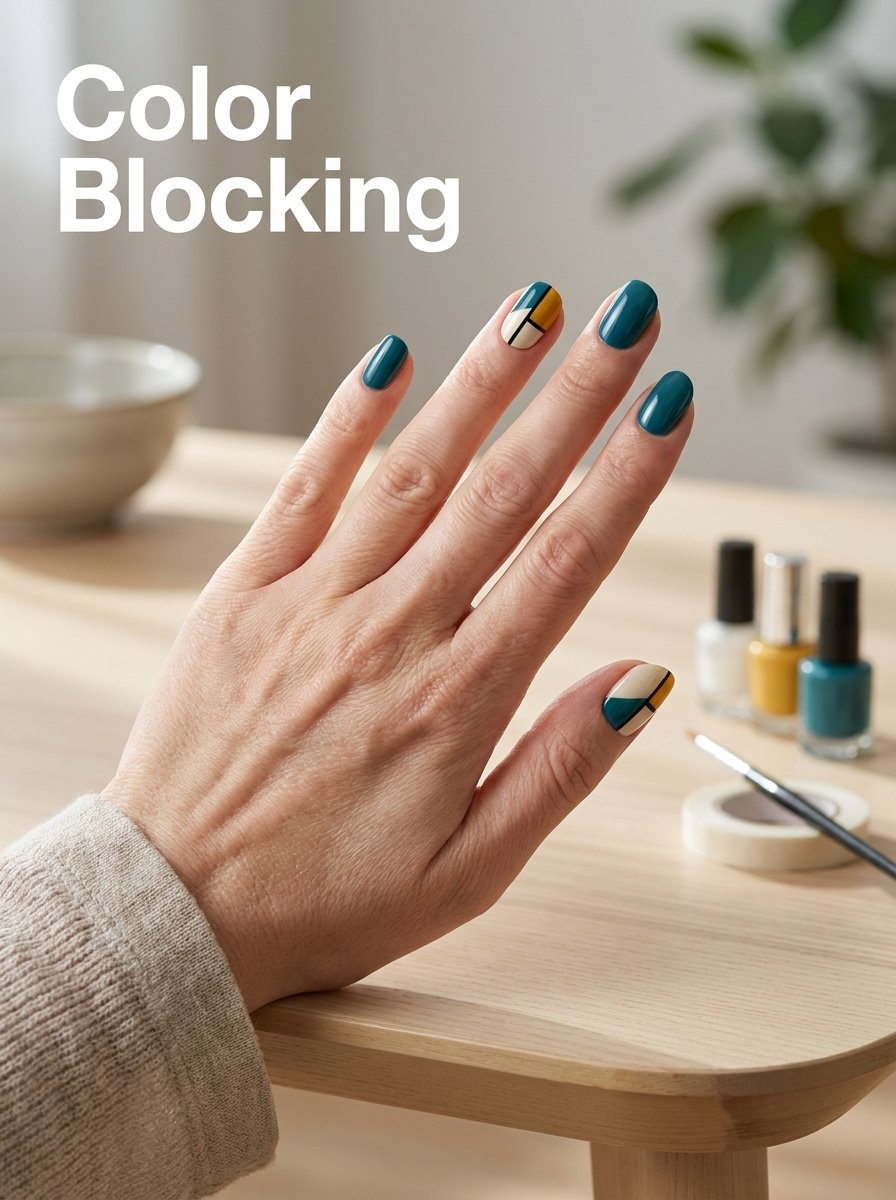
Color blocking pairs two or three colors in simple sections on the nail, and tape makes it easy. Paint a base color and let it dry, place a strip of tape diagonally or straight across, paint the exposed section a second color, then peel the tape for a crisp edge. You can do half-and-half nails, diagonal blocks, or a small block in one corner. It looks graphic and modern, and the tape does the precise work for you.
Easy French and Micro-Tips
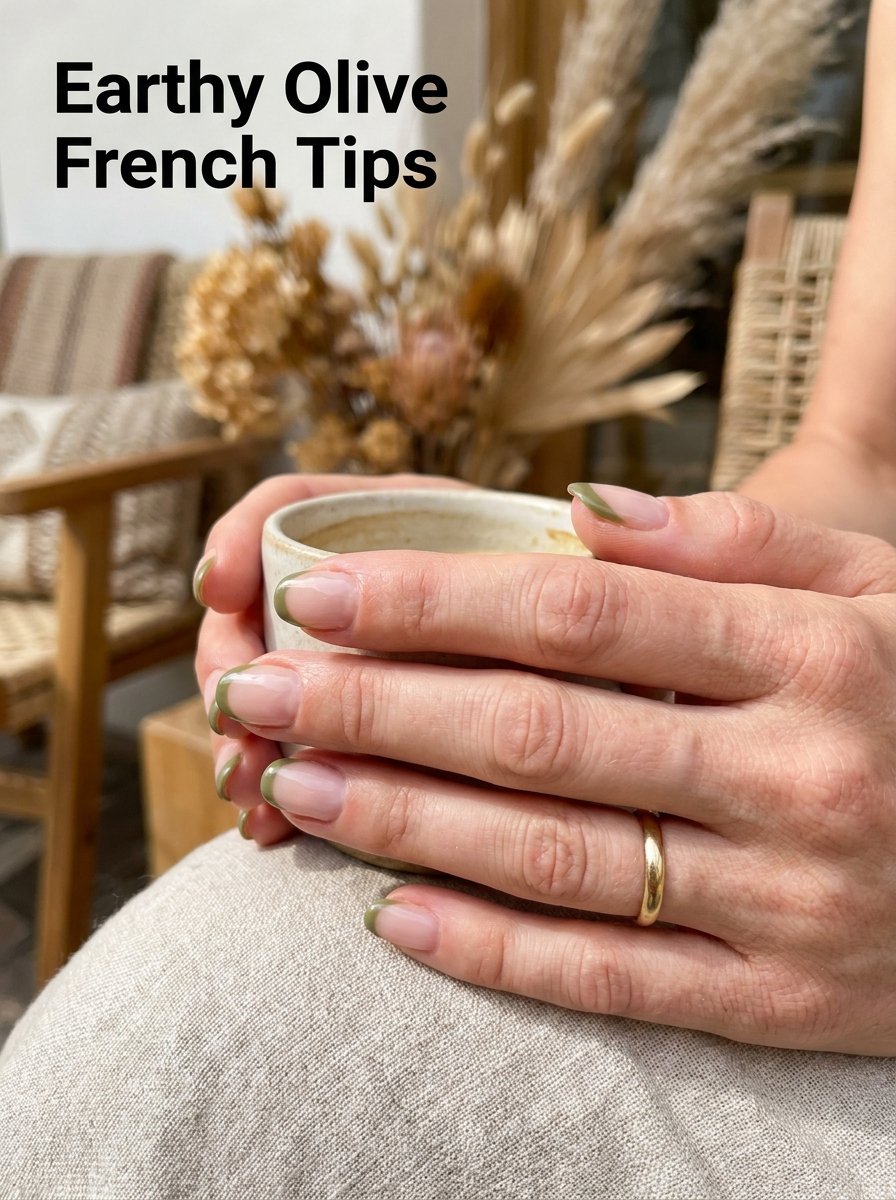
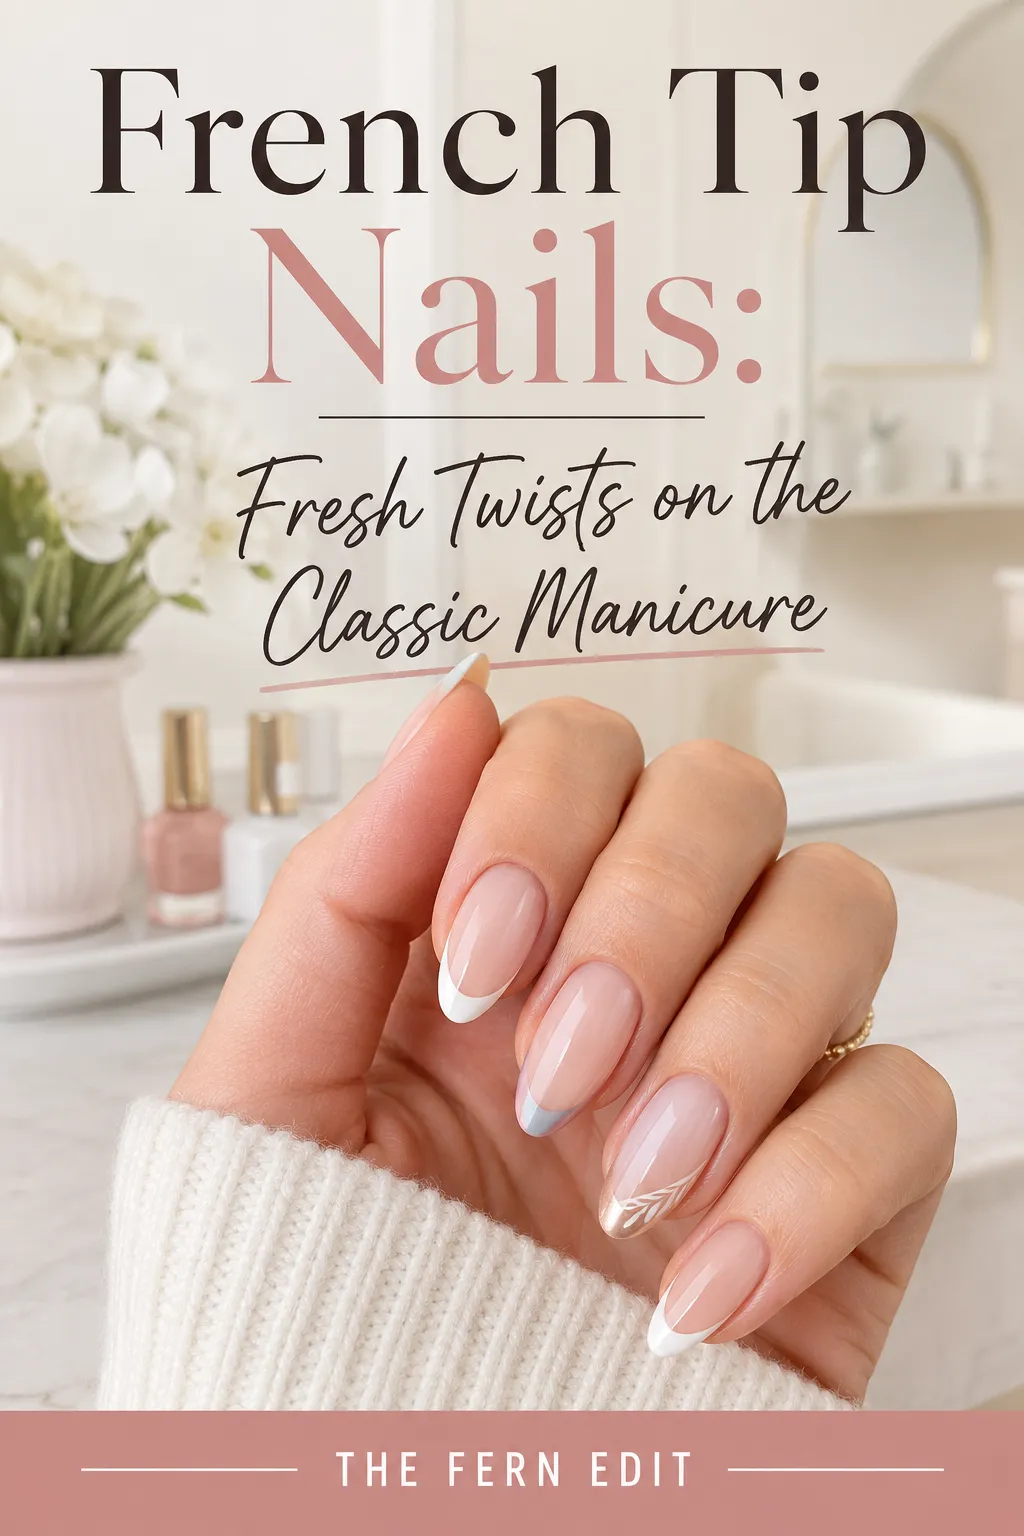
A French manicure looks classic and is very doable at home, especially a thin, modern micro-tip. Paint a sheer or nude base, then add a thin line of color along the nail tip, either freehand with a steady hand, using a French tip guide sticker, or using tape as a guide. Beyond classic white, try colored tips (a soft pastel, a bright shade) for a fun, current twist. A delicate tip looks elegant and intentional, and the guides make clean lines easy for beginners.
Glitter Gradient and Ombre Tips
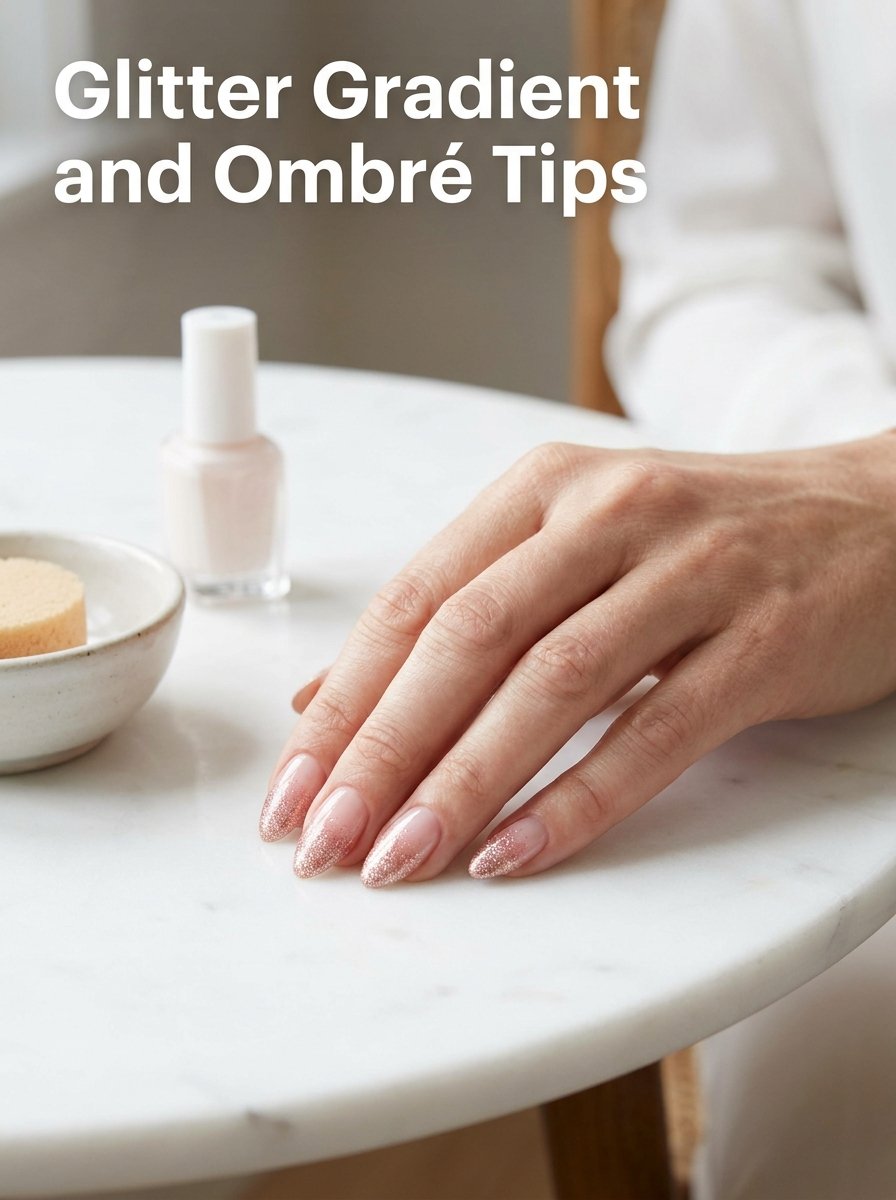
For a soft, pretty effect with almost no skill, try a glitter gradient. Simply apply a glitter polish concentrated at the tip and sweep it lighter toward the base, building a gentle fade. For an ombre of two colors, dab both onto a makeup sponge, press the sponge onto the nail, and repeat until the colors blend. It looks impressively professional, hides imperfections, and is far easier than it appears. Finish with a top coat to smooth any glitter texture.
The Half-Moon
The half-moon is a vintage-inspired look that is simpler than it seems. Paint your base color, let it dry, then place a small sticker or the curved edge of a tape piece (or even a hole-punch reinforcement sticker) at the base of the nail to create a curved line. Paint the rest of the nail a second color, then peel the guide for a neat half-moon at the base. It looks elegant and retro, and the sticker guide does the precise work for you.
Common Mistakes
- Skipping the base coat. It helps polish apply smoothly and last.
- Rushing between layers. Let each layer dry to avoid smudges.
- Overcomplicating it. Simple designs look cleaner and more chic.
- Forgetting clean-up. A remover-dipped brush tidies the edges instantly.
- Skipping the top coat. It seals the design and adds a pro-level shine.
Final Takeaway
Beautiful nail art at home is far more achievable than Pinterest makes it look, because the prettiest designs are the simplest. With a toothpick, some tape, a makeup sponge, and your favorite polishes, you can create accent nails, dots, clean lines, color blocks, French tips, and soft ombres that look genuinely professional. Start with a base coat, work with thin coats and a steady hand, tidy the edges, and finish with a glossy top coat. Pick one easy idea to try tonight, and you will be surprised how salon-worthy your own nails can look. Keep it simple, have fun, and let your creativity grow.
This article is for general beauty and self-care inspiration only. Care gently for your nails and consult a professional for any nail health concerns.
Nail inspiration to save 💅
Tap any look to open it — then save your favorites.
 📌 Save
Love this guide? Save it 📌
Pin it to your favorite board so it's easy to find again — and share it with a friend who'd love it too.
Save to PinterestFrequently asked questions
What is the easiest nail art to do at home?
The single accent nail and simple dots are the easiest. Paint your nails one color and make one nail different, or press dots on with a dotting tool, bobby pin, or toothpick. Negative space lines and glitter gradient tips are also very beginner-friendly.
What tools do I need for DIY nail art?
Mostly things you already own: a dotting tool (or bobby pin or toothpick) for dots, thin tape for clean lines and shapes, a makeup sponge for ombre, a small brush for details, and the essential base coat and top coat.
How do I make my DIY nail art look professional?
Use a base coat, apply thin coats and let them dry, rest your hand on a steady surface, clean up edges with a remover-dipped brush, and finish with a glossy top coat. The clean-up brush and top coat make the biggest difference.
How do I do a French tip at home?
Paint a sheer or nude base, then add a thin line of color along the tip, freehand, with a French tip guide sticker, or using tape as a guide. A thin micro-tip looks the most modern and elegant.
How do I do ombre nails without special tools?
Dab two polish colors onto a makeup sponge, press the sponge onto your nail, and repeat until the colors blend into a gradient. Finish with a top coat to smooth the texture. It looks professional and is very forgiving.
What nail art is best for beginners?
Accent nails, dots, negative space lines, color blocking with tape, and glitter gradient tips are all beginner-friendly. They use simple tools, hide small imperfections, and look clean and modern. Start with one and build from there.
Do I really need a top coat for nail art?
Yes. A top coat seals and protects the design, smooths any texture (like glitter), and adds a glossy, salon-quality shine. It also makes your nail art last much longer, so it is well worth the extra step.

We cite sources and update this guide regularly.