To remove acrylic nails at home without damage, clip the length down, file off the shiny top layer, protect your cuticles with petroleum jelly, then wrap each nail in a 100% acetone-soaked cotton pad and foil or plastic wrap for about 20 to 30 minutes. Gently push the softened acrylic off with a wooden stick, never pry or force it, then buff away residue and hydrate. Acrylic is harder than gel, so it needs a longer soak.
A set of acrylics is a commitment, and sometimes the timing of the salon and the timing of your "I need these off now" moment do not line up. Maybe one tip cracked, maybe they have grown out, or maybe you are ready to give your natural nails a breather. Whatever the reason, the worst thing you can do is force, pop, or pry them off. That is exactly how people end up with thin, dented, sore nails that take months to recover.
A set of acrylics is a commitment, and sometimes the timing of the salon and the timing of your "I need these off now" moment do not line up. Maybe one tip cracked, maybe they have grown out, or maybe you are ready to give your natural nails a breather. Whatever the reason, the worst thing you can do is force, pop, or pry them off. That is exactly how people end up with thin, dented, sore nails that take months to recover.
The good news is that taking acrylics off at home is very doable when you soak instead of snap. It takes a little more patience than gel because acrylic is thicker and tougher, but the method is simple, and you almost certainly have most of the supplies already.
Key takeaways
- Clip and file first. The less acrylic the acetone has to dissolve, the faster and gentler the whole process is.
- Soak, never snap. Prying acrylics off pulls away layers of your natural nail and is the number one cause of damage.
- Acrylic needs about 20 to 30 minutes in 100% acetone, longer than gel, so build in patience.
- An acetone-free warm soapy water soak works too, but it is slower and best when acrylics are already lifting.
- After-care is non-negotiable. Cuticle oil and hand cream help your nails recover from the drying acetone.
What you'll need
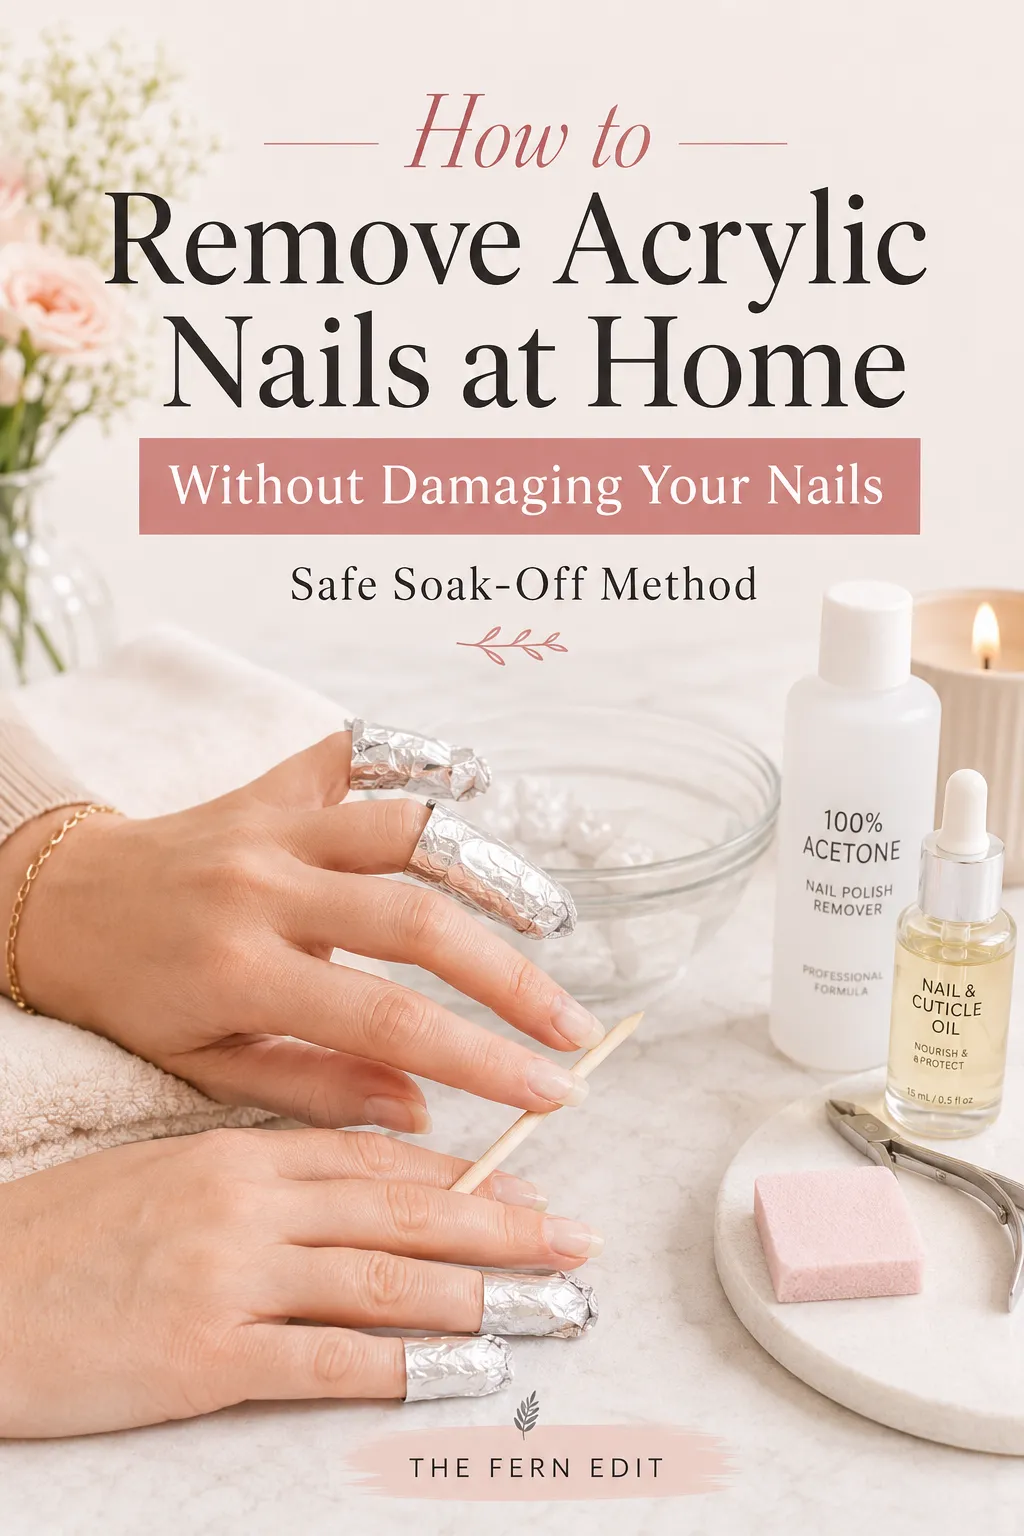
- Nail clippers or a tip cutter
- A coarse and a fine-grit nail file or buffer
- 100% pure acetone (not regular nail polish remover)
- Cotton balls or pads
- Aluminum foil or plastic food wrap
- A wooden or orange cuticle stick
- Petroleum jelly
- Cuticle oil and a rich hand cream
- Optional: a nail strengthener for afterward
Acrylic will not break down in standard or "acetone-free" remover, so you do need 100% acetone, easy to find at any US drugstore.
The acetone soak method (step by step)
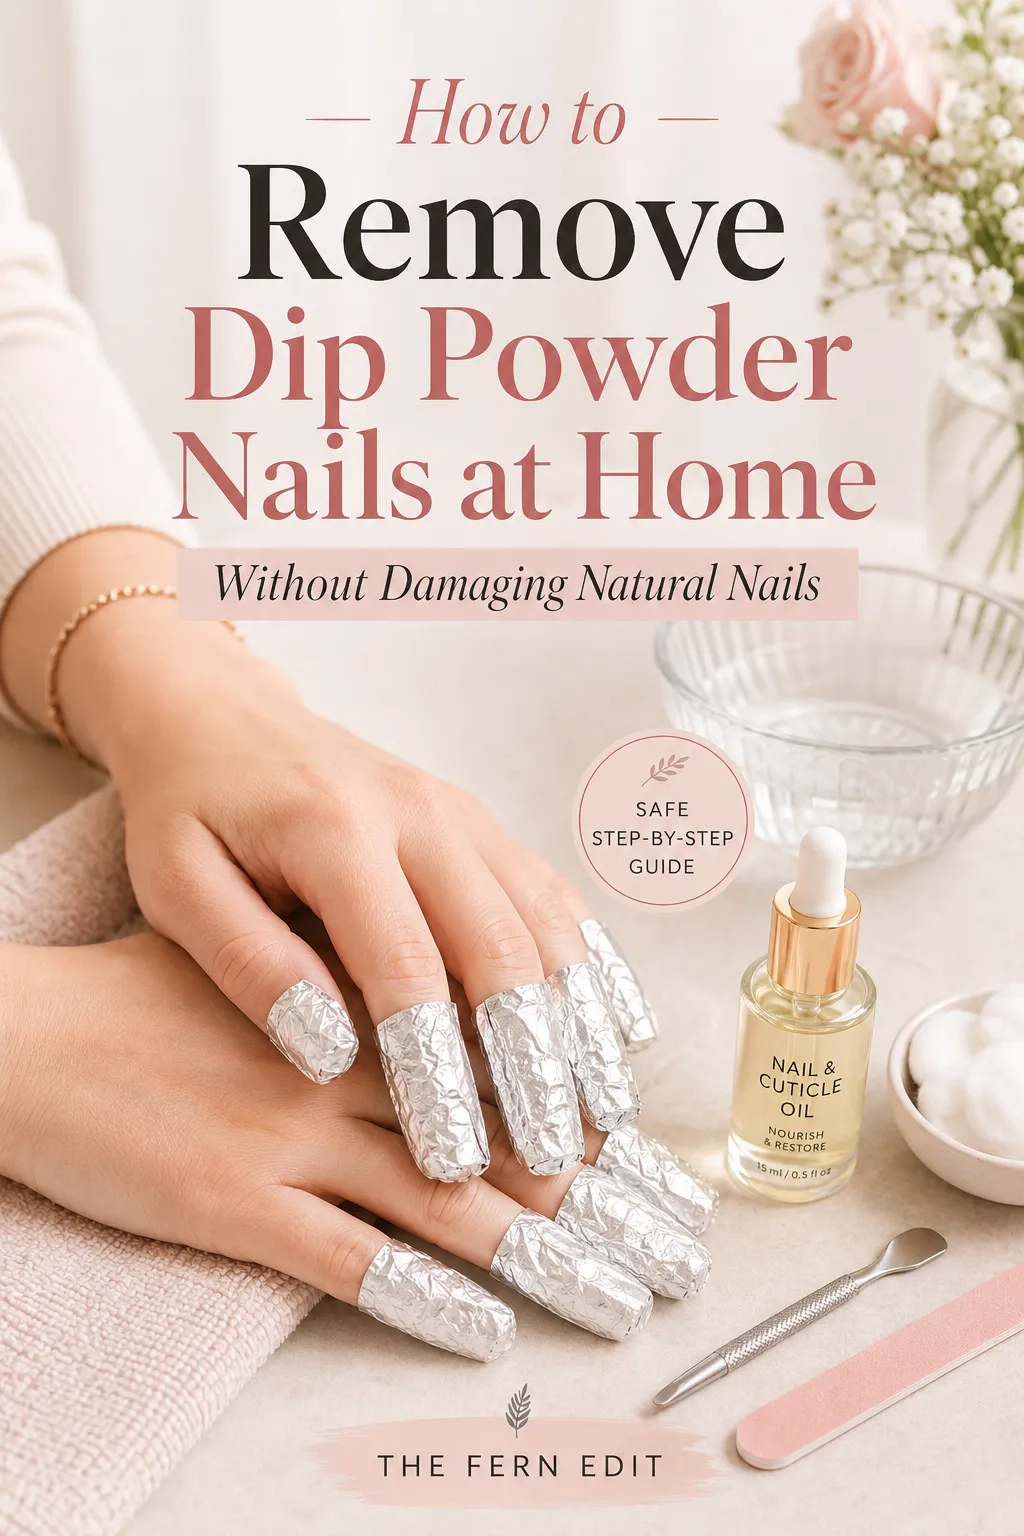
Plan for around 20 to 35 minutes total, and work on one hand at a time so a free hand can wrap and unwrap.
Step 1: Protect your space
Acetone dulls and damages countertops and furniture. Lay down plastic wrap and a towel, and work somewhere ventilated.
Step 2: Clip the length
Use clippers or a tip cutter to trim the acrylics as short as you comfortably can, down toward your natural nail line. Less product means a faster, gentler soak. Do not cut so far that you catch your real nail.
Step 3: File off the shine
With a coarser file, buff down the glossy top layer and any thick build-up, gel top coat, or nail art. You want to break the sealed surface so acetone can get in. Go gently around the natural nail, you are thinning the acrylic, not your nail bed.
Step 4: Protect your skin
Rub petroleum jelly onto your cuticles and the skin around each nail. Acetone is drying, and this simple barrier protects that delicate skin.
Step 5: Soak and wrap
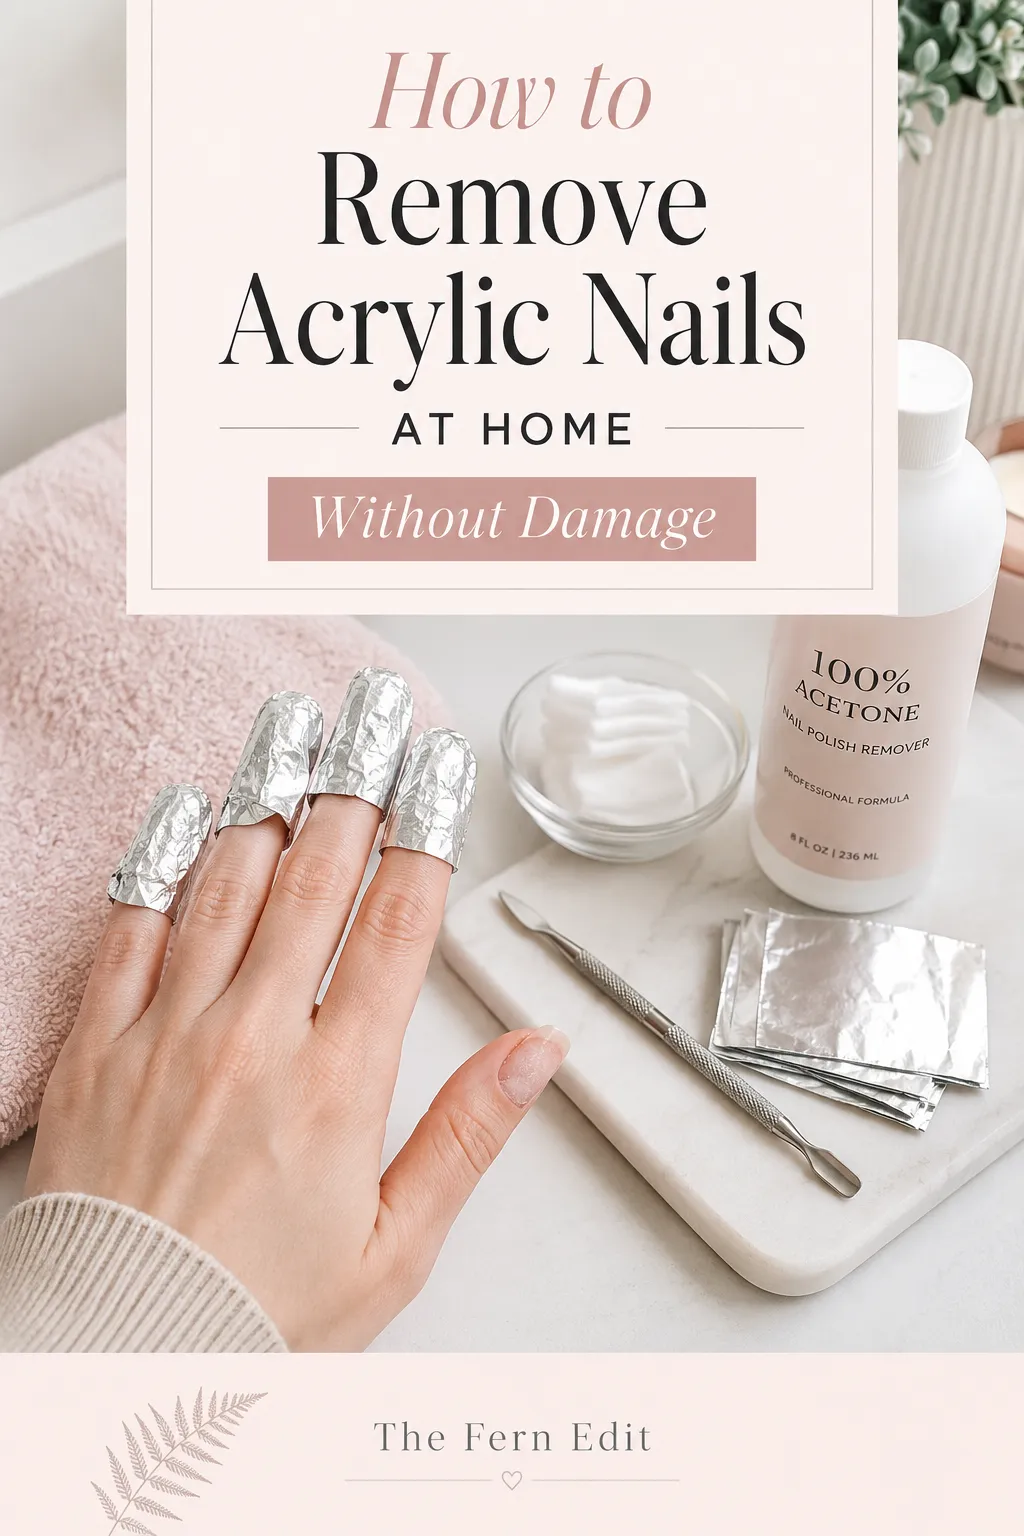
Soak a cotton pad in acetone, press it onto the nail, and wrap the fingertip in foil or plastic wrap. Plastic seals a little tighter, so it drips less, while foil holds heat that can speed things up. Either works. Wrap snugly but not so tight that it cuts off circulation.
Step 6: Wait and check
Set a timer for 20 to 30 minutes. Acrylic is tougher than gel, so it genuinely needs this time. Unwrap one nail to check. The acrylic should look soft, lifted, or flaky. If it is still hard, re-wrap and give it another 5 to 10 minutes.
Step 7: Gently push, never pry
Use a wooden stick at a low angle to nudge the softened acrylic from the cuticle toward the tip. It should give way easily. If anything resists, re-soak that nail rather than forcing it. Forcing is what causes the damage.
Step 8: Buff, wash, and hydrate
Lightly buff away any thin residue with a fine-grit buffer, then wash your hands with warm soapy water to clear off acetone. Finish by massaging in cuticle oil and a rich hand cream.
How to remove acrylics without acetone
If you would rather skip acetone, or you have run out, there are gentler options. They take longer and work best once the acrylics are already loosening.
- Warm soapy water soak: Clip and file first, then soak your nails in warm water with a few drops of dish soap for 20 to 40 minutes. The soap helps loosen the bond. Gently lift with a wooden stick as the edges release.
- The floss method, very gently: Once edges have lifted, slide a piece of dental floss or a thin plastic card under the base and ease it toward the tip. The key word is gently. If it does not move easily, soak longer. Never snap it off.
A note worth being honest about: acetone-free methods are kinder to skin, but rushing or prying with any method still damages nails. Patience is the real secret, not the product.
How long does it take?
Most at-home acrylic removals run about 25 to 35 minutes from setup to hydration, with the acetone soak itself taking 20 to 30 minutes. Thicker sets, builder layers, and nail art all add time. If you are short on patience, that is a sign to book a quick salon removal instead, since a pro has stronger tools and can protect your nails better.
Common mistakes that damage your nails
- Prying, popping, or biting acrylics off. This is the big one. It tears away layers of the natural nail and leaves it thin and weak for months.
- Skipping the clip and file. Trying to soak a full, thick acrylic just frustrates you into forcing it.
- Using metal tools to scrape. Aggressive scraping gouges the nail and causes white spots. A wooden stick at a low angle is gentler.
- Under-soaking, then forcing. If it resists, the answer is always more soak time.
- Forgetting after-care. Acetone is drying, so skipping oil and cream leaves nails brittle.
After removal: recovering your natural nails

Right after acrylics come off, your nails may feel thin, ridged, or a little tender. That is normal, and it improves with consistent care.
- Apply cuticle oil twice a day to rehydrate the nail and surrounding skin.
- Use a rich hand cream, especially after washing your hands.
- Keep nails on the shorter side for a couple of weeks so they are less likely to snag and break.
- Consider a nail strengthener while they recover.
This is the perfect window to build a simple maintenance habit. Our guide on how to grow stronger nails covers the daily routine that helps weak nails firm back up, and if you also wear gel, our walkthrough on removing gel nails at home uses the same gentle, soak-first approach.
How often should you take acrylic breaks?
There is no fixed rule, but giving your natural nails recovery time matters. Repeated filing and acetone exposure can gradually thin and dry the nail, so building in a break every few months lets your nails grow out and strengthen. Many people alternate sets with a stretch of bare, well-oiled nails, which keeps the natural nail healthier in the long run.
Expert tips
- Set a real timer so you do not under-soak and then force it.
- A warm room or a foil wrap speeds the soak, useful in a cold bathroom.
- Do one hand fully, then the other, so you always have a free hand.
- Do not reapply acrylics the same day. Let your nails rest and rehydrate.
- If your skin is sensitive, keep acetone strictly on the nail and patch-test products first.
Save this for later

Pin this for the next time your acrylics grow out. The short version: clip, file the shine, protect your skin, soak in 100% acetone for 20 to 30 minutes, gently push off, then hydrate. No prying, ever.
Final takeaway
Taking acrylics off at home is not the nail-wrecking ordeal it is made out to be. The secret is patience and a soak, never force. Clip them down, file off the shine, wrap with 100% acetone, wait it out, and gently push the softened acrylic away, then pour moisture back into your nails. Treat removal as part of your self-care, and your natural nails will stay strong enough for whatever look comes next.
This article is for general beauty and self-care education only and is not medical advice. If you notice nail pain, separation, or signs of infection, see a board-certified dermatologist.
Nail inspiration to save 💅
Tap any look to open it — then save your favorites.



 📌 Save
Love this guide? Save it 📌
Pin it to your favorite board so it's easy to find again — and share it with a friend who'd love it too.
Save to PinterestFrequently asked questions
Can I remove acrylic nails without acetone?
Yes, but it is slower. A warm soapy water soak or gentle floss method can work, especially once the acrylics start lifting. They are kinder to skin, though patience still matters, since forcing acrylics off damages your nails no matter the method.
How long does it take to remove acrylics at home?
About 25 to 35 minutes from start to finish. The acetone soak alone is usually 20 to 30 minutes, since acrylic is harder than gel and needs longer to soften.
Will removing acrylics at home ruin my nails?
Not if you soak rather than pry. The damage people blame on acrylics almost always comes from popping them off, which strips a layer of natural nail. A proper soak protects the nail underneath.
Do I have to file my acrylics before soaking?
Yes, lightly. Clipping the length and buffing off the shiny top layer lets the acetone reach the acrylic far faster, so you are not tempted to force it.
Foil or plastic wrap, which is better for acrylics?
Both work. Foil holds a little warmth that can speed the soak, while plastic wrap seals tighter so acetone drips less. Use whichever you have.
Why do my nails feel thin after removing acrylics?
Filing and long acetone exposure can leave the nail temporarily thinner and drier. With daily cuticle oil, hand cream, and a short break from enhancements, they firm back up as they grow.
How often is it safe to get acrylics?
There is no set number, but a break every few months gives your natural nails time to recover. Keeping them oiled and hydrated between sets helps too.
What should I do for my nails after removing acrylics?
Hydrate right away with cuticle oil and hand cream, keep using cuticle oil twice daily, keep nails short for a couple of weeks, and consider a strengthener during the break.

We cite sources and update this guide regularly.