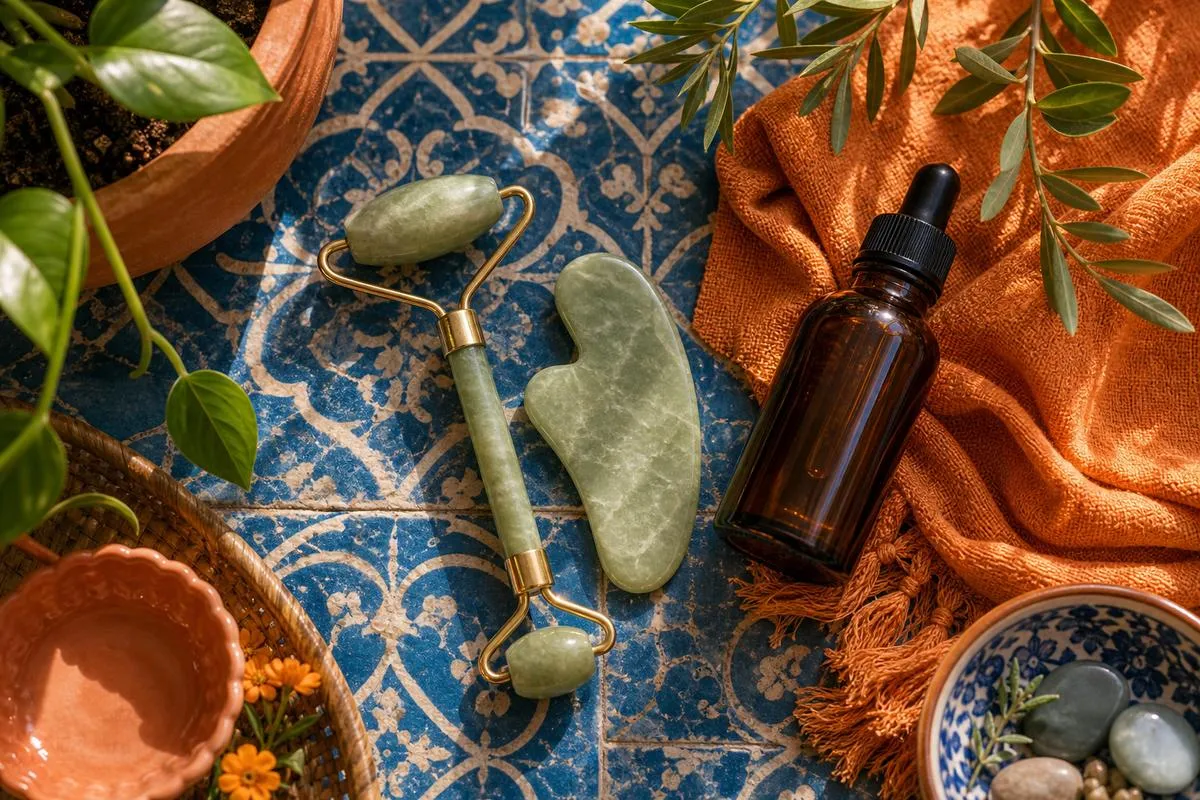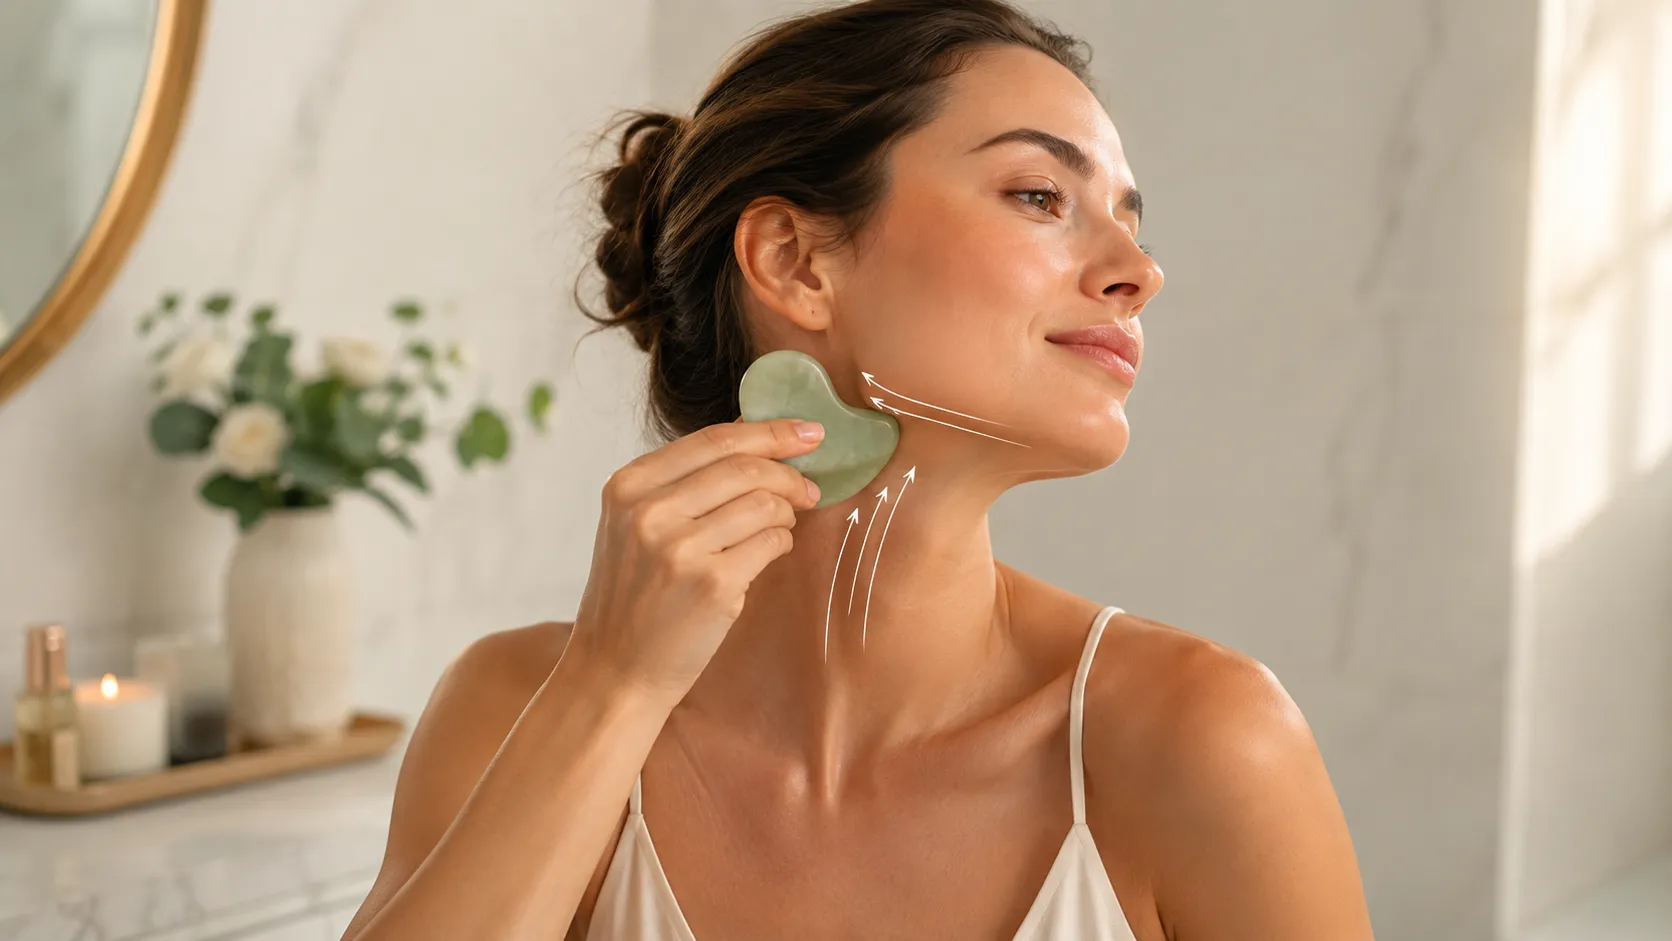
To gua sha your neck and jawline, apply facial oil, then always start at the neck: using light pressure, stroke downward from behind your earlobe to your collarbone to open the drainage path. Next, nestle your jawbone in the U-shaped edge and glide from the center of your chin up along the jaw to your earlobe. Finish by draining down the neck again. This de-puffs, releases jaw tension, and supports a slightly more sculpted look. The lift is real but temporary, and it will not remove fat or permanently change your jaw.
The jaw and neck are where gua sha gets the most attention, and for good reason. This is where we hold tension, where fluid pools, and where a little de-puffing makes the biggest visible difference. Done gently and consistently, gua sha can leave your lower face looking more defined and refreshed.
The jaw and neck are where gua sha gets the most attention, and for good reason. This is where we hold tension, where fluid pools, and where a little de-puffing makes the biggest visible difference. Done gently and consistently, gua sha can leave your lower face looking more defined and refreshed.
Here is exactly how to gua sha your neck and jawline, why the neck comes first, and an honest take on the lift you can and cannot expect.
Key takeaways

- Always start at the neck to open the lymphatic exit toward the collarbone.
- Work the jawline from the center of the chin up toward the ear.
- Use light pressure and plenty of oil, and stroke one direction only.
- It de-puffs, eases jaw tension, and supports modest contour.
- The lift is temporary, and it cannot remove a fat-based double chin.
Why do the neck and jaw respond so well?
A few things make this area especially rewarding. We clench the jaw under stress, so there is often real muscle tension to release, including tightness linked to the TMJ. Fluid also collects along the jaw and under the chin, so draining it produces a quick, visible de-puff. And the jawline is simply the area where a sharper, less puffy contour reads most clearly. Add in that the collarbone is a key exit point for lymphatic fluid, and the lower face becomes the perfect place for a focused gua sha routine.
Why do you start at the neck?

This is the step people skip, and it matters most. The neck is the drainage highway. The lymphatic fluid you are about to move from your jaw and cheeks needs somewhere to exit, and that exit is down the neck to the collarbone. If you sculpt the jaw without opening the neck first, you are pushing fluid with nowhere to go. So the neck always comes first, and you return to it to finish.
The neck and jawline routine
Cleanse, apply a few drops of facial oil, and hold the tool nearly flat at about a 15 to 45 degree angle. Use light pressure and support your skin with your free hand. Do each stroke around 5 to 10 times per side, with a small wiggle at the end of each to release fluid.
1. Open the neck (always first)

Using the long flat edge, stroke gently downward from behind your earlobe, along the side of your neck, to your collarbone. Repeat about 10 times each side. This opens the drainage path.
2. Glide the jawline
Nestle your jawbone in the U-shaped curve of the tool. Starting at the center of your chin, glide upward and outward along the jaw toward your earlobe. This is the signature sculpting stroke. Repeat several times each side.
3. Under the chin

For the area under the chin, use the flat or U edge to stroke from the center outward toward the ear, following the jaw. This helps de-puff the under-chin area and ease tension.
4. Release jaw tension
Pause at the angle of the jaw near your ear, where the jaw muscle sits, and use slow, light strokes to ease any clenching tension. Many people hold a surprising amount of tightness here.
5. Drain it down

Finish by stroking from your jaw down the sides of your neck to your collarbone again, guiding all the fluid out. A few slow passes completes the routine.
How often should you do it for results?
Daily for about 5 minutes gives the best results, ideally in the morning when overnight puffiness is at its peak. Reduced puffiness often shows within the first week, while a subtly more sculpted look builds over 4 to 6 weeks of consistent practice. The results are cumulative and maintenance-based, so a regular habit matters more than the occasional long session.
What can and can't it do?

Honesty keeps your expectations healthy.
It can: reduce fluid-related puffiness along the jaw and under the chin, release jaw and TMJ-area tension, boost circulation for a fresher look, and support a modest, measurable contour with consistency.
It can't: remove a double chin caused by fat or genetics, permanently lift jowls, or change your underlying bone structure. Those are structural and need a dermatologist's options. Think of gua sha as a way to look less puffy, more relaxed, and a touch more defined, not a permanent jaw transformation. Pairing it with jawline face yoga, which works the muscles, gives you a fuller natural approach.
Mistakes to avoid
- Skipping the neck. Without it, fluid has no exit. Always open and close at the neck.
- Pressing too hard on the jaw. Light pressure works better and avoids bruising.
- Going back and forth. Stroke one direction, up and out on the jaw, down on the neck.
- Forgetting oil. Dry skin drags. Use slip every time.
- Expecting fat loss. Gua sha de-puffs and sculpts subtly, it does not remove fat.
For more, see our 7 gua sha mistakes to avoid.
Expert tips
- Chill your tool in the fridge for an extra de-puffing, jaw-soothing effect.
- Do it in the morning to counter overnight fluid along the jaw.
- If you clench or grind, the jaw-tension step may feel especially good.
- Keep the tool clean, since the jaw and chin are breakout-prone areas.
- Be patient and consistent. The contour is cumulative, not a one-session fix.
Final takeaway
The neck and jawline are where gua sha shines, easing the tension we clench there, draining the fluid that pools, and leaving the lower face looking fresher and a touch more defined. The golden rules are simple: open the neck first, glide the jaw from chin to ear, keep the pressure light, and always drain back down. It will not remove fat or permanently reshape your jaw, but as a daily de-puffing and tension-release ritual, it delivers a real, satisfying lift. Pair it with consistency and honest expectations, and your jawline will thank you.
This article is for general beauty and self-care education only and is not medical advice. For jaw pain, TMJ concerns, or structural changes, see a qualified professional.
 📌 Save
Love this guide? Save it 📌
Pin it to your favorite board so it's easy to find again — and share it with a friend who'd love it too.
Save to PinterestFrequently asked questions
Does gua sha really work on the jawline?
Yes, modestly. It reduces fluid-related puffiness along the jaw, releases tension, and supports a slightly more defined contour with consistent use. A small trial found a measurable contour change. The effect is real but temporary, so regular practice maintains it.
Why do I start gua sha at the neck?
Because the neck drains lymphatic fluid down to the collarbone, which is a key exit point. Opening the neck first gives the fluid you move from your jaw somewhere to go. Skipping it means pushing fluid with no path out, which limits results.
Can gua sha get rid of a double chin?
Only if the puffiness is fluid-related. Gua sha can de-puff and subtly define the under-chin area, but it cannot remove a double chin caused by fat or genetics, which is structural and needs a dermatologist's options.
How do I gua sha my jawline correctly?
Apply oil, hold the tool nearly flat, and nestle your jawbone in the U-shaped edge. Glide from the center of your chin up and out toward your earlobe with light pressure, several times each side, then drain down the neck. Always start and finish at the neck.
Can gua sha lift jowls?
Not permanently. It can temporarily de-puff and create a slightly firmer-looking lower face, but jowls are largely structural, from volume loss and skin laxity. For lasting change, a dermatologist can discuss options, and gua sha can complement them.
How long until I see jawline results?
De-puffing often shows within the first week of daily use, while a subtly more sculpted look builds over 4 to 6 weeks. Results are cumulative and maintenance-based, so they fade if you stop practicing.
Does gua sha help jaw tension or TMJ?
It can ease the muscle tension many people hold in the jaw, which feels relaxing. It is not a medical treatment for TMJ disorders, though. If you have jaw pain, clicking, or a diagnosed TMJ condition, see a dentist or doctor.
How often should I gua sha my neck and jaw?
Daily for about 5 minutes is ideal, especially in the morning for puffiness. Consistency matters more than intensity, and a gentle daily habit produces better, more lasting results than occasional intense sessions.
Which direction do I move the tool on my jaw?
Always from the center of the chin outward and up along the jawbone toward the earlobe, in one direction. Lift the tool and return to the chin rather than dragging it back and forth.
Should I combine gua sha with face yoga for my jawline?
Yes. Gua sha drains and relaxes while face yoga works the supporting muscles, so together they give the most defined, realistic jawline results. Pair both with good skincare and daily sunscreen.
Can gua sha firm a sagging neck?
Gua sha can support firmness and improve the look of a smoother, less puffy neck with consistency, but it cannot reverse deep structural sagging on its own. It is gentle, supportive care best paired with sunscreen and good skincare.
Do I need to use sunscreen on my neck and chest?
Yes, absolutely. Sun exposure is one of the top causes of visible aging on the neck and décolletage, and this area is frequently missed. Extend your sunscreen down the neck and chest every day.
Is the skin on my neck too delicate for gua sha?
No, as long as you are gentle. The neck skin is thin, so use light pressure and always glide on oil. Done softly, gua sha is well suited to caring for this delicate area.

We cite sources and update this guide regularly.