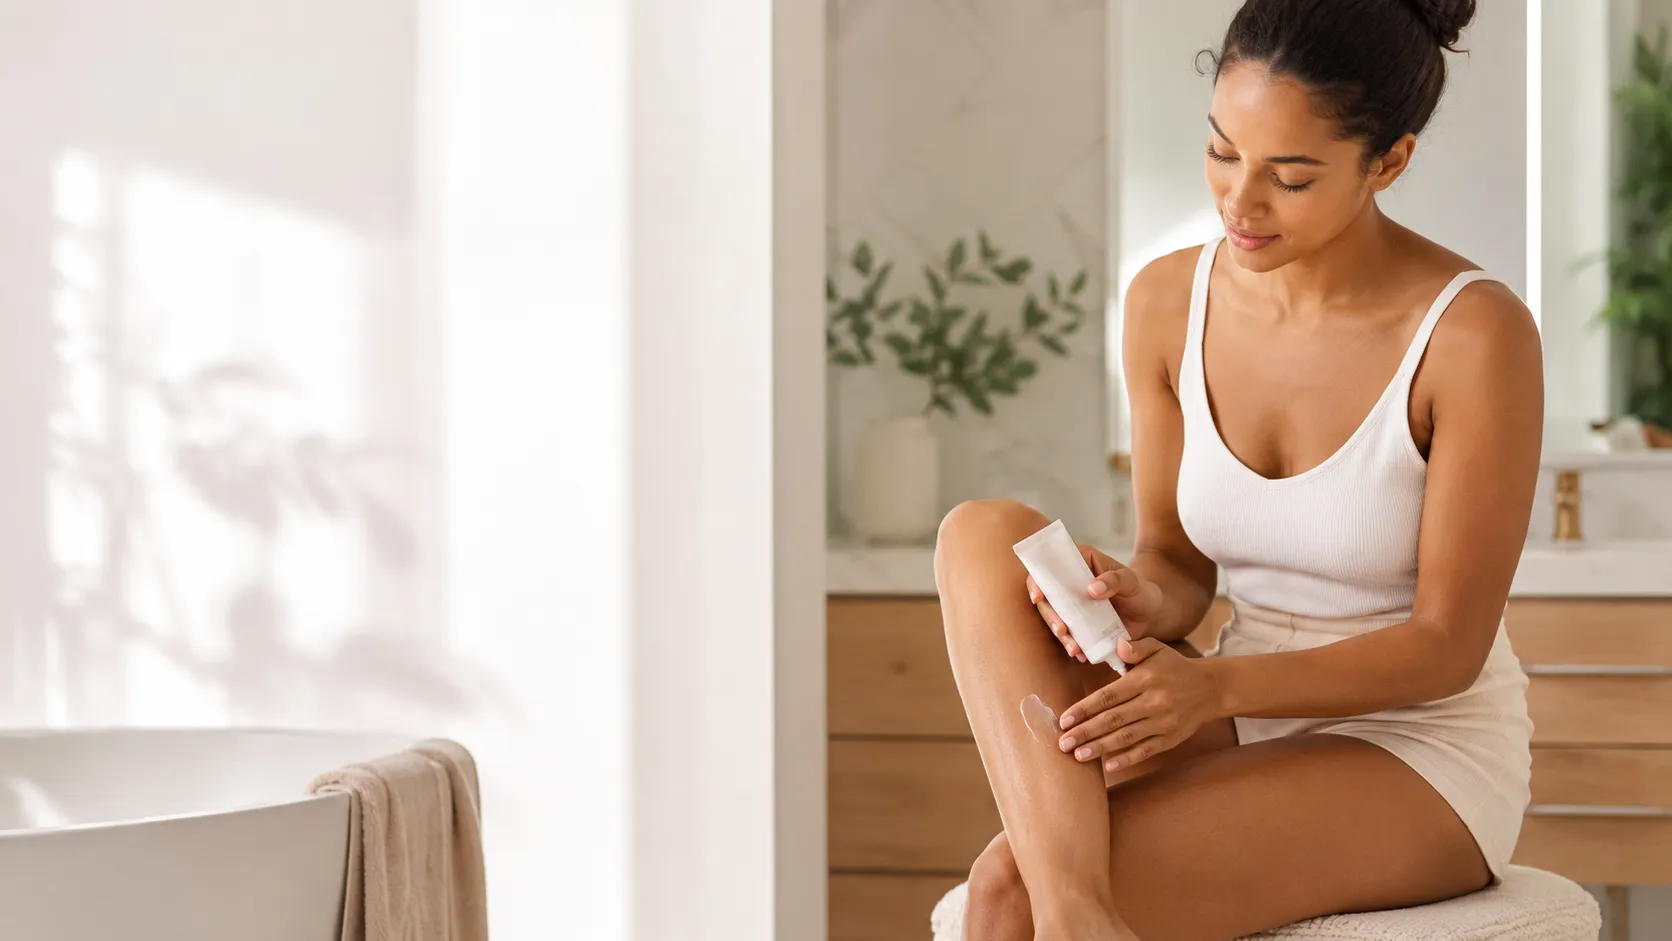
To wax at home successfully, choose the right wax (hard wax for small, sensitive areas; soft or strip wax for larger areas like legs), make sure hair is about a quarter inch long, and start with clean, dry skin (no lotion or oil). Test the wax temperature, apply it in the direction of hair growth, and pull the strip off against the growth quickly while holding the skin taut. Soothe afterward. Proper hair length, clean skin, and a fast pull are the keys to smooth, low-mess results.
At-home waxing has a reputation for being messy, painful, and a little intimidating, but it does not have to be any of those things. With the right type of wax, a bit of preparation, and the proper technique, you can get smooth, long-lasting, salon-style results at home, without wax stuck to everything or unnecessary pain. The difference between a frustrating waxing session and a smooth one comes down to a handful of details that the pros know and most beginners miss.
At-home waxing has a reputation for being messy, painful, and a little intimidating, but it does not have to be any of those things. With the right type of wax, a bit of preparation, and the proper technique, you can get smooth, long-lasting, salon-style results at home, without wax stuck to everything or unnecessary pain. The difference between a frustrating waxing session and a smooth one comes down to a handful of details that the pros know and most beginners miss.
Here is how to wax at home like a pro, cleanly and confidently.
Key Takeaways
- Choose hard wax for small/sensitive areas, soft wax for larger ones.
- Hair should be about a quarter inch long before waxing.
- Start with clean, dry skin, no lotion or oil.
- Always test the wax temperature on your wrist first.
- Apply with the hair growth, pull against it quickly and close to the skin.
- Hold the skin taut and soothe immediately afterward.
The Benefits of Waxing at Home
Waxing at home saves money compared to salon visits, lets you do it on your own schedule and in privacy, and gives you the same long-lasting, root-level smoothness, usually 3 to 6 weeks. Over time, regular waxing can lead to finer, sparser regrowth. Once you have the right products and technique, at-home waxing becomes a quick, routine part of your self-care. The upfront learning curve is small, and the payoff in convenience and savings is well worth it.
Soft Wax vs Hard Wax

Choosing the right wax for the area is the first pro secret.
- Soft wax (strip wax) is applied thinly and removed with a cloth or paper strip. It covers larger areas efficiently, making it ideal for legs and arms. It grips skin more, so it can be a little more irritating on sensitive spots.
- Hard wax is applied thicker, hardens on its own, and is pulled off without a strip. It grips the hair more than the skin, making it gentler and better for small, sensitive, or coarse-hair areas like the upper lip, underarms, and bikini line.
Matching wax type to the area is one of the biggest differences between a smooth session and an irritating one.
What You'll Need
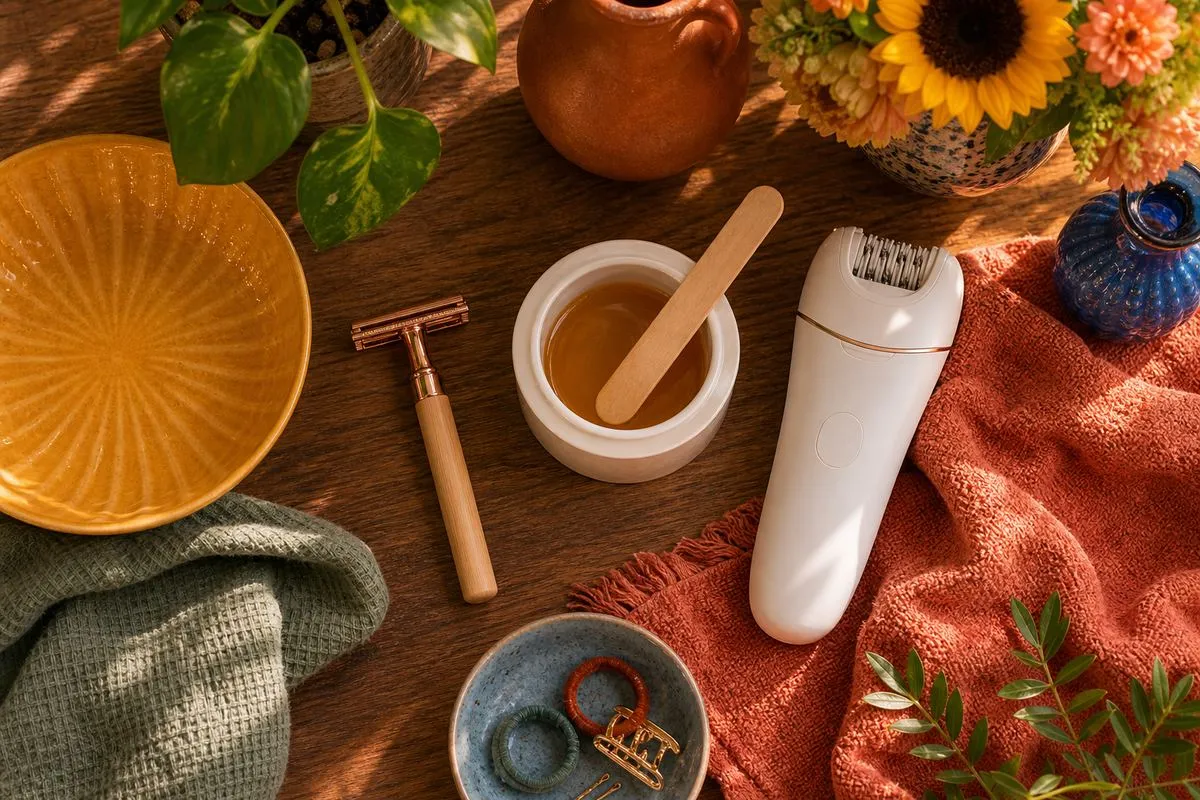
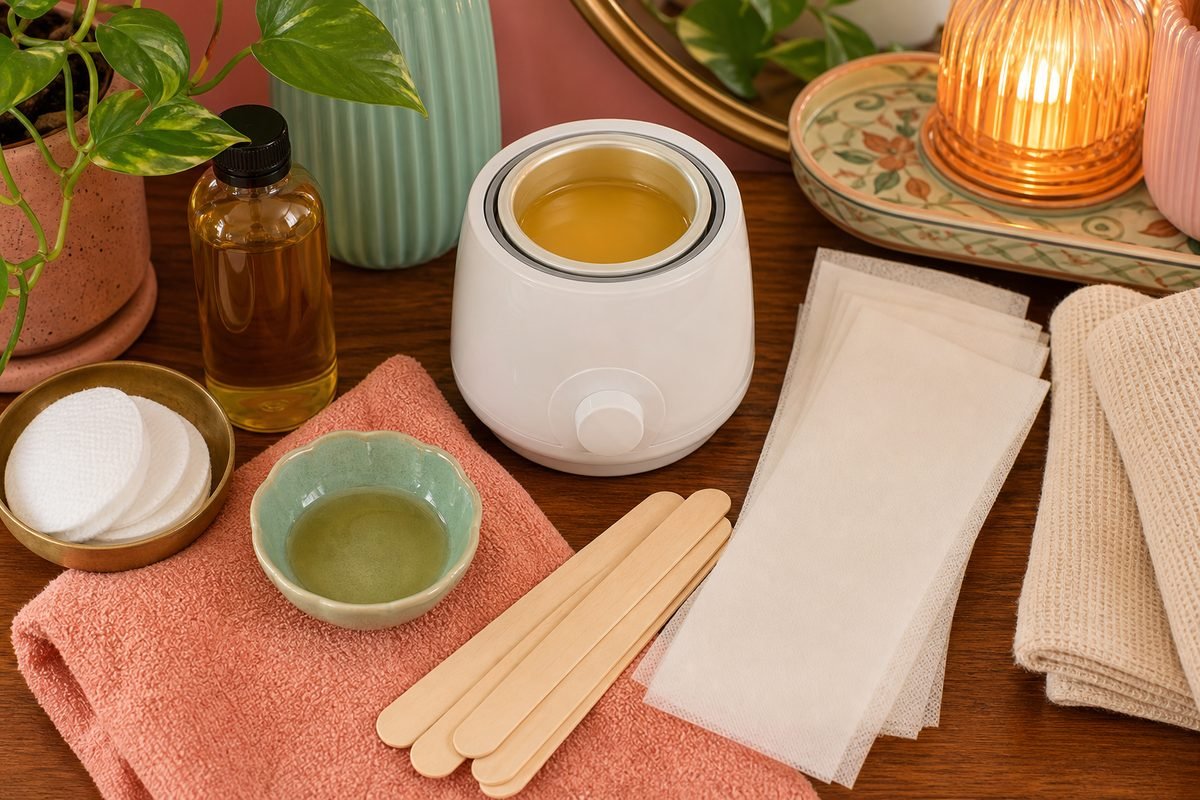
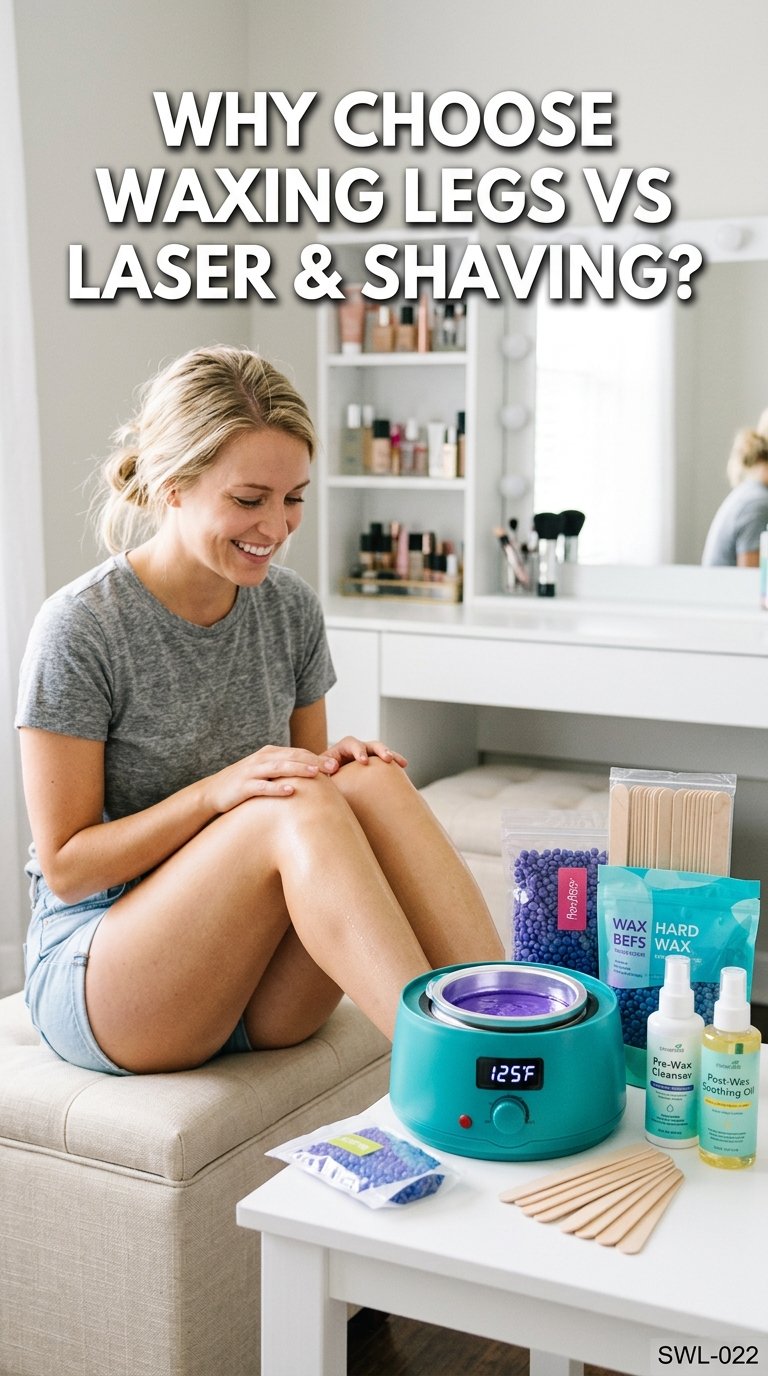
Gather everything before you start so the process is smooth: your wax (soft or hard, or a microwaveable pot or wax warmer), waxing strips if using soft wax, a wax applicator or spatula, and clean, dry skin. Keep on hand a pre-wax cleanser or just clean skin, a soothing post-wax product (aloe or oil), and oil or a gentle remover to clean up any sticky residue afterward. Having it all within reach keeps the session quick and tidy. Preparation is half the battle with waxing.
Prep: The Secret to Good Waxing

Most waxing failures come from skipping prep. First, hair length matters: hair should be about a quarter inch (roughly the length of a grain of rice), long enough for the wax to grip but not so long that it hurts more. Trim if it is longer. Second, start with clean, completely dry skin, free of lotion, oil, sweat, or makeup, since any residue stops the wax from gripping properly. Lightly dusting the area with cornstarch or a little powder can help the wax grip hair instead of skin. Exfoliating gently a day or two before (not the same day) also helps. Good prep is what separates clean, effective waxing from a sticky, painful mess.
How to Wax Step by Step
Once you are prepped, follow these steps:
- Heat the wax to the directed temperature and test a small amount on your inner wrist, it should be warm and spreadable, not hot.
- Apply the wax in the direction of hair growth using firm, even pressure with your applicator.
- For soft wax, press a strip over it, rub in the direction of growth, then pull. For hard wax, let it harden until it is firm but still slightly tacky.
- Hold the skin taut with one hand right beside the wax.
- Pull off quickly against the direction of hair growth, keeping the pull low and close to the skin (not up into the air).
- Press your hand on the area immediately to calm the sting.
- Repeat in sections, and soothe when finished.
That fast, low, against-the-growth pull is the heart of effective, less-painful waxing.
The Technique That Makes It Painless and Clean
A few pro techniques make all the difference. Always apply with the hair growth and pull against it, since reversing this breaks hairs and hurts more. Pull fast and parallel to the skin, not slowly or upward, which is more painful and leaves hair behind. Hold the skin taut, which both reduces pain and gives a cleaner pull. And work in small sections rather than large globs, which are messy and harder to remove. Pressing the area immediately after each pull soothes the sting. Master these and waxing becomes faster, cleaner, and far less painful than you expect.
Area-Specific Tips
Different areas need slightly different handling:
- Legs and arms: soft/strip wax is efficient; work in sections, pulling against growth.
- Underarms: hair grows in different directions, so wax in smaller sections and adjust your pull direction; hard wax is gentler here.
- Upper lip: use hard wax, apply in growth direction, and pull carefully; patch test first.
- Bikini area: use hard wax, keep hair the right length, hold skin very taut, and soothe well; many prefer a pro here.
Always patch test a new wax on a small area first, especially for sensitive spots.
Aftercare for Smooth Results

Aftercare keeps skin calm and prevents bumps. Right after waxing, apply a soothing, fragrance-free product (aloe or a light oil) to reduce redness. Avoid heat, sweating, tight clothing, hot showers, and sun for the first day, since freshly waxed skin is sensitive. Skip exfoliating and harsh products for a day or two, then resume gentle exfoliation a few times a week to prevent ingrown hairs as the hair regrows. Keep the area moisturized. Good aftercare is what turns a successful wax into smooth, bump-free skin that lasts.
How to Keep It Mess-Free
Waxing does not have to coat your bathroom. Lay down a towel or paper, keep oil or a gentle remover nearby for sticky spots (oil dissolves wax residue easily), and work in small sections so wax does not drip or harden where you do not want it. Use the right amount, a thin, even layer for soft wax, a slightly thicker patch for hard wax, rather than huge globs. Clean tools and surfaces with oil right after. A little setup and the right amount of wax keep the whole process surprisingly tidy.
When to Leave It to a Pro

At-home waxing is great for many areas, but sometimes a professional is the better choice. Consider a salon for areas that are hard to reach or see, for a full bikini or sensitive areas if you are nervous, or if you have very coarse, stubborn hair. Also avoid at-home waxing if you use retinoids or strong acids on the area (which can cause the wax to lift skin), or on irritated, sunburned, or broken skin. A professional can handle tricky areas safely. There is no shame in leaving the hardest spots to an expert.
Common Mistakes
- Waxing hair that's too short or too long. Aim for about a quarter inch.
- Waxing over lotion, oil, or sweat. Skin must be clean and dry.
- Pulling slowly or upward. Pull fast, low, and against the growth.
- Not holding the skin taut. Taut skin means less pain and a cleaner pull.
- Skipping the patch test. Always test a new wax first.
Final Takeaway
At-home waxing is far less intimidating than it seems once you know the pro secrets: choose the right wax for the area, keep hair about a quarter inch long, start with clean dry skin, test the temperature, and apply with the growth while pulling fast and low against it with the skin held taut. Add good aftercare and a few mess-prevention tricks, and you have smooth, long-lasting results at home, without the chaos. Leave the trickiest spots to a pro if you prefer, and patch test anything new. Master these basics, and waxing becomes a quick, clean, money-saving part of your routine.
This article is for general beauty and self-care education only and is not medical advice. Avoid waxing irritated, broken, or recently retinoid-treated skin, and see a professional if unsure.
 📌 Save
Love this guide? Save it 📌
Pin it to your favorite board so it's easy to find again — and share it with a friend who'd love it too.
Save to PinterestFrequently asked questions
How do I wax at home without making a mess?
Lay down a towel, work in small sections with a thin, even layer of wax, and keep oil or a gentle remover nearby to dissolve sticky residue. Using the right amount of wax and cleaning tools with oil right after keeps the whole process tidy.
What is the difference between soft wax and hard wax?
Soft wax (strip wax) is applied thinly and removed with a strip, ideal for larger areas like legs. Hard wax is applied thicker, hardens, and is pulled off without a strip, gripping hair more than skin, making it gentler for small, sensitive areas like the upper lip and bikini line.
How long should my hair be to wax?
About a quarter inch, roughly the length of a grain of rice. This is long enough for the wax to grip but short enough to reduce pain. Trim hair that is longer before waxing.
Why does my home waxing hurt or not work?
Usually because the skin had lotion or oil on it, the hair was too short or too long, the wax was pulled slowly or upward, or the skin was not held taut. Clean dry skin, the right hair length, and a fast, low pull against the growth fix most problems.
Which direction do I pull the wax?
Apply the wax in the direction of hair growth, then pull it off quickly against the direction of growth, keeping the pull low and close to the skin while holding the skin taut. This removes hair cleanly and hurts less.
How do I care for my skin after waxing?
Apply a soothing, fragrance-free product like aloe, and avoid heat, sweating, tight clothing, and sun for a day. Skip exfoliating for a day or two, then resume gentle exfoliation a few times a week to prevent ingrown hairs as the hair regrows.
When should I get waxed by a professional instead?
Consider a pro for hard-to-reach areas, a full bikini or sensitive spots if you are nervous, or very coarse hair. Avoid at-home waxing if you use retinoids or strong acids on the area, or on irritated, sunburned, or broken skin.

We cite sources and update this guide regularly.