For beginners, start with a smooth stone tool (rose quartz or jade), apply a facial oil so it glides, and use light pressure at a low angle. Sweep upward and outward a few times per area, finish down the neck, and do it a few times a week. Go gentle while you learn the angles.
A beginner gua sha guide — tools, oils and technique.
If you have seen everyone gliding a smooth stone across their cheeks and wondered where to even begin, this is your starting point. Gua sha can look like an ancient, complicated art, but the beginner version is refreshingly simple: the right tool, a bit of oil, light pressure, and the correct direction. Get those four things right and you have everything you need. This guide walks through each one, then gives you a full first session you can do tonight.
Quick answer
Pick a smooth stone tool with a curved edge, apply a facial oil so it slides, and hold it almost flat against your skin. Use light pressure and sweep upward and outward from the center of your face, finishing down the neck. Start with 2 or 3 short sessions a week while you get comfortable.
Key takeaways
- You only need two things to start: a tool and a facial oil.
- Light pressure and a low angle are the whole game. Force is not the goal.
- Direction matters: always upward and outward, then drain down the neck.
- Go slow at first. It is better to under-do it than to bruise while you learn.
- Consistency, not intensity, is what makes the routine worth it.
What is gua sha, and is it good for beginners?
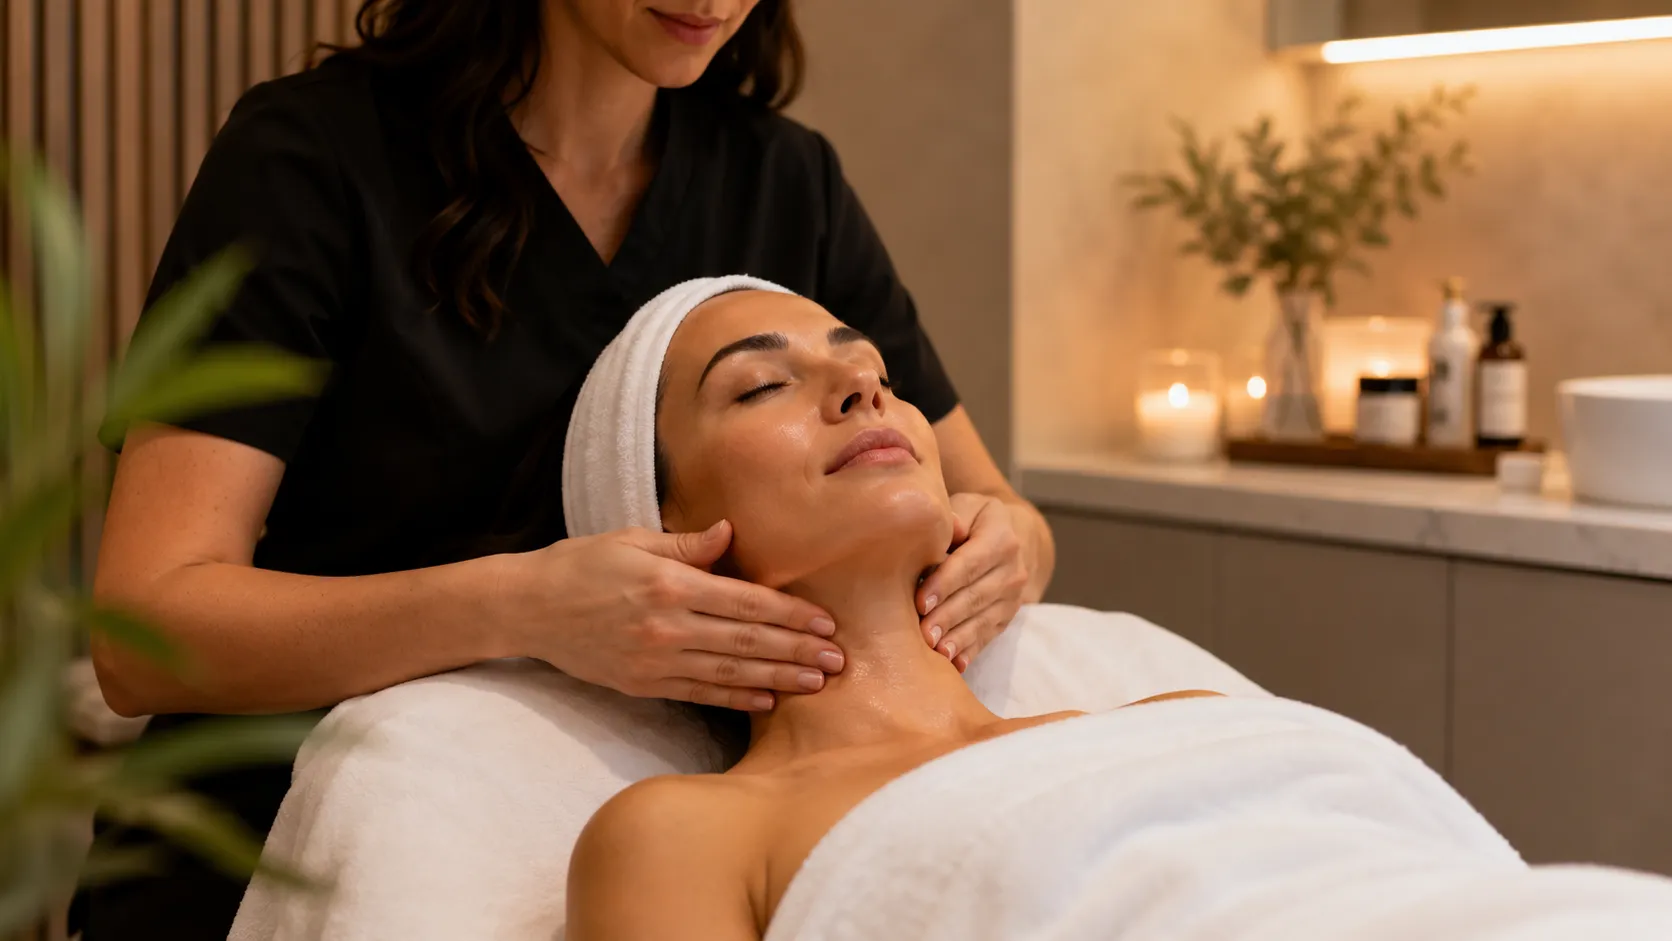
Gua sha is a traditional technique that uses a smooth-edged tool to gently glide across the skin. The version you see for the face is the soft, relaxing one: instead of the firmer pressure sometimes used on the body, facial gua sha is about lightly encouraging circulation, easing the muscle tension we hold around the jaw and brow, and helping fluid move so the face looks less puffy.
It is genuinely beginner friendly. You do not need any training, and the whole routine is forgiving as long as you keep your touch light. The most common beginner worry is "what if I do it wrong?" — but the honest answer is that the main way to go wrong is pressing too hard or skipping the oil, and both are easy to avoid once you know to watch for them. Start gentle, pay attention to how your skin feels, and you are already doing it right.
Choosing your first tool
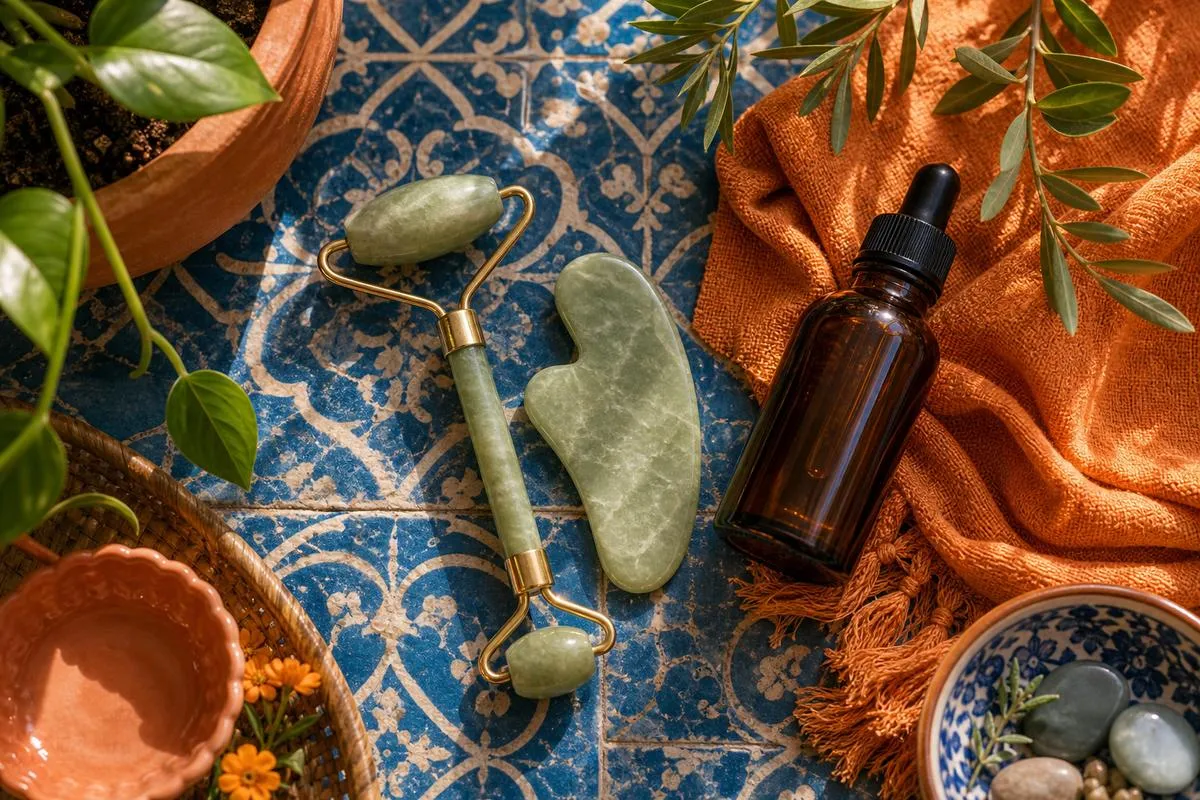
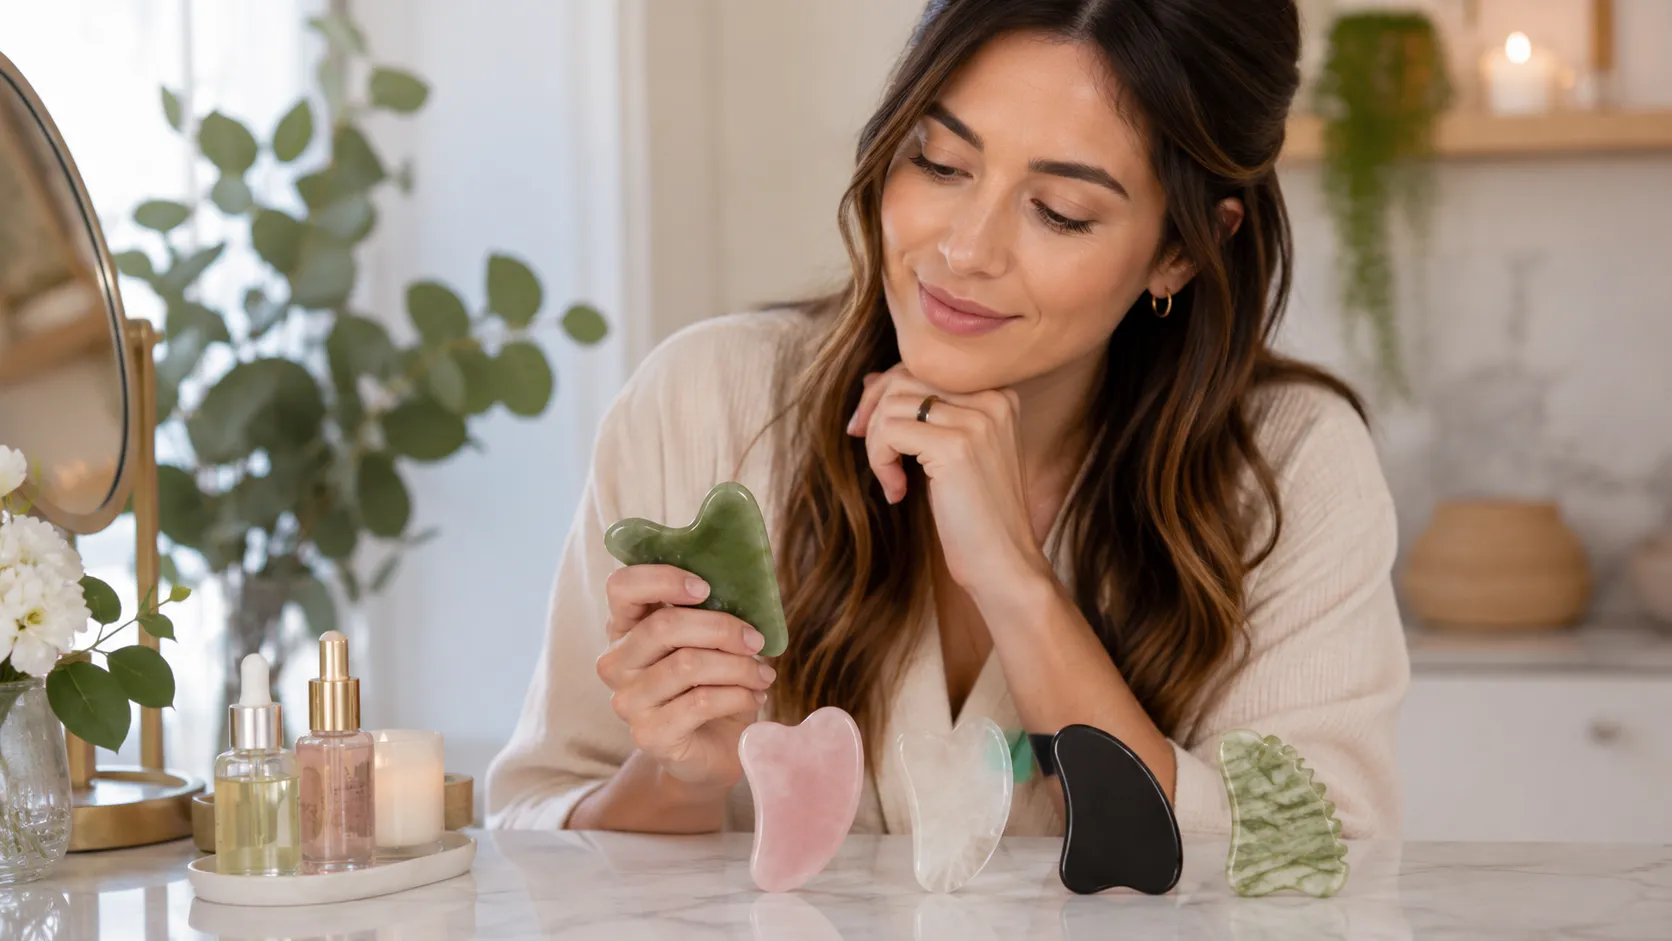
A simple curved stone in rose quartz or jade is perfect for beginners: the different edges fit your jaw, cheeks, and under-eyes, so one tool covers your whole face. Stainless steel is another excellent option and is the easiest of all to keep clean, since it wipes down in seconds and can be chilled quickly. Whatever you choose, the tool should feel smooth with no chips or rough spots, because a rough edge can scratch or catch on the skin. If you want to compare materials side by side, our gua sha tools for beginners breakdown helps.
One tool is genuinely enough. You do not need a drawer of shapes to start, and the fanciest, most expensive stone is not automatically the best one for you. The tool you will actually reach for — comfortable in your hand, easy to clean, smooth against your face — beats the prettiest one you saw online.
Which gua sha shape is best for beginners?
A heart or wing-shaped tool is the friendliest place to start. That classic curved outline gives you a large gentle curve for the cheeks and forehead, a notch that cups the jaw, and a smaller edge for delicate spots like under the eyes. You do not have to think about which side to use — the shape naturally guides you. Rounded rectangles work well too. What you are looking for is simple, smooth curves rather than lots of dramatic points and combs, which are easy to over-think as a beginner.
The one thing you cannot skip: oil
Gua sha needs slip. Apply a few drops of facial oil (or a rich, slippery serum) before you start so the tool glides instead of dragging your skin. Dry skin plus a stone equals tugging and redness, which is the fastest way to a bad first impression — and the single most common beginner mistake.
How much is enough? Your face should feel slippery to the touch, so the tool moves without any catch or friction. If it starts to drag partway through, that is your cue to add another drop or two. Any facial oil you already like will do, and on days your skin feels sensitive, a thicker balm or a slippery hydrating serum works just as well. The point is only that the tool should never pull.
How to hold it
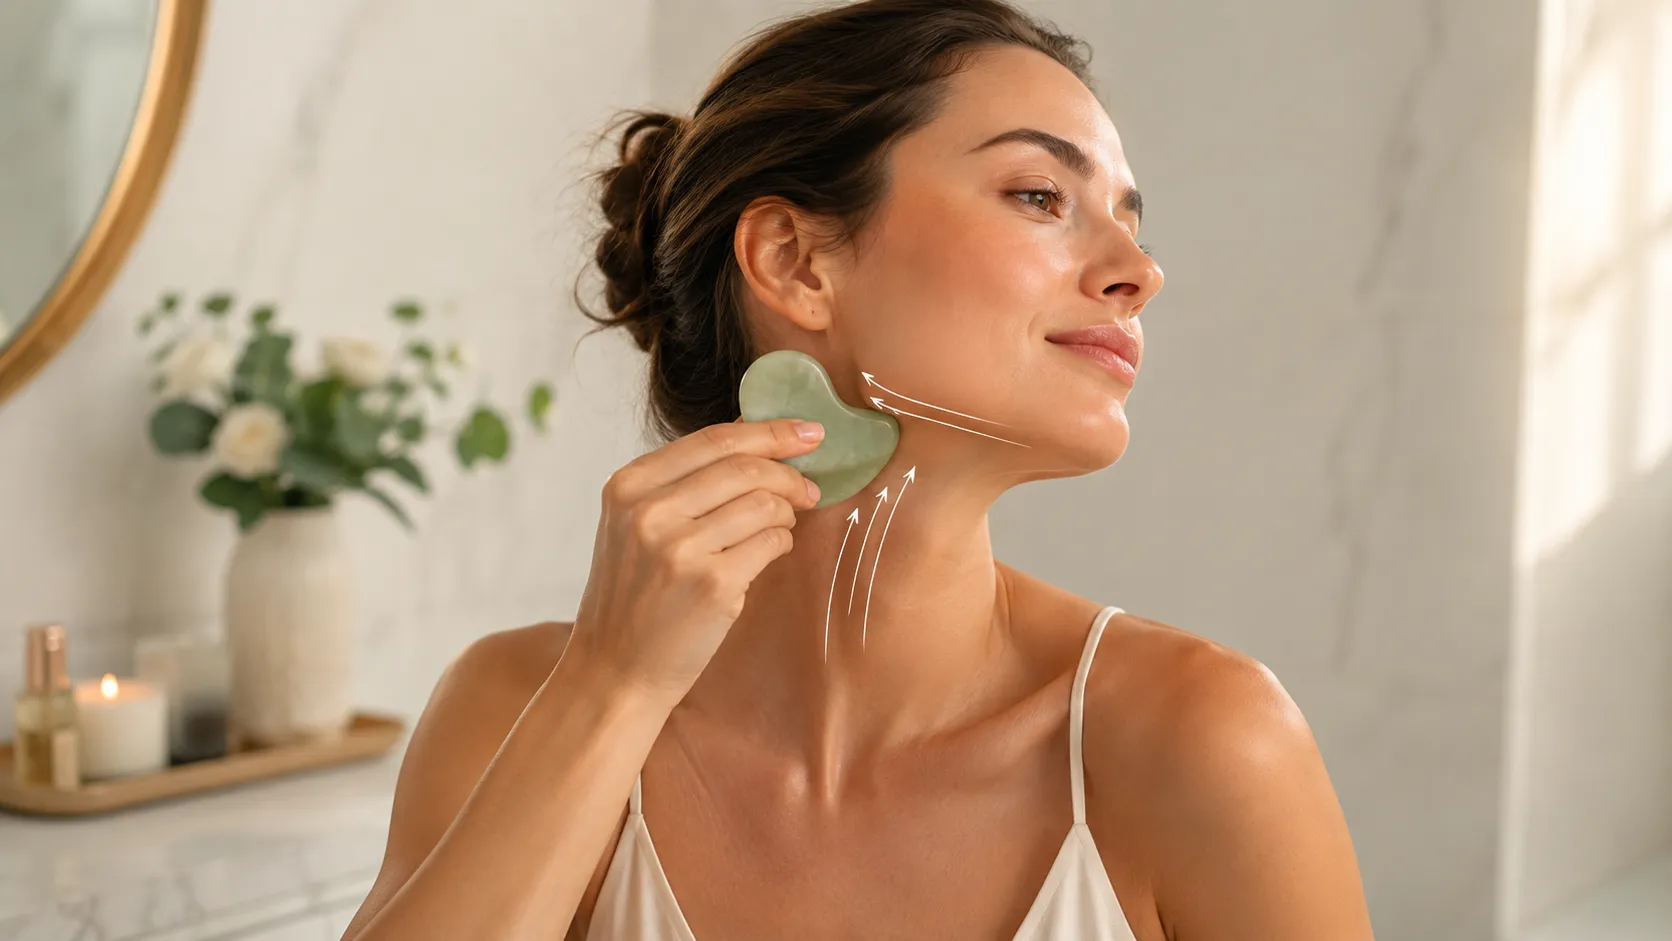
Hold the tool so it is nearly flat against your face, about a 15-degree angle. Use the curved side that hugs the area you are working on. Press lightly — think of the pressure you would use to pet a cat — and support your skin with your free hand so you are gently lifting, not stretching. Keeping the angle low is what separates a soothing glide from a scrape: the flatter the tool, the more it smooths and the less it digs in.
Your first session, step by step
- Cleanse and apply oil.
- Sweep down the sides of your neck 5 times to open the drainage path.
- Glide along your jaw from chin to ear, 3 times per side.
- Follow your cheekbone outward toward your ear, 3 times.
- Very lightly sweep under the eyes toward the temples, 3 times.
- Glide up the forehead and out to the temples.
- Finish back down the neck. Moisturize.
That is a complete routine, and it should take only a few minutes. Notice that it starts and ends at the neck — that is deliberate, because the neck is the drainage path everything else empties into. Once it feels natural, follow our fuller gua sha routine for a few more refinements.
How often should beginners do gua sha?
Start with 2 or 3 short sessions a week. That is enough to learn the angles and see how your skin responds without overdoing it. Once it feels comfortable and your skin is happy, you can build up to daily as long as you keep the pressure light — daily gentle beats occasional aggressive every time.
There is no need to chase a long routine, either. A few focused minutes most days does far more than one intense weekend session. If you would rather anchor it to a time of day, morning is lovely for easing overnight puffiness, while evening is more of a wind-down ritual with your nighttime oil. Pick whichever you will actually keep up with, because consistency is the whole point.
What results can a beginner expect?
Right after a session, skin often looks a little brighter and feels relaxed, thanks to the boost in circulation. Any puffiness, especially in the morning, can look reduced. Those immediate effects are real, but they are also temporary — they are the reason gua sha feels so good, not a permanent change.
The lasting benefits are subtler and come from doing it regularly: a calmer complexion, a few quiet minutes of tension release, and the simple habit of slowing down with your skincare. It helps to set the expectation clearly. Gua sha is a soothing circulation ritual, not a replacement for a facelift or for good skincare, sleep, and sunscreen. Going in with that mindset makes it far more enjoyable, because you get to appreciate what it actually does instead of waiting for something it cannot deliver.
How long before you notice a difference?
Some of it is instant. The post-session glow and the de-puffed look can show up the very first time you try it, particularly first thing in the morning. What takes longer is the gentle, cumulative payoff of a steady habit — the sense of a more relaxed, well-tended face that comes from weeks of light, consistent sessions rather than any single dramatic one. If you do not see a "wow" transformation on day one, nothing is wrong; you are simply experiencing gua sha as it really works, which is quietly and over time.
Beginner rules that keep skin happy
- Never on dry skin, sunburn, active breakouts, or broken skin.
- Light pressure. Faint pinkness is fine; bruising means too hard.
- Clean your tool after every use and let it dry.
- Be patient: the glow and de-puffing show up with consistency, not intensity.
- If your skin ever feels sore, tender, or irritated, ease off or take a break. Comfort is your best guide.
- Learn the common slip-ups early with our gua sha mistakes guide.
Final takeaway
Starting gua sha is genuinely easy: a smooth tool, a few drops of oil, light pressure, and strokes that go up and out then drain down the neck. Keep your first weeks gentle, stay consistent a few times a week, and you will quickly find the rhythm that feels good on your face. Remember, a simple routine done gently beats a complicated one done harshly.
General self-care information, not medical advice. Avoid gua sha over irritated or broken skin and check with a professional if you have a skin condition.
 📌 Save
Love this guide? Save it 📌
Pin it to your favorite board so it's easy to find again — and share it with a friend who'd love it too.
Save to PinterestFrequently asked questions
Is gua sha good for beginners?
Yes. It is one of the easier facial tools to learn. Once you understand light pressure, a low angle, and the upward-and-outward direction, you can do a full beginner session in a few minutes.
What do I need to start gua sha?
Just two things: a smooth stone or steel gua sha tool with a curved edge, and a facial oil (or slippery serum) so the tool glides. That is enough for a complete beginner routine.
How hard should I press when I start?
Very lightly, about the pressure you would use to pet a cat. Faint pinkness from circulation is normal, but any bruising means you are pressing too hard. Start gentle while you learn the angles.
How often should a beginner do gua sha?
Two or three short sessions a week is a comfortable start. As it becomes familiar you can build up to most days, always keeping the pressure light.
Can gua sha damage my skin?
Not if you use oil and light pressure. Problems come from dry skin, heavy pressure, or working over broken or irritated skin, which can cause redness or broken capillaries. Go gentle and skip inflamed areas.
Do I need to use oil with gua sha?
Yes, always. A facial oil or slippery serum lets the tool glide without tugging the skin. Using gua sha on dry skin can irritate it and work against you.
Which gua sha stone is best for beginners?
Jade, rose quartz, and stainless steel all work well. Jade and rose quartz are traditional and cooling; stainless steel is durable and stays especially cold for de-puffing. Choose the one you enjoy using.
Which direction do I move the gua sha tool?
Always sweep upward and outward, from the center of the face toward the hairline and down the neck, lifting the tool and returning to the start rather than dragging it back and forth.
Can gua sha really lift the face?
Gua sha gives a temporary lifted, de-puffed look by supporting circulation and lymphatic drainage, and builds a more lasting glow with regular practice. It cannot permanently change bone structure or replace fillers.

Medically reviewed by The Fern Edit Editorial Team, . We cite sources and update this guide regularly.